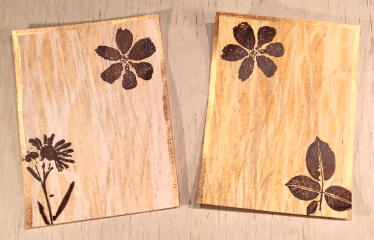
Make a picture frame from scrap wood

Have you taken down an old fence or pulled up an old wood floor? Are you getting some remodeling done or have access to scrap wood? It’s fun to make reclaimed wood pieces into unique picture frames. For my sample I purposefully chose scrap wood with a rustic and weathered appearance, welcoming flaws that don’t compromise the wood’s structural integrity such as saw marks, knots, plaster stains and nail holes. This project is designed to exploit the unique qualities of scrap wood – the flaws in the wood are part of the “decoration”. If you like you can choose new wood and give the surface whatever treatment that fits your decor. You can even buy wood made specifically for picture framing if you want a more conventional style of frame. I made this frame the size of an 8 1/2 by 11″ award certificate because this is a common size that a lot of people need.
Watch Video of Carolyn Teaching this Class at Schnarr’s Hardware in Webster Groves:
Part 1
Part 2
Materials needed:
Scrap wood approximately the size of lattice strips – 1 1/2″ wide by 2/8″ thick. For my sample I used wood lath salvaged from a demolished building. You can purchase new lattice strips if you don’t have access to the right size scrap wood.
Scrap wood strips – 2/8 – 3/8″ thick by 1/2 – 3/4″ wide. I obtained my strips from the scrap stashes available to me. You can buy such wood new if you need to where molding is sold.
Small washers
Staples for staple gun
Sandpaper
Aluminum flashing
Small nails – long enough to go through both layers of wood but not long enough to penetrate to the front of the frame
8 1/2″ piece of plexiglass, clear acetate or glass
8 1/2″ piece of chipboard, cardboard or mat board
Wire
Wood glue
Tools needed:
Mitre saw
Eye protection
Staple gun
Dust mask
Drill with tiny drill bit
Ruler
Pencil
Permanent marker
Sturdy scissors
Wire cutter
Large nail
Scrap block of wood
Hammer
Staple gun
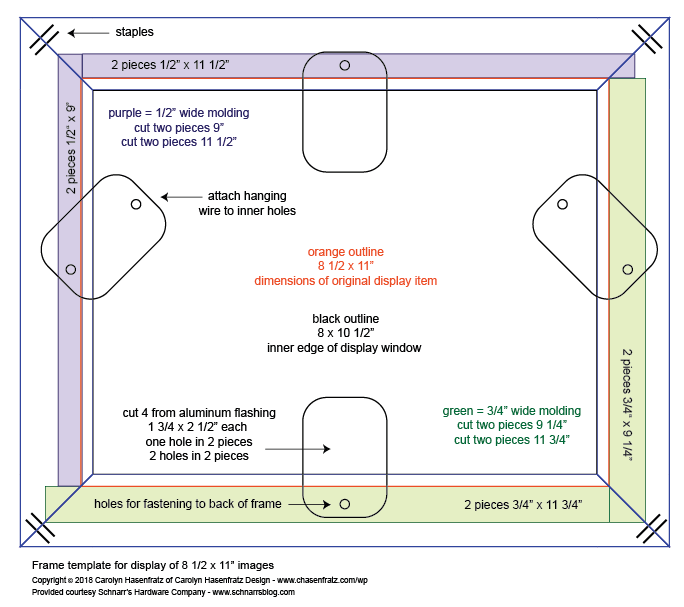
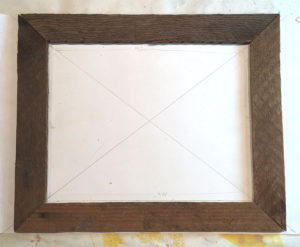
1. The inside edge of the opening for your framed picture will be 8″ x 10 1/2″. When finished the frame will overlap the framed image about 1/4″ all the way around. Mark with a ruler and pencil on the wood where the cuts will be. You might find it helpful to draw a rough diagram on paper to help visualize the cuts. Using a miter saw, cut four wood pieces with 45 degree angles at the ends. Wear eye protection when sawing and drilling.
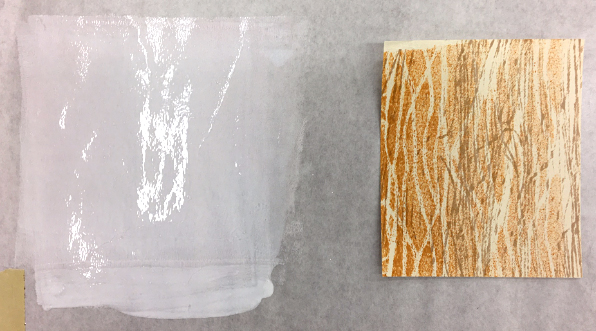
2. Sand the cut ends of the wood. I did not give my wood any other treatment or finish. This is partly because I like the way it looks as it is. Another reason is that this wood was salvaged from a historic building that has great personal significance to me. I did not want to alter the historic integrity of the wood beyond cutting it to size. There are saw marks on the wood from the 1920s which I think are cool! Salvaged lath wood that has been separated from its original historic context is often available for purchase at Perennial, an art studio that promotes the reuse of materials. If you want you can give your scrap or new wood further treatments such as sanding, painting or staining for a variety of decorative effects. Wear a dust mask while sanding – it’s never good to breathe dust and old wood may have mold spores or contaminants.
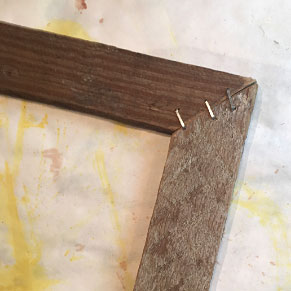
3. With a staple gun, shoot two or three staples into the back of the frame across each mitered corner. The staples will help tack your work in place until you can get some bracing installed on the back of the frame to make it more sturdy. Tap the staples with a hammer if they need a little extra help going all the way into the wood.
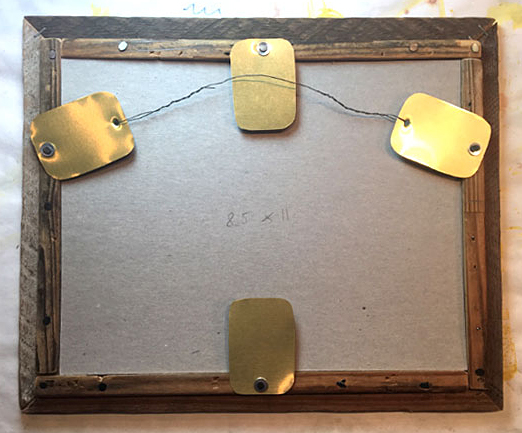
4. On the back of the frame, center an 8.5 x 11 piece of chipboard, cardboard or matt board and trace around it as a guide for placing narrow wood strips on the back for holding your protective layer (plexiglass, clear acetate or glass) and artwork.
5. To make the bracing, cut four pieces from the wood strips that are approximately 2/8 x 3/8 inches thick and 3/4 to 1/2 inches wide. The lengths you cut from with wood will be slightly different depending on how wide the strips are. Cut them so that the inside edge opening is 8 1/2 by 11. Make the lengths 9 inches for the short side and 11 1/2 inches for the long sides if using 1/2″ wide wood. If using 3/4 inch wide wood use 2 9 1/4″ pieces and 2 11 3/4″ pieces. If you are using wood in different dimensions just cut them so that the opening id 8 1/2 x 11″. Since you’ll be attaching these pieces to the back of the frame, if the pieces don’t all match or don’t line up perfectly it doesn’t matter, they won’t be visible. Sand pieces smooth.
6. Apply a line of wood glue on the back of each wood strip then press in place on the back of the frame. Drill small pilot holes, about three per strip, then nail the strips to the frame.
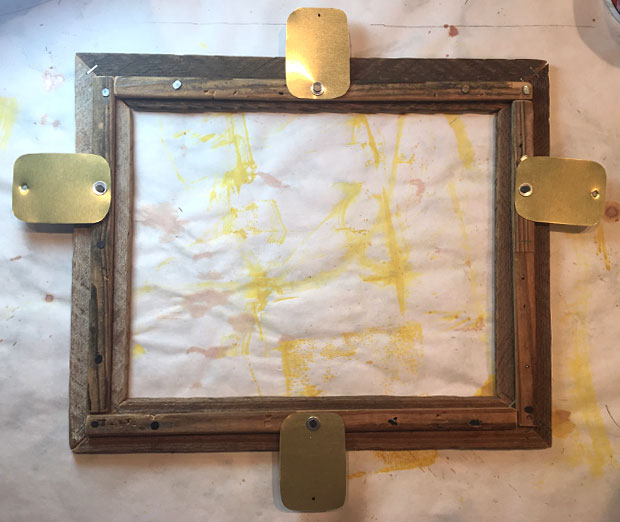
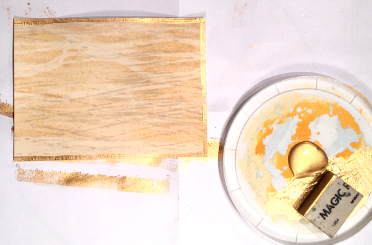
7. Next make some metal tabs to hold the artwork into the frame. These tabs are designed to swivel in and out so that you can easily take out or put in artwork. Draw four rectangles with permanent marker, 1 3/4 by 2 1/2 inches each, onto aluminum flashing. The flashing we sell has both a silver colored side and a brass colored side. These tabs won’t be visible when the frame is on the wall but if you have a preference for one side or the other keep that in mind. Using a sturdy pair of scissors cut out four pieces and round the corners to avoid sharp points. Sand or file the metal peices to get sharp edges off if necessary. On two of the pieces drill or punch one hole toward one end, on the two other pieces drill or punch a hole in each end. An easy way to punch a hole is to place the flashing on a scrap wood block and hammer in a large nail where you want the hole.
8. Attach the four flashing pieces to the back of your frame as shown on the diagram. Place a small washer under each nail head.
9. You are now ready to add artwork to the frame. First put in your clear protective layer (the glass, acetate or plexiglass), the display item, then a stiff layer of chipboard, cardboard or mat board to protect the artwork from the back and keep it from falling out. Rotate the tabs inward.
10. String a piece of wire from inner holes on the two-hole tabs from one side to the other for hanging. You’re done!
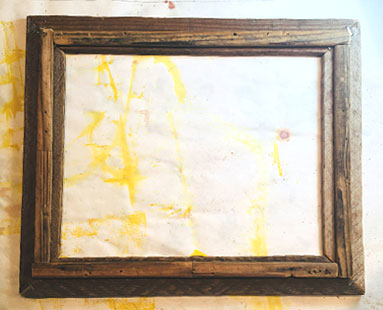
Here is how my frame looks with a certificate displayed in it:

Suggestions For Sources of Scrap Wood
Ask home improvement stores for scraps.
Volunteer to clean out someone’s garage or workshop in exchange for keeping some interesting wood pieces.
Make inquiries of people you know who are doing home improvements.
Look in thrift stores for picture frames or cheap pictures in frames that you can get parts from.
Make a request for wood pieces from the Freecycle community – freecycle.org
Walk your neighborhood on trash day – I’ve found so much usable wood that way.
Purchase salvaged supplies from a non-profit studio that specializes in reclaimed materials such as Perennial or Leftovers, Etc..


 Tools and Materials – *indicates available at Schnarr’s


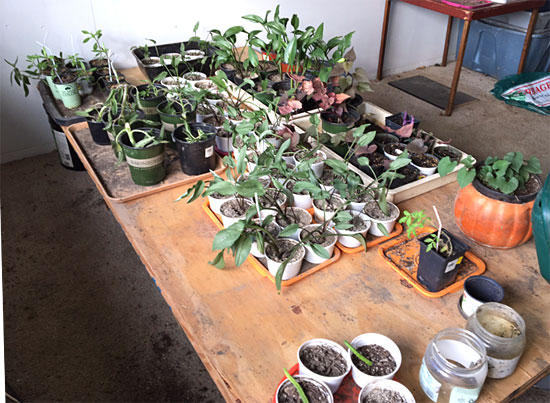
 Rich is planning on bringing inside some of his really large and nice banana plants for the winter while leaving a few small ones outside as an experiment. His tropical Hibiscus and other tropical plants that are woody will also come inside as whole potted plants. He has many herbaceous tropical plants outside augmenting his perennials and annuals. For space reasons it’s not really possible to bring them all in intact, so he gets around that by making small cuttings of plants he wants to grow again next year. He grows more cuttings than he needs for the apartment property so that he has some available for gifts and trading stock. He does not use any special rooting hormone or treatments for cuttings – just water and soil.
 Even with an abundance of plants in his environment Rich still likes trading. Any plant he doesn’t already have he would like to add to


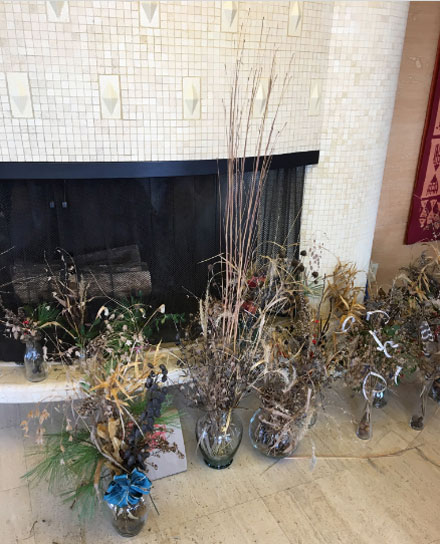
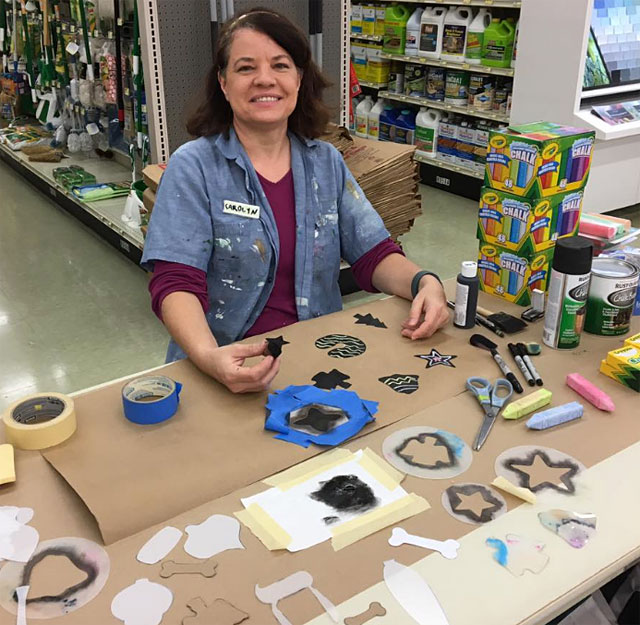
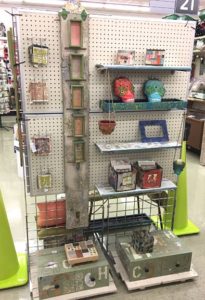 At right is a photo of my display at Schnarr’s Hardware in Webster Groves, Missouri at 40 East Lockwood. You can view my work from October 6 – October 15 2017 as part of the