Make an Insulator Votive Candle Lantern

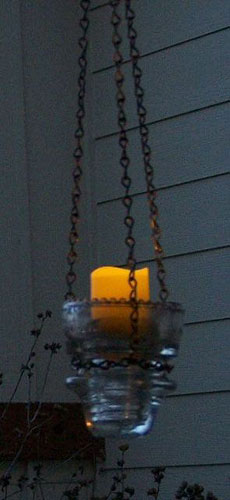
Do you collect glass insulators? I often see them for sale in antique shops and there are several web sites with information for insulator collectors. I’ve always found them attractive looking and I thought they’d be even more interesting if made into something functional. Flameless votive candles are a lot of fun (and safe) to incorporate into your decor. In this project I’ll show you how to make a glass insulator into a flameless candle lantern.
What you’ll need:
Glass insulator
Chain
Strong long-nosed pliers
Flameless votive candles – we sell LED battery powered votive candles that include a 4 hour timer
S-hook
Optional – additional chain, ceiling screw hook, toggle bolt or ceiling hanging kit for hanging, swag hook, decorative bracket, Stick-Um candle adhesive
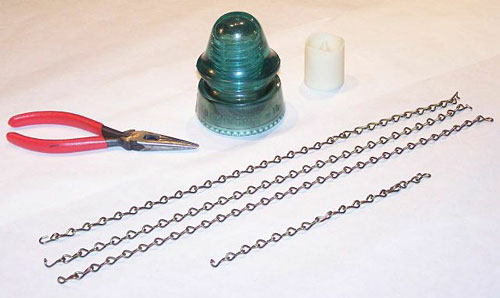
Choosing the right chain for this project is important – it should be sturdy enough for the links to support the weight of the insulator, but not so strong that you can’t bend the links with pliers. At Schnarr’s the weight rating of each chain is indicated on the spool.
1. Select a length of chain just long enough to fit around the “waist” of the insulator. Don’t worry about cutting the chain to size – just pull a link open with the pliers to separate. The links will last longer and close more neatly if you open and close them with a side-to-side motion. With the weight of chain I chose I was able to hold a link on one hand and open with pliers held in the other hand, but if this is difficult try gripping the chain with pliers in each hand as you open and close the links.
2. Wrap the chain around the “waist” of the insulator and link together, re-closing the link to fasten the chain in place.
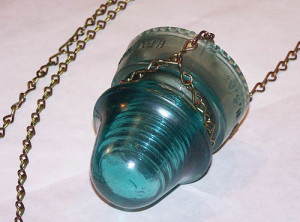
3. Decide at what level you’ll want your lantern to hang and prepare three pieces of chain of suitable and equal length. Attach one chain to a link anywhere on the “waist” piece.
4. To figure out where to attach the other two pieces of chain so that they are spaced evenly, count the chain links around the “waist” and divide that number by three. Attach the other two pieces that many links away from your first piece. For example, if your “waist” chain has 15 links, attach the hanging chain pieces every five links.
5. Link all three pieces together at the top by stringing the last link of each onto an S-hook. If you buy an open S-hook, you can let gravity hold the chains in place, but if you want extra security you can squeeze the S-hook closed with your pliers. If you buy a closed S-hook, just open and close with a side to side motion the way you did with the chain links.
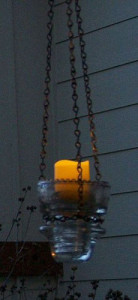
6. Now it’s time to decide how to hang your lantern. If you want it to hang straight from the ceiling, you can use a ceiling screw hook, toggle bolt, hanging kit, swag hook or decorative bracket of the type commonly used for hanging plant pots. Weigh your insulator lantern to make sure you don’t exceed the weight limits of your chosen hanging hardware. If you want to hang your lantern outside, some of the hanging hardware previously mentioned may help or another option is to drape an additional length of chain over a rafter or tree branch and link the lantern to it with an S-hook.
7. Switch on your candle and place it in the lantern. The style and size of the insulator will affect how deeply the candle sets into it. If you have trouble stabilizing the candle, try some Stick-Um candle adhesive.
| Available at Schnarr’s: | ||
 Swag Hook |

Stick-Um |
 S Hook |
 Long Nose Pliers |
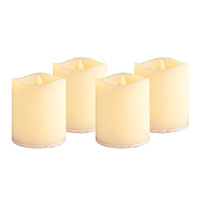
Votive Flameless Led Candles |
 Decorative Swivel Hanging Plant Bracket |
One reply on “Make an Insulator Votive Candle Lantern”
[…] Read More: https://schnarrsblog.com/make-an-insulator-votive-candle-lantern/ […]