Categories
DIY Home Decor Storage and Organizing Ways With Wood

Make a Wood Storage Crate

Make a Wood Storage Crate

by Carolyn Hasenfratz Winkelmann
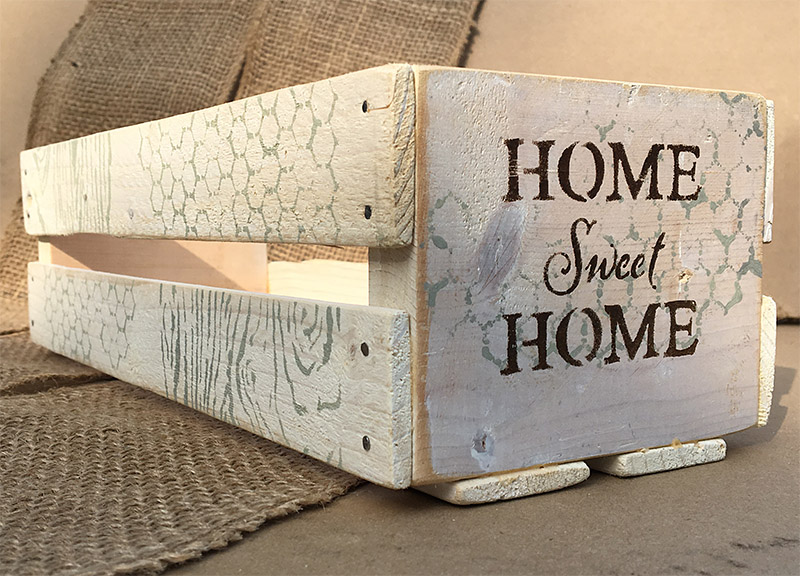
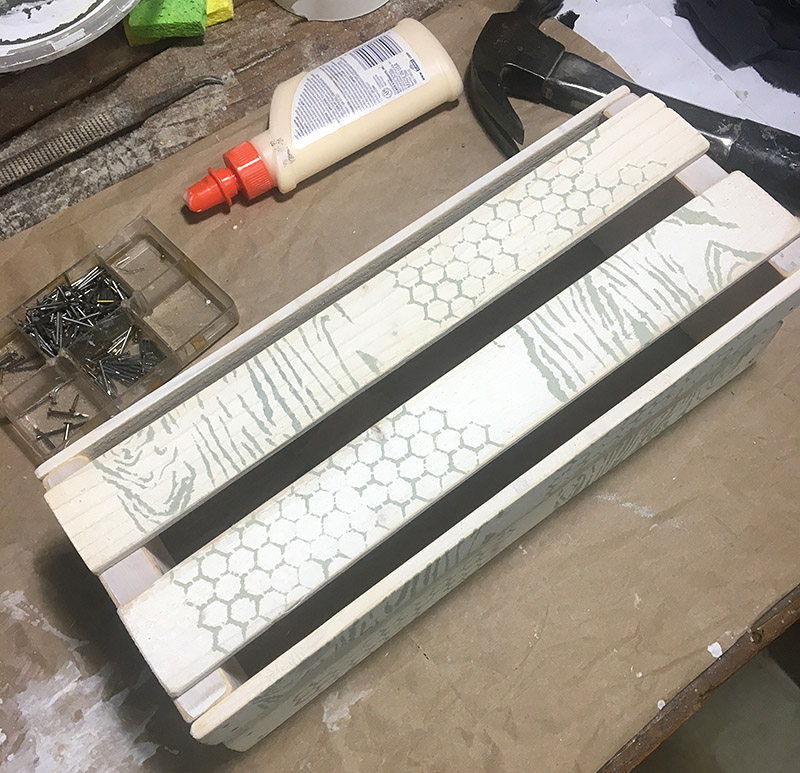
Wood crate decorated with stencil designs

This project was inspired by a card box my husband Tom and I made for our nautical-themed wedding reception last summer. I made a lot of stuff for the wedding and I was literally working until the last minute at the church figuring out how to attach my homemade veil to my head! I finished my jewelry the day before! Two or three nights before the wedding I had set aside time to assemble this card box. I had already cut the pieces out but needed to nail it together and decorate it. I came down with what I thought was a terrible cold and I asked Tom to assemble the box for me. He came through and did a great job! I recovered quickly from whatever I had (if I actually really had anything other than stress) and was feeling fine the next day so I did the decoration in a hurry.
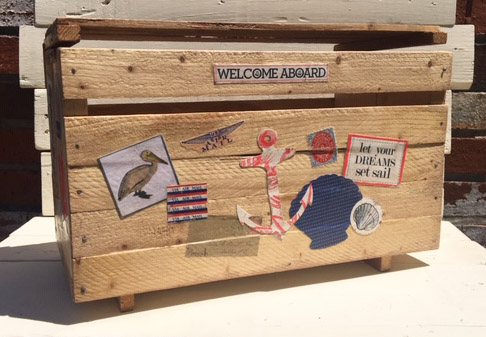
Card box we made for our wedding last summer with decoupage decoration

I painted the above crate-style card box with a wash of brown paint to “antique” after applying decoupage decoration. For the following storage crate project I’m going to experiment with applying a light colored paint wash on unsanded wood to be sanded, assembled and then decorated with stencils.

Materials
*Six pieces of lath wood (1 1/2″) cut to 12″ long
*Two pieces of 1/2″ thick wood cut to 4 1/4″ x 3 1/2″
*Tiny nails
*Paint rags
*Wood glue
*Acrylic paint
*Painters tape or masking tape

Tools
*Pencil
*Ruler
*Saw
*Paintbrush
*Paint water container and small paint mixing container
*Drill
*Tiny drill bit
*Hammer
Small sponges (or *large sponges cut up)
*Assorted stencils (available at Schnarr’s Webster)

*indicates items available at Schnarr’s

If you want a more refined look you can substitute lattice strips for lath wood, they are similar in size and thickness with a smoother surface and fewer irregularities.

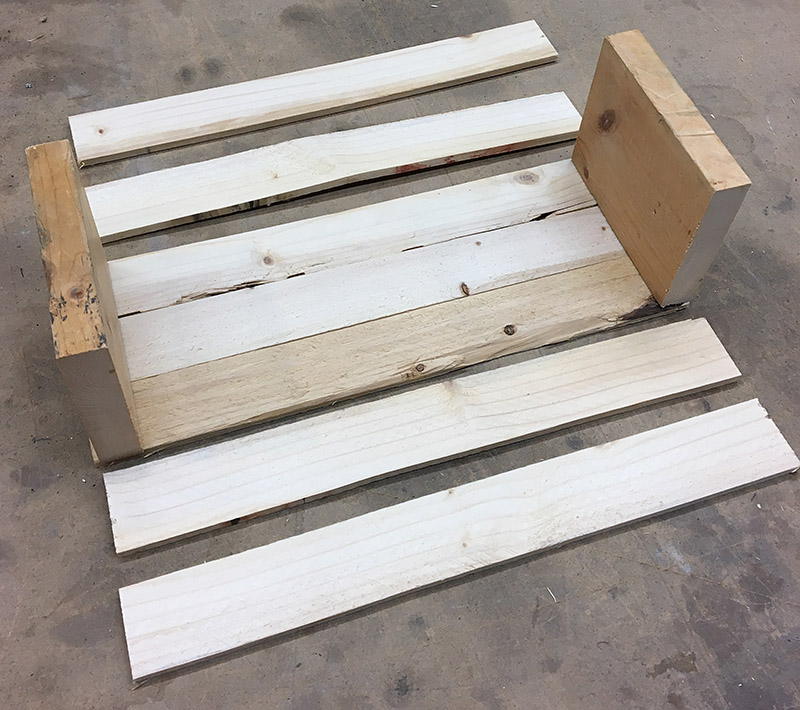
Cut pieces of wood ready to paint, sand and assemble

Instructions

1. Paint your wood pieces with a wash of white acrylic paint. A wash is paint with water added to thin it out and make it semi-translucent.

2. After paint is dry, sand the rough spots with all-purpose sandpaper and sand the edges to bring out a little more of the natural wood color. The effect of sanding the edges is subtle but adds a lot of visual interest.

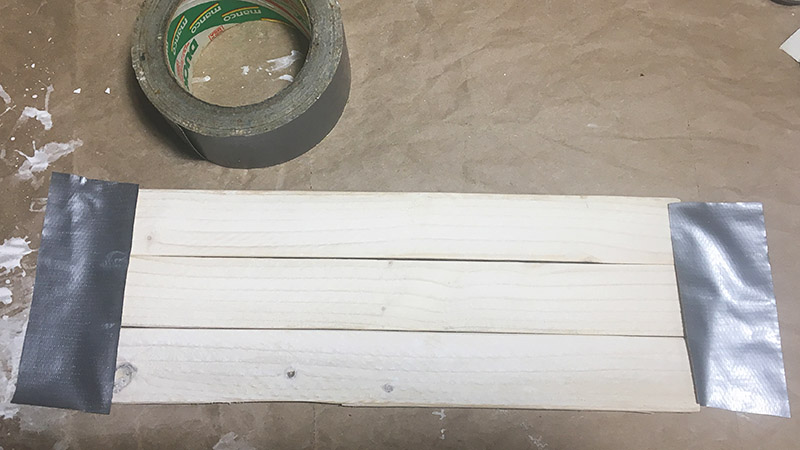
Wood slats taped down to work surface

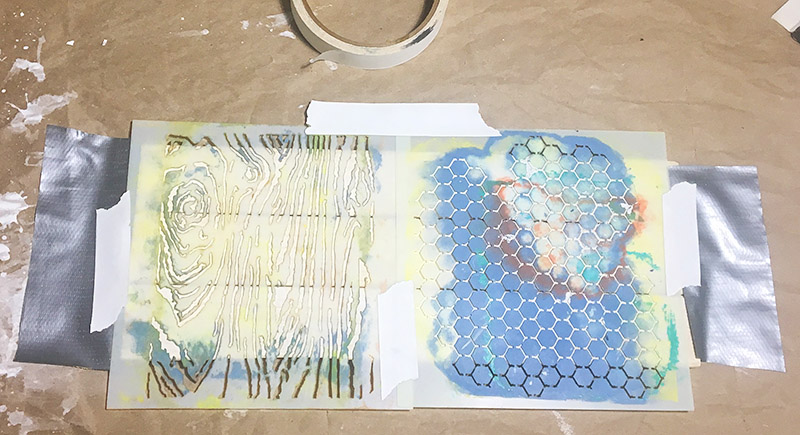
3. Take three of the 12″ slats at a time and tape them down onto your work surface. Normally for stenciling projects I use painters tape or masking tape, but I was out of both so in the pictures you will see me using duct tape and drafting tape as substitutes.

4. Tape stencils in place on your work surface over the wood. Choose a light to medium color of paint and dab the paint through the stencil openings with a sponge.

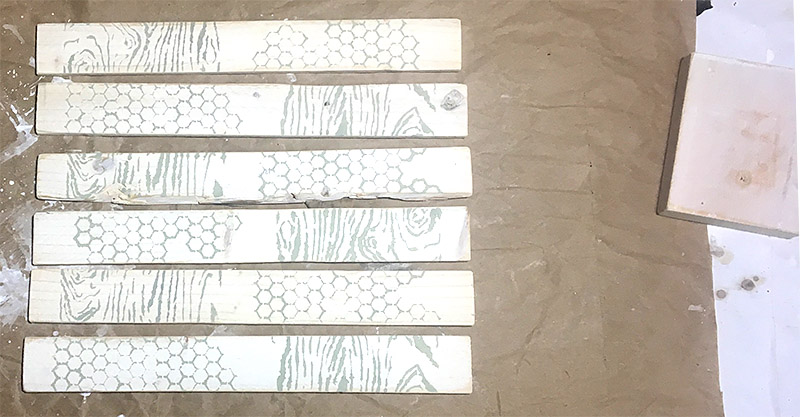
5. Lift the stencils and let the paint dry. I rearranged my wood pieces on the work surface to see what they would look like if I turned every other piece around 180 degrees so that the stencil designs would be scrambled. I liked the effect!

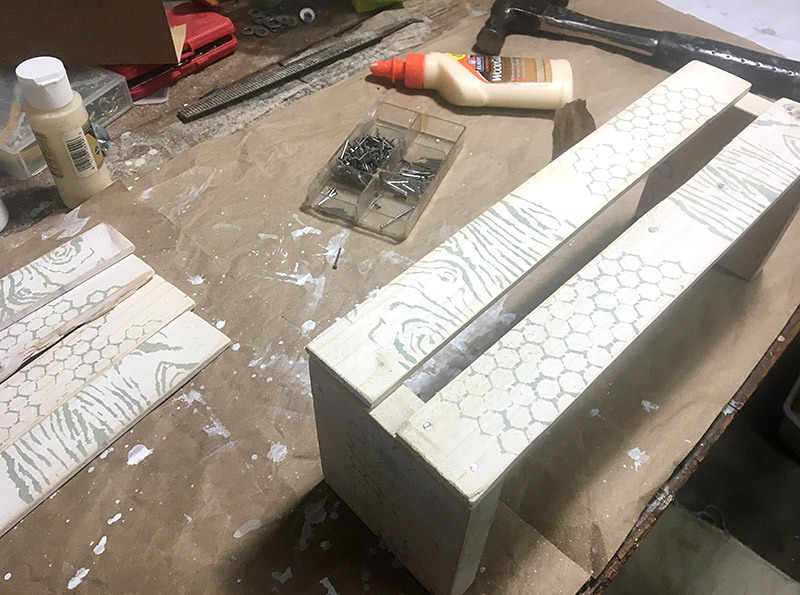
6. Set the two end blocks on your work surface and position two side slats across them. Add a dab of wood glue at each point where the wood will connect for extra strength.

7. Drill two pilot holes at the end of each wood strip with the tiny drill bit. Hammer in nails and repeat until both wood strips are nailed securely to the end blocks. Repeat steps 6 and 7 for the other side, then for the bottom.

I only stenciled one side of these wood strips, so for the bottom of the crate I ended up turning them over so you could see the design if you looked down into the box. You could stencil both sides or have the design facing down while the box is in use if you prefer.

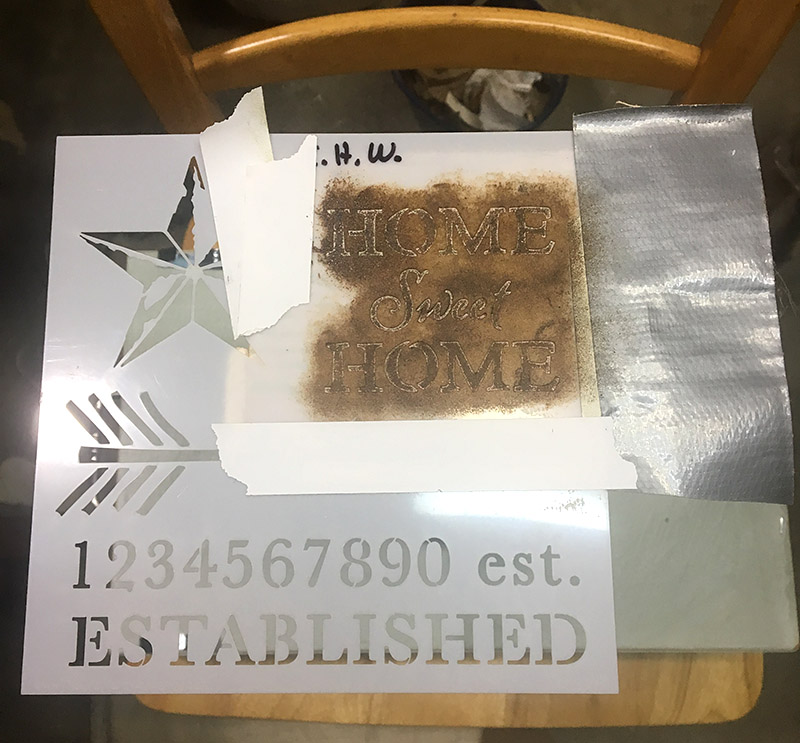
8. Next I stenciled onto each end of the crate. I set the crate on end on a chair to bring it to a more convenient work height. Tape the stencil down and if necessary, mask out the parts of the template you don’t want to use with tape. It’s easy to accidentally sponge into areas you didn’t intend.

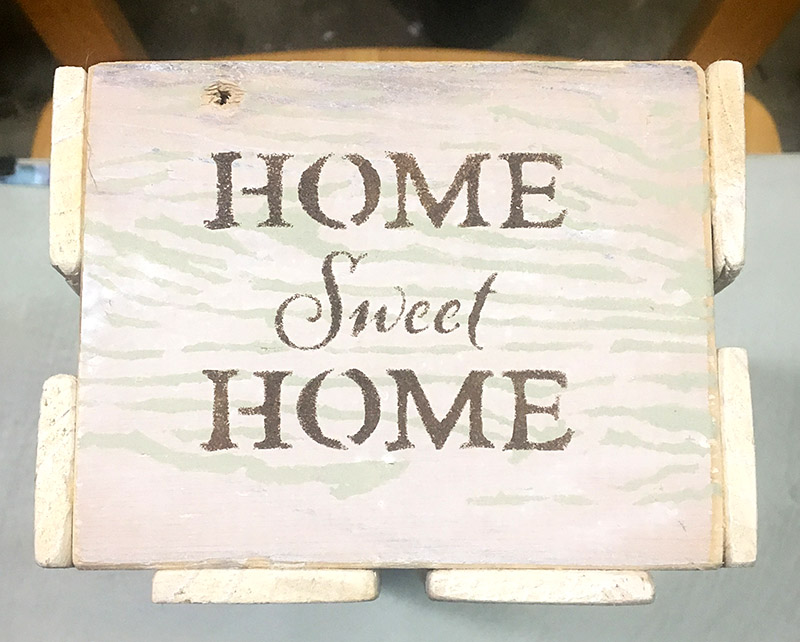
Here is what one of the ends looks like after the final stencil. You can really change the look of the crate depending on what stencils and colors you choose to use. You can also make crates in different sizes to fit different needs. They make great baskets for gift giving too. Have fun!


Additional Resources

If you want some more home decor inspiration here are some additional resources:

Spring 2019 Mood Board – yes spring 2019 is done by now but a lot of these looks have been around for several years and should be good for inspiration for awhile yet. There is a lot of raw wood, tin, burlap and looks that you could easily recreate with hardware store items.

Summer 2019 Mood Board – wood, tin, twine, rope, seaglass, oh yeah!
Categories
Gardening

“Is That a Weed?”

“Is that a weed?”

by Carolyn Hasenfratz Winkelmann

A client asked me that question once while we were looking at a wild spot in her yard that she wanted to convert into a garden. We were brainstorming and I was trying to get an idea of what style of garden the client might want. She asked me if a tall yellow-flowering wildflower prominent in the proposed new garden spot was a weed. A weed is a plant where you don’t want it, not a particular species, so that isn’t always an easy question to answer. In certain styles of garden that plant would have been a weed, in others it would have been appropriate. So I told her in so many words, “You get to decide whether it’s a weed or not. It may or may not look good in your new garden depending on the style”. It would have been lovely for example in a wildflower meadow or bird garden but problematic as part of a garden that depends on a manicured look.

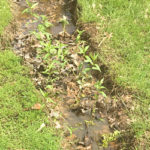
I volunteer at Litzinger Road Ecology Center and even though they specialize in growing native wildflowers, they had too much Fleabane on the patio where they didn’t want it, so in that particular spot it was a weed. I moved some to my new rock garden and I think it looks very appropriate there. It should look even better when this rock garden gets a chance to fill in a little. My husband Tom even complimented me on this plant completely unprompted! As this rock garden expands, I’m planning on planting around the tufts of moss that grow on this slope rather than removing them. I love moss and I want it in my rock garden. When this area was formerly supposed to be turf grass, moss was a problem.


Some plants have “weed” in the name which gives you a clue about how it is sometimes regarded. This Swamp Milkweed that I just planted in part of our new rain garden could get “weedy” because it reproduces like crazy at my condo, which is where I obtained these transplants. There are many more still to bring over! These get to be large plants and when I run out of space they might become “weeds”. For now, they are a critical part of my landscape plan and I’m overjoyed to see lots of seedlings. I can welcome many more before there are too many. I’m going to try to grow multiple milkweed species because they provide critical Monarch caterpillar food.


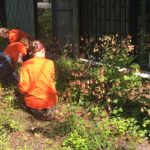
Pokeweed is another plant with weed in the name that can get “weedy”. In a wildflower garden you might want to leave one or two. It is native to Missouri and provides bird food. It is also quite pretty. I’m used to getting rid of it entirely on client sites but when weeding a wildflower garden at Litzinger Road Ecology Center the other day I asked first about each plant before removing it because I know the purposes of gardens there are much different than on most client sites. I was asked to leave one Poke plant in this case (it’s behind the native Columbine). That’s exactly what I recommended a few years ago for my Dad’s garden which was designed as a wildflower garden that is friendly to birds and pollinators. A few Poke plants are nice in a wildflower garden but too many could be a problem because they really spread a lot.


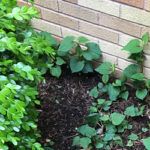
My mother-in-law has Wild Ginger that she considers weedy because her garden style doesn’t call for continuous ground cover. We associate Boxwood as shown at left of this picture with manicured garden styles so when we see it with something that looks wild or naturalized it just looks overgrown to our eye, not harmonious. My gardens are very informal though, and I’ve been digging some of this up to replace at least some of the Vinca minor at my condo. Wild Ginger is native and Vinca minor is invasive, so I’d much rather have the Wild Ginger. My mother-in-law is finding it hard to believe I want this but I’m really delighted to have it – it’s been on my wish list for years! In the right garden this could be beautiful – in the wrong one, a major maintenance headache. At one time I deliberately planted the Vinca minor because I love the flowers and it took me years to get it established, but now I have too much and it has passed into “weediness” for me.


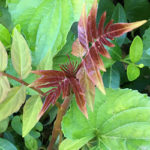
This reddish seedling came up in the garden at the condo. I like to find out what a volunteer plant is before I pull it if at all possible in case it could be interesting or useful to grow somewhere. I showed the photo to the folks at Litzinger Road Ecology Center and they said it was an invasive Tree of Heaven and to destroy it! I was hoping it was a native Sumac that I could move to our house but sadly not, it has to go.


The Importance of Plant Identification

I wrote about the previous examples of how I’m dealing with “weeds” so that you can get ideas for how to treat any volunteer plants that you didn’t expect or are not sure you want to keep. It is necessary to identify the plants so that you can get information to make an informed decision. I need to write more about plant identification but in the meantime this previous article I wrote for Schnarr’s has some identification tips in it that could help: How to Diagnose Plant Problems.

Here is a Pinterest board I started to help identify, treat and prevent weeds: Weeds

Here are some applications that can help you out with identifying plants:

Categories
DIY Gardening

Adventures in Buying Dirt

Adventures in Buying Dirt

by Carolyn Hasenfratz Winkelmann

Tom and I need a lot of dirt for the landscape design we’ve been working on. We need to regrade some areas and we need to add dirt to raised beds that I’m making. We’ve been buying a few bags of topsoil and potting soil here and there but to get the job done right we are going to have to order a truckload – or two?

In order to know how many cubic yards of dirt to order, I needed to calculate the area of several spots on the property where we wanted to add dirt. The more conventional way to do this is to use graph paper, tracing paper and special rulers to draw the areas to the right scale. Another way is to purchase a graphics kit such as this Patio and Outdoor Living Room Spacing Kit that I bought to experiment with. There is also landscaping computer software that is designed specifically for making landscape or home plans. I have a graphic design background and a subscription to the Adobe Creative Cloud so for our project I decided to start out with the tools I know best – my computer, a scanner, Abobe Illustrator and Adobe Photoshop.

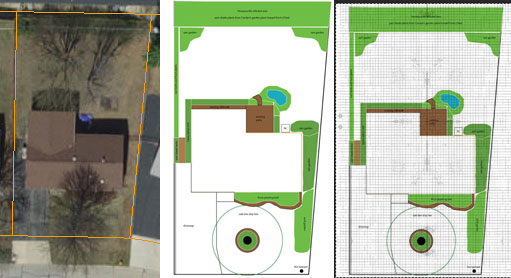
Last year to begin our landscape plan I went to the St. Louis County real estate lookup web page and did a search for our house. I took a screenshot of the aerial photo and edited the image in Adobe Photoshop to cut out the areas I didn’t need. I imported the image into Adobe Illustrator and drew over the photo to produce the rudimentary diagram shown in this article.

Measuring the whole house and yard by hand to figure out the square footage of areas where we want to add dirt was an option but not a very appealing one! So as a shortcut I took a piece of graph paper from the Patio and Outdoor Living Room Spacing Kit and scanned it. I made that a layer in Photoshop. Then I imported my diagram as another layer and measured a part of the property that was a nice even number. The porch is 8 ft wide. The scale of the graph paper was 1/4 inch (one square) = 1 foot. I shrunk the graph paper image so that 8 squares on the graph paper lined up with the length of the porch. I duplicated the layer enough times for the grid pattern to cover the whole diagram. Now to find out the length and width anywhere on the property all I have to do is count the squares on the graph paper layer.

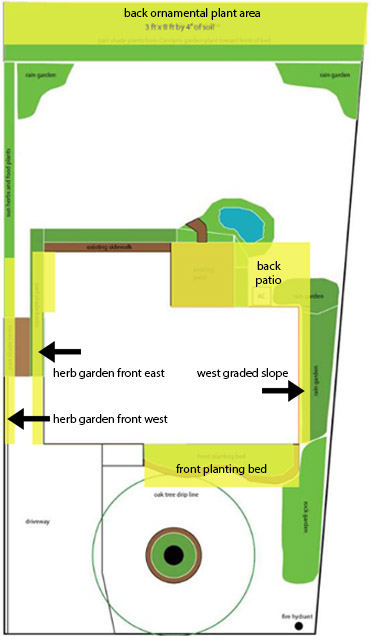
Still in Photoshop, I drew transparent yellow blocks over the areas for which we need dirt. For each block, I figured the length and width and multiplied them to get the square footage. I made a list of each distinct area and its square footage. Then I used the cubic yardage calculator on the St. Louis Composting web site to convert my numbers into a quantity of cubic yardage for each section. The calculator doesn’t require that you calculate the square footage but I wrote those numbers down just in case I need the information later for some other purpose such as calculating fertilizer or seed.

Here is an example:

Back Ornamental Plant Area:
8 ft x 73 ft = 584 square feet
4″ of soil = 10.81 cubic yards

I added up the cubic yardage for the entire project and came up with 28 cubic yards. St. Louis Composting’s dump truck (although quite large) only holds 13 cubic yards at a time so I ordered one truckload to start off. It was difficult for me to picture what 13 cubic yards of dirt looks like until I saw it – it turned out to be a good thing that they couldn’t haul all 28 yards at one time!

To prepare for the shipment I purchased a couple of 10 x 20 ft tarps from Schnarr’s and laid them on the driveway to receive the dirt. I covered the pile with other tarps I already owned and it was barely enough. It started raining about 10 minutes after the delivery and it’s taking us a couple of weeks to distribute this pile. We didn’t want our new dirt to get heavier than it needed to be or wash away in the rain so it was well worth the effort to cover it!

One of these days I’d like to learn the industry standard method of diagramming landscape plans. My goal is to do some practicing while I work on detail areas of our landscape plan. For now, I’m the only one who needs to understand this diagram but if you are handing off work to someone else you might need to hire a professional landscape designer to draw up a plan in the conventional way. Landscape design services might be included if you are getting work done. You can also hire a designer to draw up the plan for you to use with other firms doing the actual work or in the future.

Additional Resources

Here are some other applications that can help you out with measuring your property: