Making Signage From Letter Stencils: Part 2
Tools and Materials
*Indicates items available at Schnarr’s
Assorted scrap cardstock
X-Acto Knife and Blades
Self-healing cutting mat
*Letter stencils
*Pencil
*Acrylic paint
*Paintbrushes
Acrylic medium
Paint mixing containers
Foamcore
Architextures™ Parchment Rub-Ons by Canvas Corp – Build
Assorted decorative papers with hardware related motifs
Bone folder or burnisher
*Modge Podge (available at our Ladue store)
Scrap corrugated cardboard
*Burlap
Fabric scissors
Paper cutter
*Nuts and bolts
*Brads
*Washers
Old wood yardsticks
*Awl
Metal ruler
*Masking tape
*Mounting tape
*Wrenches
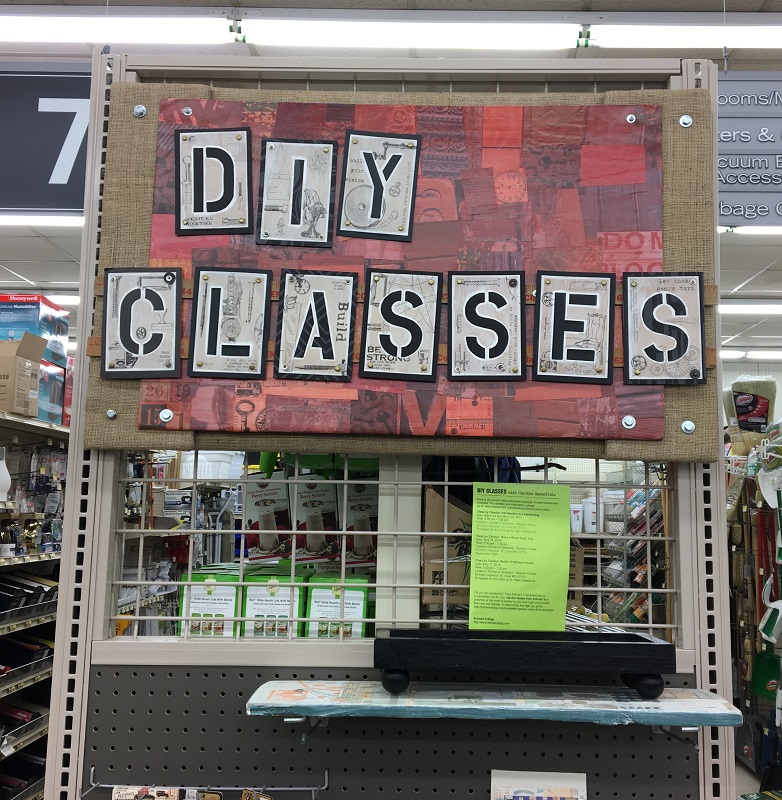
My design for in-store signage for use on an endcap at Schnarr’s Hardware store in Webster Groves, MO was influenced greatly by my love of stencils. I had recently used stencils to make signs for another store. I was happy with the results and eager to try similar lettering techniques with a different look.
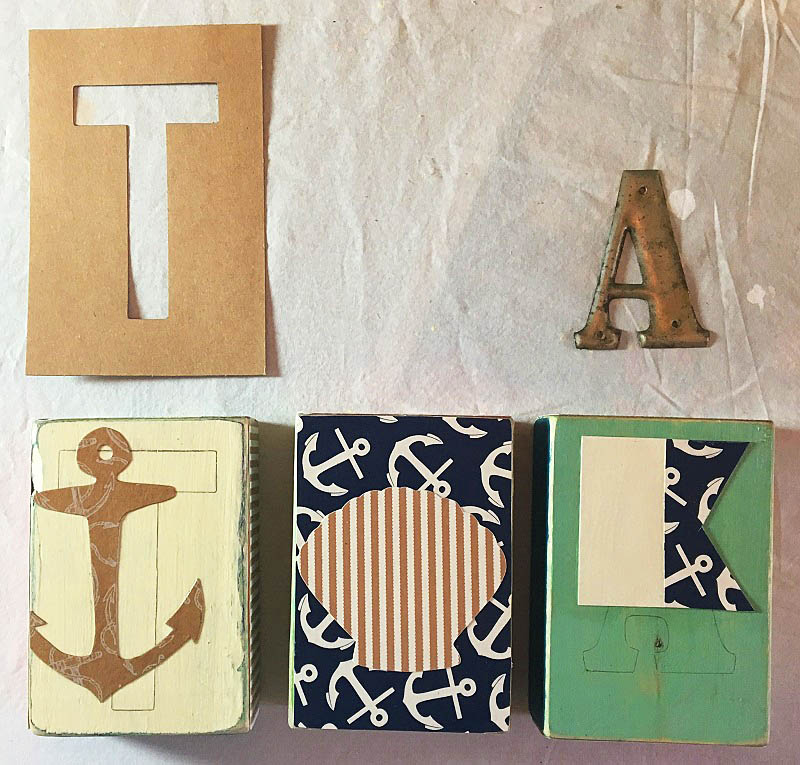
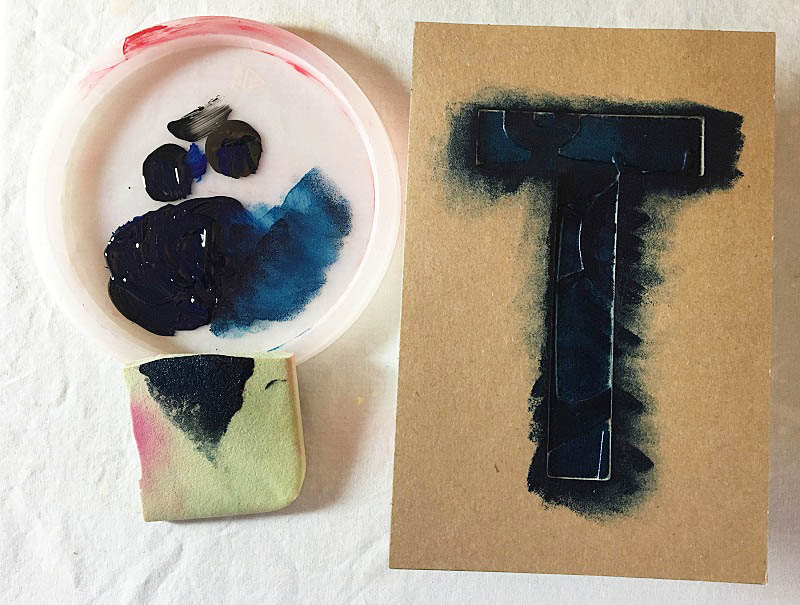
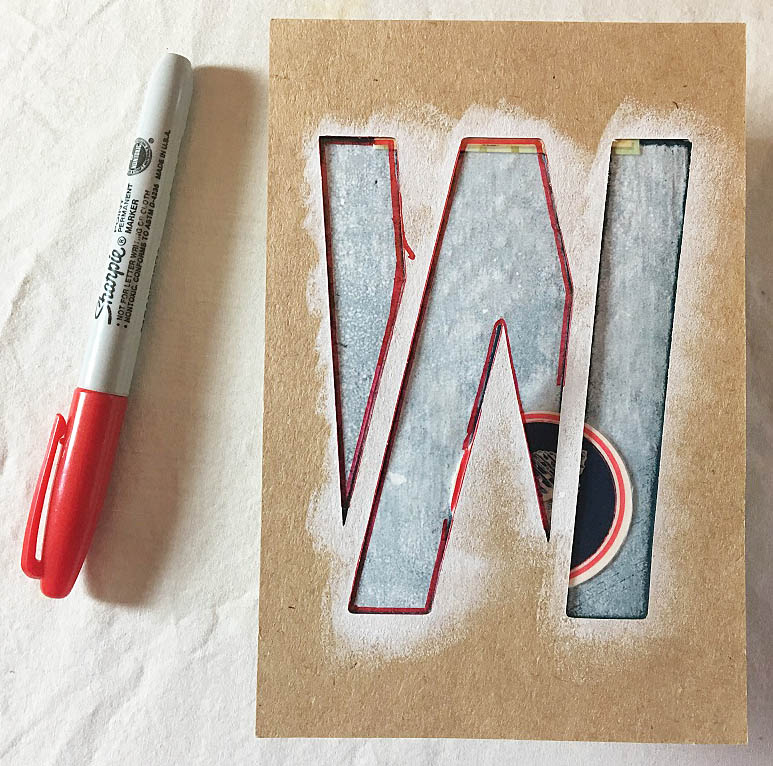
I took a set of chipboard reusable letter stencils that I got from Schnarr’s and used them to trace letters for the words “DIY Classes” on pieces of scrap cardstock and thin chipboard. I cut out each letter by hand using an X-acto knife, metal ruler and self-healing cutting mat.
My next step was to give each letter piece a wash of white paint mixed with matte medium and water. After the paint was dry I used some rub-ons burnished with a bone folder to add hardware and building imagery over the white paint wash around the cutout letters. Then with a small brush I outlined the letters and edges with a painted-on line of non-watered down white paint.
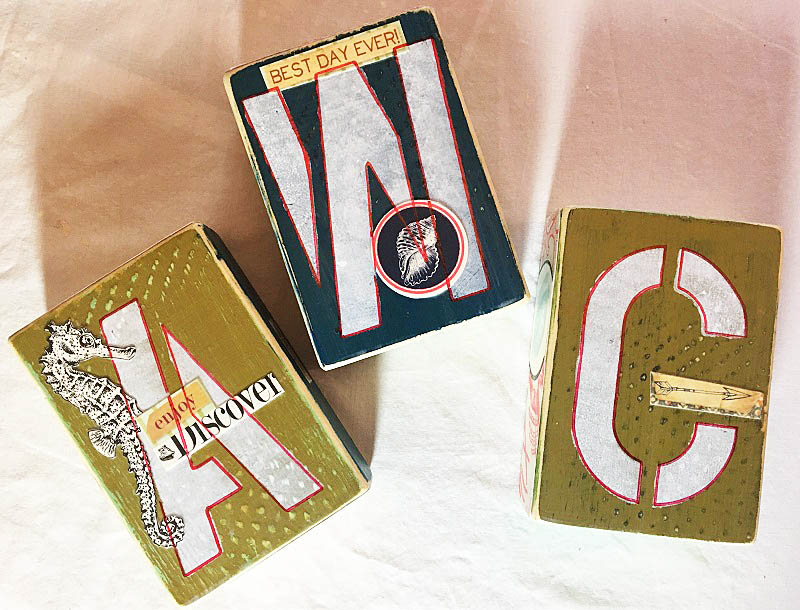
I cut out pieces of black cardstock slightly larger than my letter pieces and placed one behind each to add a frame and make the letters stand out. With an awl I poked holes in the four corners of each letter piece and fastened the layers of paper together with brads, using a variety of washers from my stash here and there with some the brads for extra variety and interest.

After making my letters, I measured the space available for my sign and took stock of what materials I had on hand. I knew I wanted a lightweight sign that would harmonize with the vintage imagery in the rub-ons, look good with the store’s color scheme and suggest the types of mixed media techniques I teach in the DIY Classes I’m promoting.
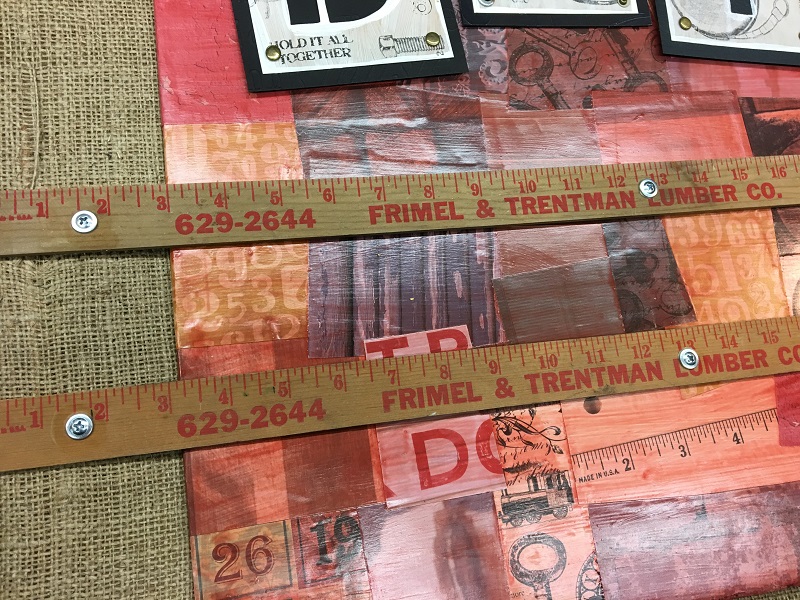
I decided to decoupage paper imagery all over a piece of foamcore and paint over the paper pieces with a wash of red-brown paint so that the designs on the papers would show through and not be too dominant. Most of the paper I chose was by the company DCWV. I looked for paper designs with things on them like vintage letters and numbers, rulers, keys, hardware, aged wood and brick, clock faces, vintage machinery and the like. I used Modge Podge to glue the papers over the foamcore and I mixed matte medium with the paint to make a translucent wash.
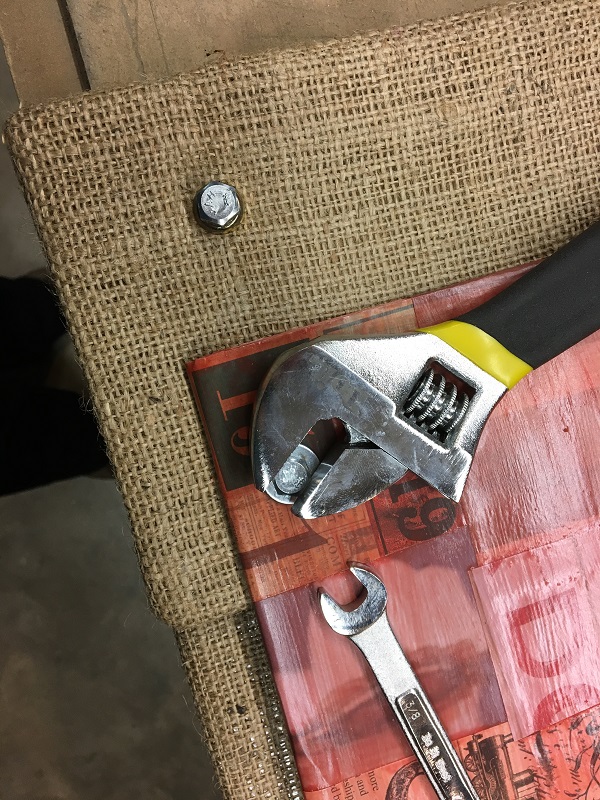
The finished foamcore panel was a bit smaller than the space I needed to cover so I made a frame out of cardboard covered with burlap to mount it on. First I cut out 8 pieces of corrugated cardboard, 2 for each side of the frame for extra strength. I bound the pieces of cardboard together with masking tape then I covered the cardboard frame sides with burlap, securing the burlap with tape on the back side. I poked holes in the burlap covered pieces and in the front foamcore piece with an awl and I used nuts and bolts with washers to attach the layers together.
I laid out my letters on top of the cardboard/burlap/foamcore assembly and saw that the second line, “Classes” was a bit too wide to fit onto the foamcore and was going to have to overlap the burlap edges to fit. I decided to bolt on a couple of old yardsticks to provide a surface for attaching the second row of letters. This emergency adaptation turned out to be a happy accident because in my opinion the rulers added great interest to the design and looked terrific with the images and colors I was using.
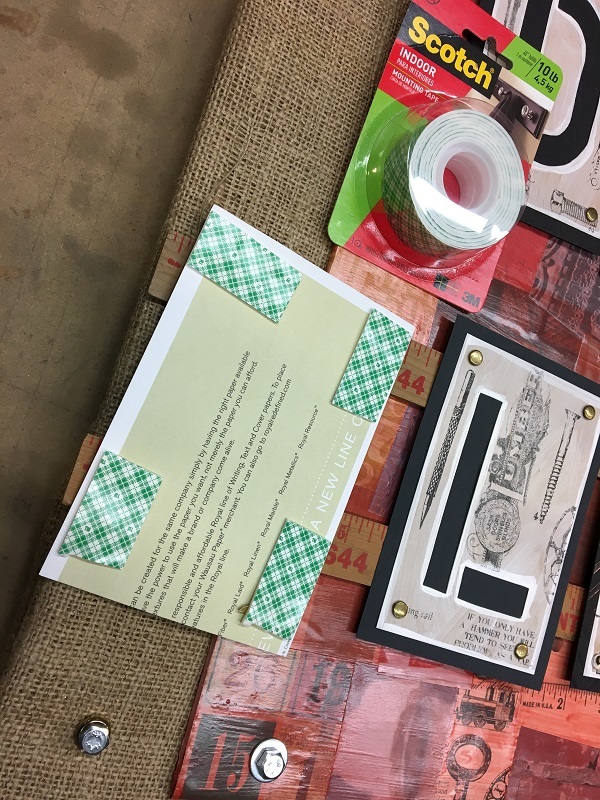
My last step was to attach the letters to the sign with mounting tape. I love this stuff!
Stop by Schnarr’s Webster to see the finished sign. On the endcap below it you’ll find samples of projects for future classes I’ll be teaching along with assorted art and craft supplies, some offered at clearance prices!