Gardening Suggestions for Late March and Dividing Perennials
by Don Stuewe
Now is the time to start many outdoor plants from seed in indoor containers. The seed packets should tell you how long before the average last frost date to start germinating your seeds. In Missouri that date is approximately April 15. I’m going to be trying many colors and sizes of Sunflower varieties this year in test dirt plots in my backyard. The price is right – seeds are very inexpensive! Another resource for St. Louis area planting times is the calendar on the Schnarr’s blog.
Garden centers are not as busy right now with servicing customers… take the opportunity to ask questions of employees before the spring rush.
Dividing mature perennial plants
As plants mature they increase in diameter and quantity of leaves. There is a quick rhyme that explains this concept for perennial plants – sleep, creep, and leap. Here is an explanation of the rhyme.
- First year in the soil, the plant sleeps (just maintains – does not improve)
- Second year the plant creeps (improves a little bit)
- The third year is leap (a very noticeable improvement)
Editor’s note: having noticed many of my perennials flowering for the first time in the third year, this rhyme makes a lot of sense to me!
Five to ten years after initial planting, the plant often looks overgrown or encroaches onto adjacent plant “space”. This is noticeable on commercial properties and public land near roads and highways.
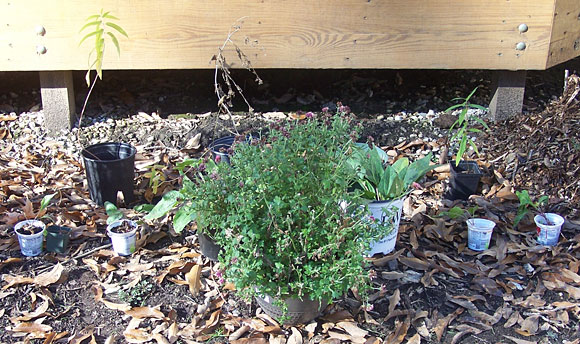
My introduction to dividing plants was happenstance. I had a lot of time on my hands. For inquiring minds, I was laid off from my job – the company moved out of state. The previous owner of our residential property had many Hostas in various locations. The variety was Lancifollia (very common – everybody’s grandma has a ton of them). I divided them up and put them in new places. If there was failure, I would not mind because of the many plants remaining. The success rate was very high even in dividing in the “not recommended” months. This was the beginning of my “hands on” horticulture interest. It is fun to divide plants and share with other people (accumulating positive karma in the horticulture world). And you still have the remainder of the original plant to enjoy.
When dividing plants, try making different size portions. You will learn by trial and error the minimum size of root mass to succeed in growing a new division. If you take off a large portion because you want the new division in a new location to look robust right from the beginning you will have to water more.
I have divided good size clumps of grasses in Missouri’s July and August heat while watering aggressively with a garden hose. Editor’s note: I too have transplanted in the “wrong” months and have often gotten away with it by watering a lot.
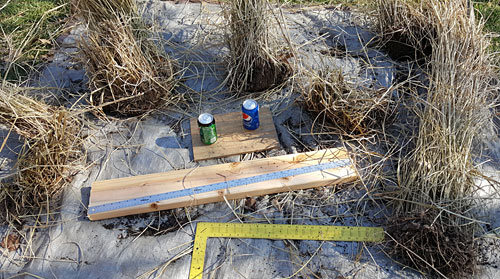
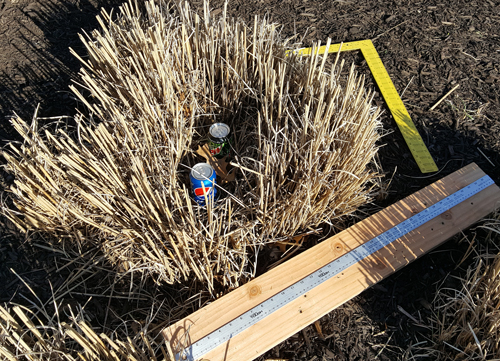
NOTE: For scale, the following pictures include two 12 oz cans of pop, a one inch wide silver yardstick on a 36 inch two by six wood piece, and a yellow carpenter’s framing square that is 16 inches on the short leg by 24 inches on the long leg.
I used “moderately beefy” stakes…
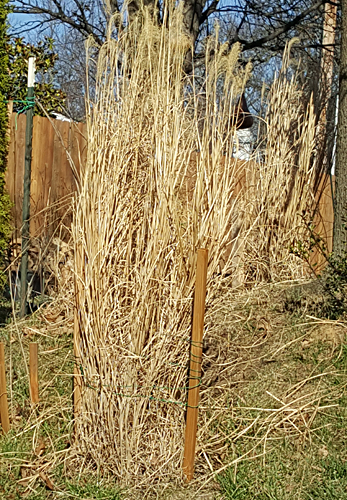
… and green coated electrician’s wire (blends in with green grass color) to support the tall grasses after planting. You can also buy green twine at Schnarr’s.
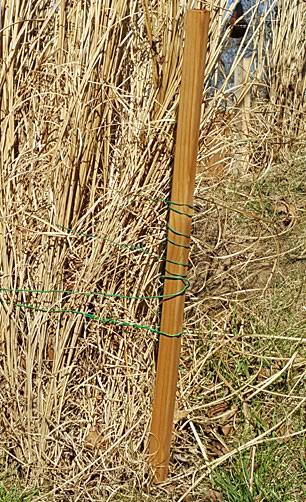
NOTE: The two previous pictures are same plant. I did this in an obscure corner in the back yard (if there was marginal results – the grass would not be in a prominent location) and the results were excellent. The next year’s growth should be “creep” (from the rhyme).
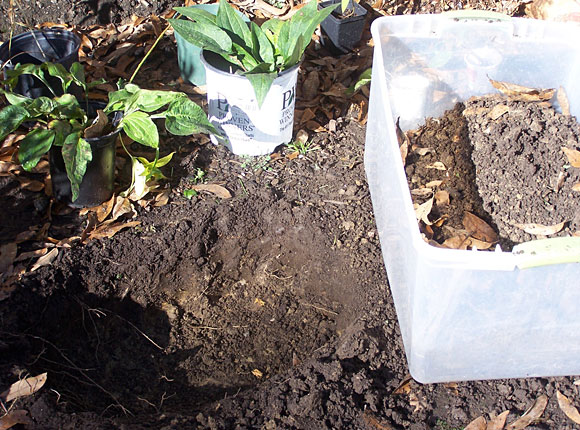
NOTE: Some root systems are dense and very “anchored” in the soil. I have used a six foot digging shovel and jumped on the shovel (to create more force) to shear through the root system. People have used a wood axe and a chain saw to cut through roots. A Sawz-all power tool, with a pruning blade available at Schnarr’s, also known as reciprocating saw, is a good choice.
Another way to explain root system density is that it is similar to root bound plants in containers. It is important to cut away very dense excess root growth that develops when the roots follow the shape of a container instead of spreading outward like they are supposed to.
Gardener’s Mantra… dig a hole… roots go in first. That is all people need to know! Don’t let the Master Gardener’s detailed instructions intimidate you! Experiment – have fun with it – enjoy the warming weather!