Landscape Plan Drawing – Practice Rendering Symbols
by Carolyn Hasenfratz Winkelmann
Late last summer I was asked to take a list of plants that had been chosen for a client and to make a plan drawing to show where they should be installed. I’ve made lots of rough drawings over the years that only I have to understand. Since this was for a client, I consulted a landscaping drawing book and attempted to make one that was more professional and readable to other people. Here is the result.

It got the job done, but it’s crude and I’d like to improve on my landscaping drawing skills. My art degree didn’t include landscaping drawing and there are certain conventions that make landscaping drawings more understandable for the client and for the installers. For planning my own projects and client projects in the the 2020 season, I’m making more detailed drawings of sections of my own yard first. To prepare for that I’m practicing how to draw the various elements individually before I combine them all together.
I don’t own any computer software that is specific to landscaping design. I frequently use Adobe Photoshop and Adobe Illustrator, which I used to prepare a diagram of my yard to start some basic planning and calculate the amount of dirt I wanted to buy for the new planting beds we have been putting in. Over the last few years I’ve also done a lot of adult coloring and art journaling and it’s been really satisfying to pick up the hand-drawing tools again after so many years of focusing mainly on computer graphics. I’m enlarging a version of my yard diagram to 1/4 inch to 1 foot graph paper, and I’m going to practice hand drawing sections in a more professional manner as I work on our garden plan.
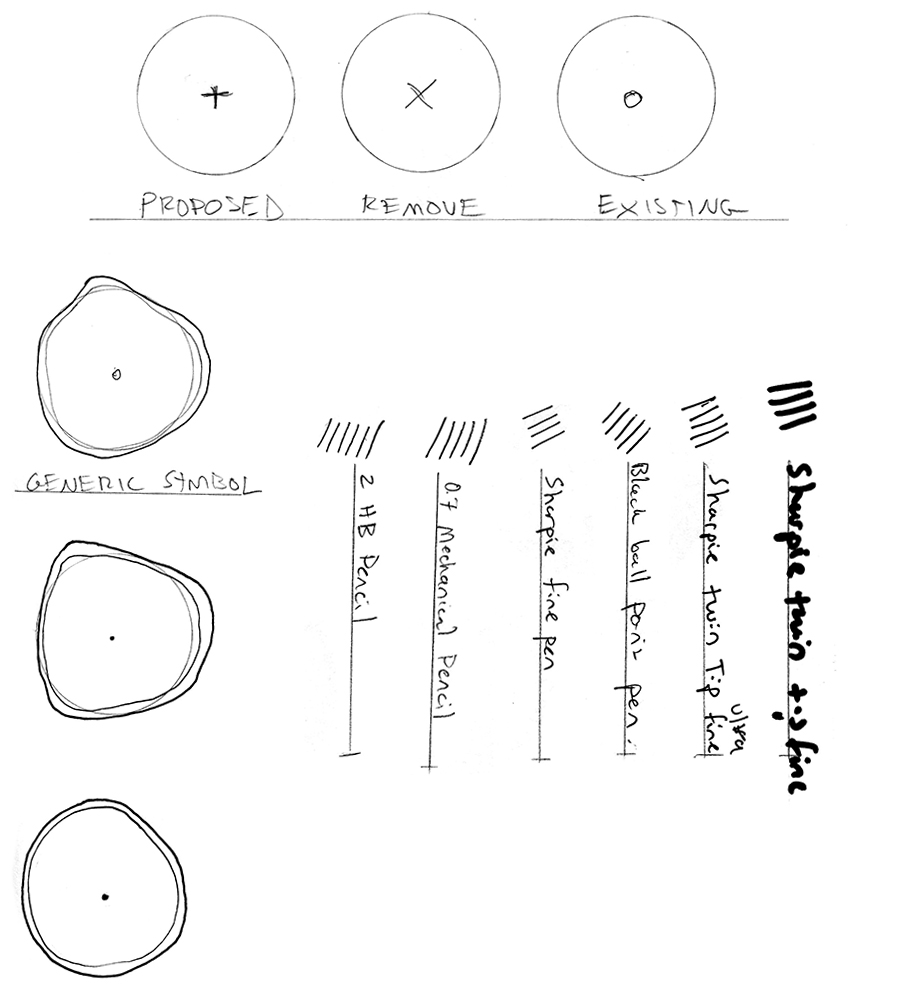
I consulted the book Plan Graphics for the Landscape Designer: 2nd Edition by Tony Bertauski and thought about how to adapt my drawing tools and methods to the techniques shown in the book. I took out my favorite drawing tools and did tests to decide what I would use for my thin line weight, my medium line weight, and my thick line weight. In any kind of art or design, varying the line weight adds a great deal to the liveliness and appeal of a rendering. Then I practiced drawing some generic symbols. Symbols indicate a plant and the dot in the middle shows where the center of the plant will be placed. The outer edge of the symbol represents the mature spread of the plant, so that you can anticipate how the plants will fill in the available space as they grow.

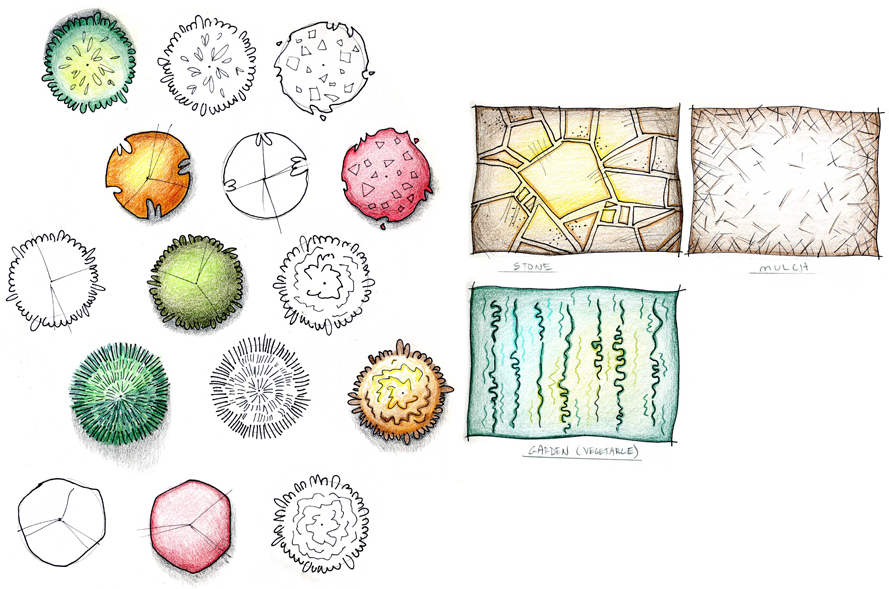
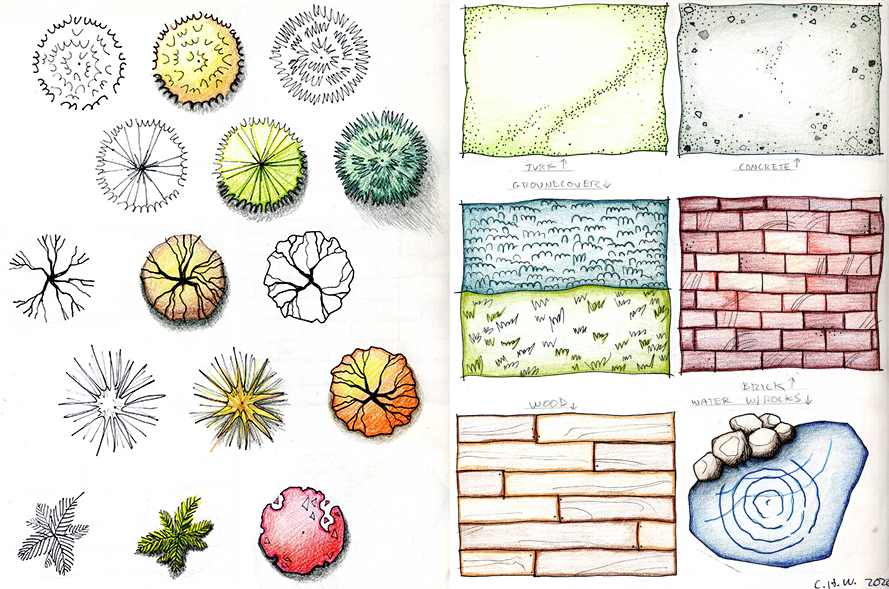
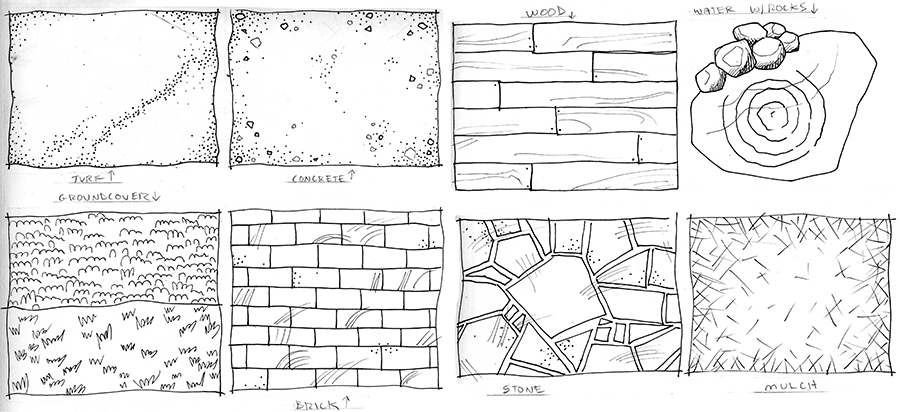
I also practiced drawing textures and non-plant symbols that represent surfaces and features that I anticipate will play a role in our new planting beds, patio and water features. Preliminary markings were made with pencil, then I drew over the pencil lines with two thicknesses of black Sharpie markers and erased the pencil lines. I used a circle template to pencil in accurate circles.
I made two black and white drawings of a variety of plant symbols, then colored one of each in with colored pencils. I’ll keep these sheets as a reference to get ideas for how to render types of plants as I work. Now that I’ve scanned these drawings to use in this article, I also have the option of importing them into Photoshop or Illustrator to use in computer based renderings I might make in the future. That will sure save a lot of drawing time later!


I’m going to practice adhering to many conventions of this style of drawing so that it will be understood by professionals in the industry. It’s also inevitable that some personal style characteristics will be made manifest and I hope at least some of the drawings will become works of art on some level as well as useful guides. These exercises have already had a positive influence on my other art work.
If you are interested in drawing some of your own garden plans, here are some resources I’ve found that might help you out on our Schnarr’s Pinterest site:
Garden and Landscape Planning

One reply on “Landscape Plan Drawing – Practice Rendering Symbols”
[…] Article – Landscape Plan Drawing – Practice Rendering Symbols […]