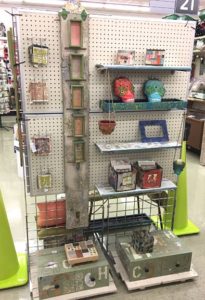
At right is a photo of my display at Schnarr’s Hardware in Webster Groves, Missouri at 40 East Lockwood. You can view my work from October 6 – October 15 2017 as part of the Old Webster Fall Art Walk. Look for the lime green cones outside Schnarr’s and other businesses in Old Webster to see where exhibits for the art walk are located.
One of my favorite things to do is to find interesting salvaged materials and apply my creativity to see what I can make out of them. Don’t get me wrong, a trip to the craft store or hardware store is always a treat but sometimes all-new materials don’t give me the same satisfaction that I get from bringing something old back to life. Some materials I use are hand-me-downs or old items of mine that are no longer useful. If I can’t use a whole object that is being discarded I often scavenge parts from it. I’ve made myself some really nice things out of stuff that I picked up off of the curb on trash day. Garage sales and thrift stores sometimes yield fun supplies and I also like to look for interesting materials at non-profits that specialize in keeping things out of landfills such as Leftovers, Etc. and Perennial.
Do you want some ideas for repurposing materials? I’ve written tutorials about how I made many of the items in the show. For inspiration, check out some of my projects!
Starting on Friday, October 6th, Schnarr’s Hardware in Webster Groves in the Old Webster Business District will host artist and Schnarr’s employee Carolyn Hasenfratz during the Old Webster Fall Art Walk. You can see all different kinds of artwork in various businesses by taking a self-guided walking tour in the area.
On Saturday October 7 and Saturday October 14 from 12-4 pm, Carolyn will be at Schnarr’s in Webster demonstrating art projects you can do with items from a hardware store. On the 7th there will be a demonstration of Stamping and Printing with Found Objects and on the 14th Carolyn will make fall greeting cards while you watch. Carolyn’s display will be viewable when the store is open from October 6 through October 15. Stop by to see examples of things she has made from repurposed and recycled materials such as distressed wood, salvaged hardware, reclaimed ceramic tiles, scrap fabric and much more.
Create a piece of original artwork while learning how to print with found objects. You’ll also learn some basic monoprinting techniques while creating a background for your composition.
Materials and Supplies
Masa printmaking paper
*Scrap plexiglass
*Scrap wood blocks
Scrap chipboard
Scrap mesh
Scrap textured wallpaper
*Acrylic varnish
Used mailing envelopes lined with bubble wrap
*Thumbtacks
Baren (printmaking tool sold at art supply stores)
Printing registration frame (can be built from instructions online)
Small tabletop printing press (sold at art supply stores)
Brayers – hard and soft (sold at art supply stores)
Dye-based rubber stamping ink
*Acrylic paint
Palette knife
Pie plate or other cleaned shallow food container
*Small sponge pieces
*Water container
*Ball point pens
*Rags for cleanup
*Double sided tape
*Painters tape
*Craft/X-acto knife and blades
*Cork pieces
Scrap paper
*Scissors
Recycled plastic file folders
Heat tool (optional)
5 x 7 inch wood blocks
foam from cleaned food containers
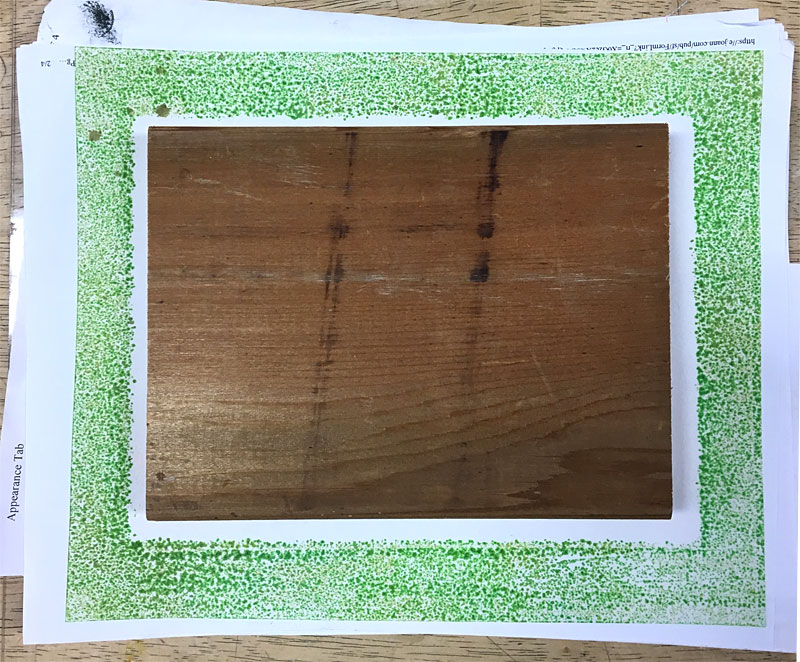
Cut out a piece of scrap paper 8 x 10 inches. In this middle of this page, draw a 5 x 7 inch rectangle. This will be a guide to use while designing and printing.
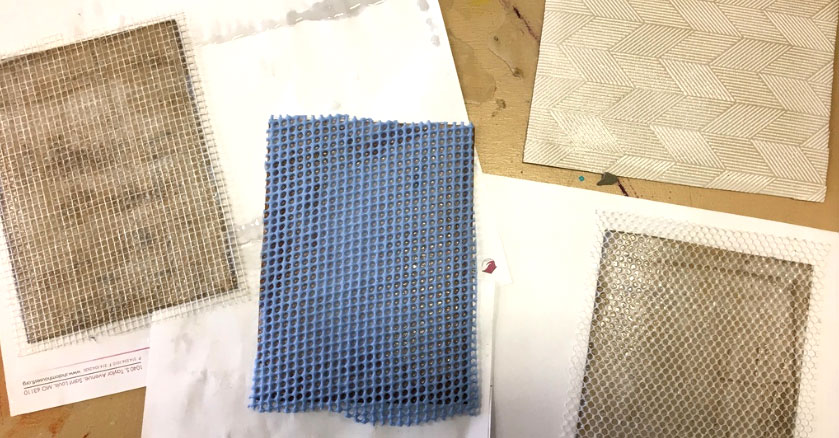
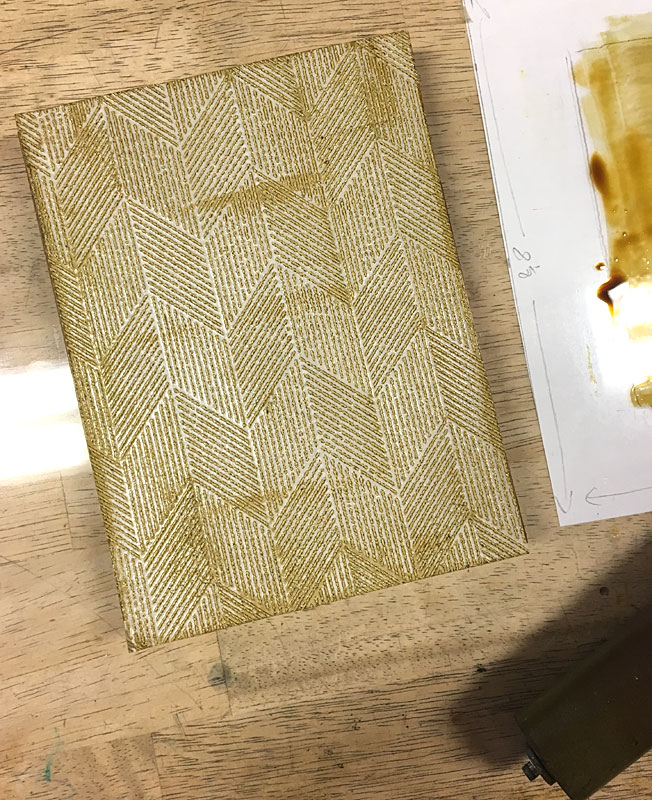
Cut out a few pieces of scrap chipboard the size of the inner rectangle in your schematic, 5 x 7 inches. Using a white glue or wood glue, glue some scrap materials to the front such as mesh placemats, mesh from food packaging or textured wallpaper scraps. After glue is dry, coat the textured surface with acrylic varnish and let dry. This is for durability and so the ink washes off after printing. Trim around the chipboard if needed.
From Masa printmaking paper or some other printmaking paper of your choice, Cut some 8 x 10 inch sheets and some 5 x 7 inch sheets.
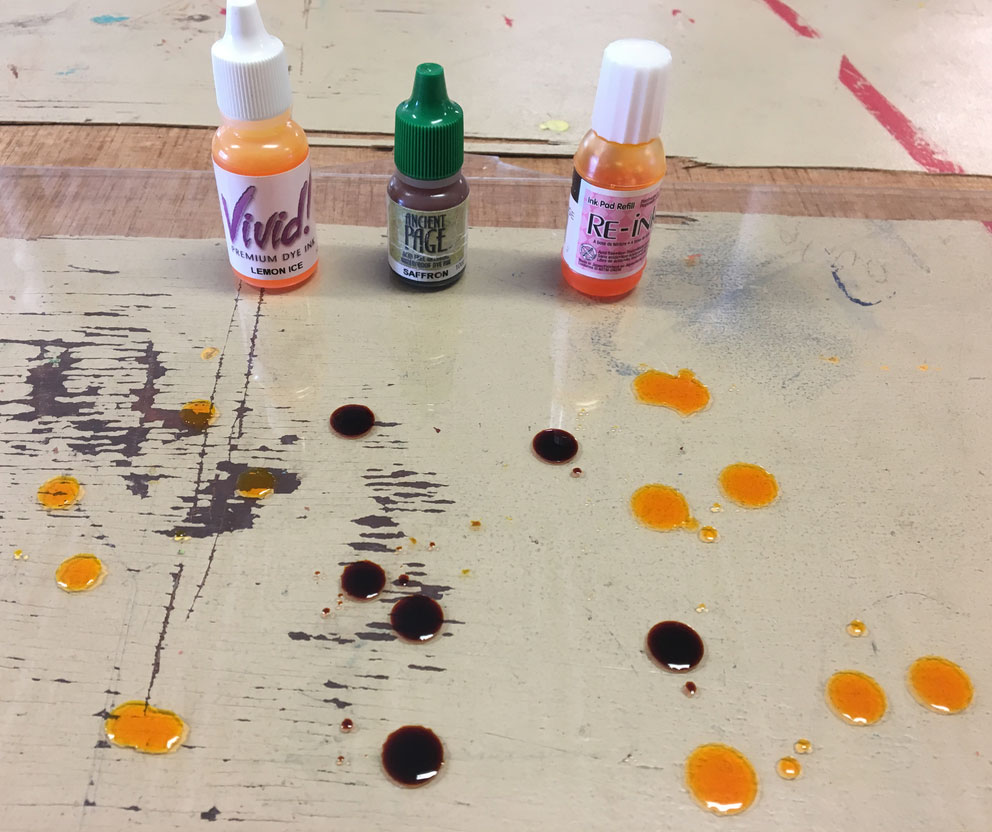
Squirt some light-colored dye-based ink onto a piece of plexiglass. You can use one color or a blend of multiple colors. Roll out an area of color with a brayer that is at least as big as the smaller of your two pieces of paper. If you use plexiglass as a temporary palette and work surface as I did in part of my demo, you can put your schematic drawing under the plexiglass to use as a guide.
Tip: if you use waterproof dye-based ink, you can apply water based media to your design later without smearing or blending the ink.
If you color the image in some way after printing, it is called a hand-colored print. If you have interest, experiment with painting and drawing media, stamping, stenciling or collage to turn your print into a mixed media piece.
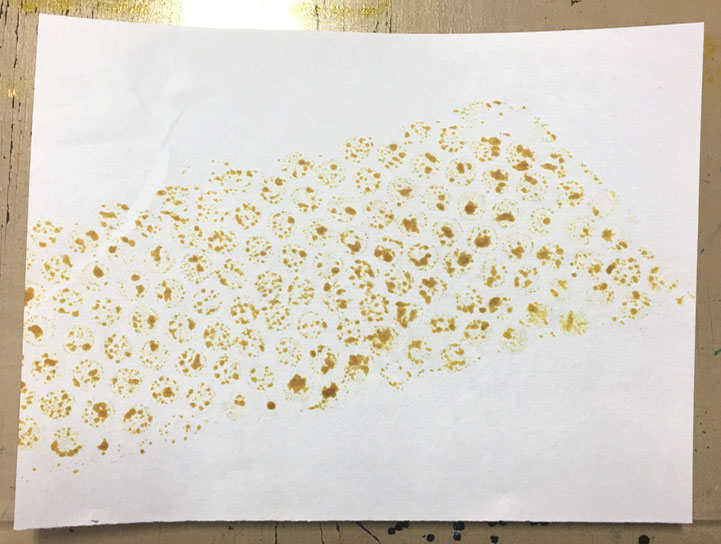
Cut out a shape of your choice from a piece of bubble-wrap lined envelope. Place this shape down on your area of color. Roll over the back of it with a brayer. Lift bubble wrap and set aside with ink still on it. Do not clean the bubble wrap yet.
Take one of your 5 x 7 inch pieces of paper and place it face down on the inked area. The rougher side of Masa paper is considered the face but you can try both sides if you want to see which effect you like better.
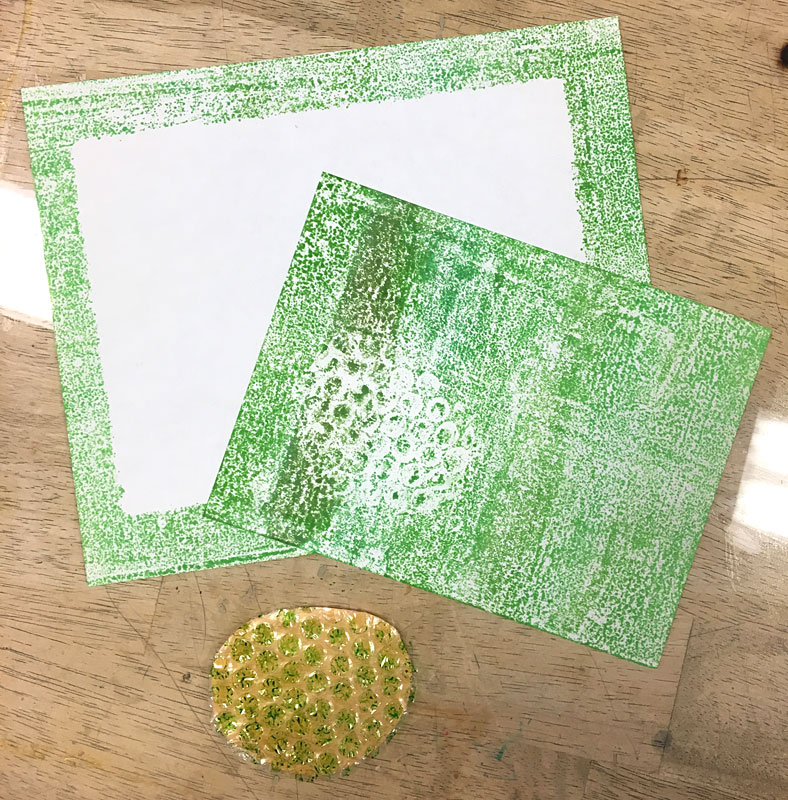
Take one of the 8 x 10 inch pieces of paper and place it face down over the back of the first piece of paper. Put a piece of scrap paper over all and rub with the baren. Lift up your paper pieces. You should now have one small piece with a monoprinted background design on it and a larger piece with a white space in the middle of a monoprinted frame.
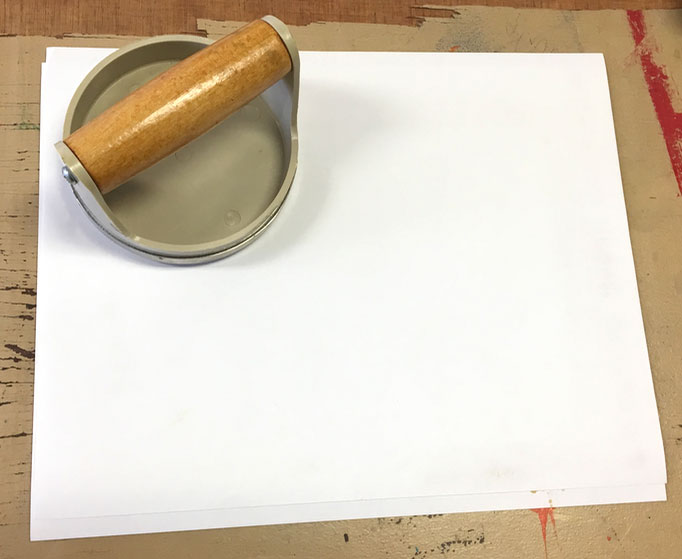
This picture shows a printmaking tool called a baren. It’s used to rub the back of the paper to help the ink transfer to the front of the paper evenly.
The texture of the bubble wrap has been transferred onto the background piece. This is just one way you can make marks in ink that’s been rolled out on a plate. You can draw into it with a rubber stylus, press rubber stamps into it and experiment with a myriad of found objects to see what kinds of marks they make in the ink. A monoprint is a one-off – you don’t have to worry about trying to duplicate it to make an edition.
Tip – you can also use pigment rubber stamping ink or block printing ink for printing. You can get finer details and markings with pigment stamping ink than with dye-based ink. Pigment ink will take longer to dry, however, perhaps several days unless you speed up the drying with a heat tool.
Take another blank piece of paper and place your inked up bubble wrap on it ink side down to the paper. Roll over the back of the bubble wrap piece with a brayer and lift up.
At this stage we have three pieces of paper with different areas printed. Add additional layers of colors and designs. Use increasingly darker colors for subsequent layers to add depth to your piece. To make your design more lively I recommend letting a little bit of white show through in one or more spots as you add layers.
Use a brayer to roll out a slightly darker color of your choice. Choose one of the four blocks of wood with a texture plate taped to the front. Roll some color onto one of the texture plates. To lift ink up, roll fast – to lay ink down, roll slow. Roll in different directions to help get an even application of ink over the whole design.
Tip – do test prints on scrap paper to get a feel for how much ink you need before doing a “good” print.
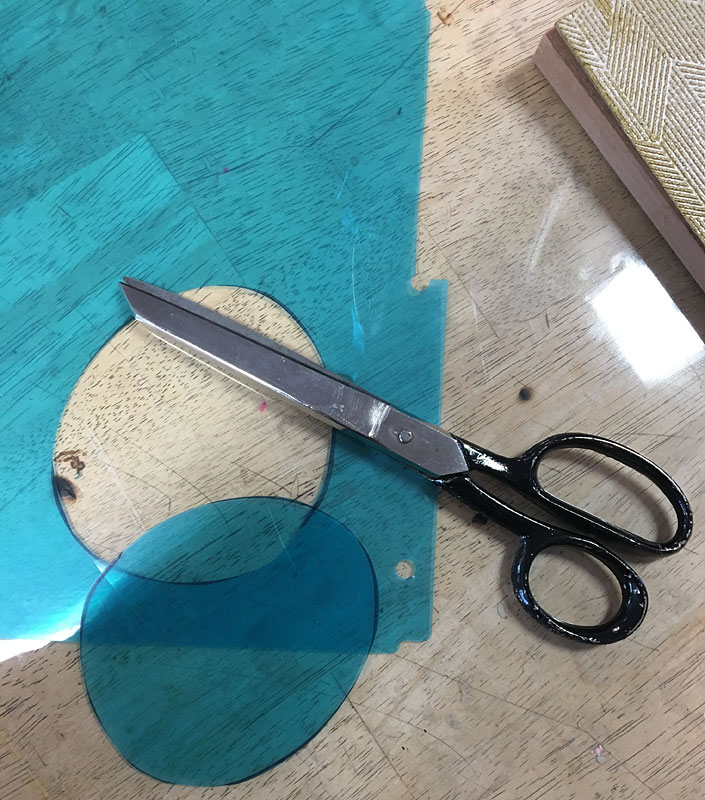
Cut out a shape of your choice from a piece of recycled plastic folder. Use this piece of plastic as a mask if you want to leave any areas unprinted. Slip the mask between printing block and paper when it’s time to print.
How can you print with an inked design mounted on a wood block? Here are some methods to try.
A. By “stamping” with the block – put a stack of old newspaper or scrap paper on your work surface so it has a little “give” – you’ll get a better print that way. Press your block straight down on the paper and apply as much pressure as you can without moving the block. Take care to apply pressure to the edges and center of the block. Lift straight up.
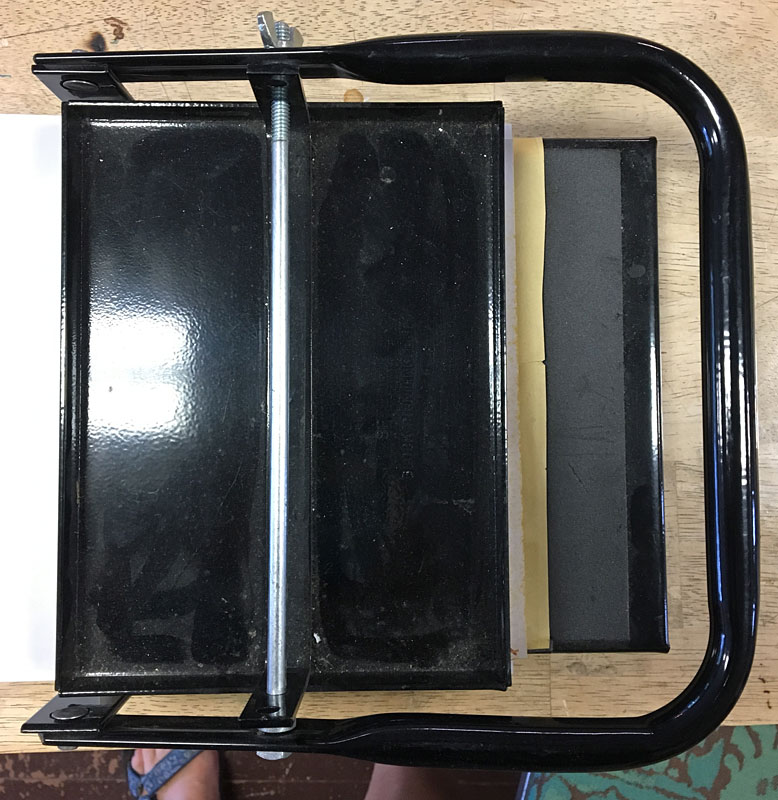
B. With a tabletop printing press – the model shown was purchased from an art supply company.
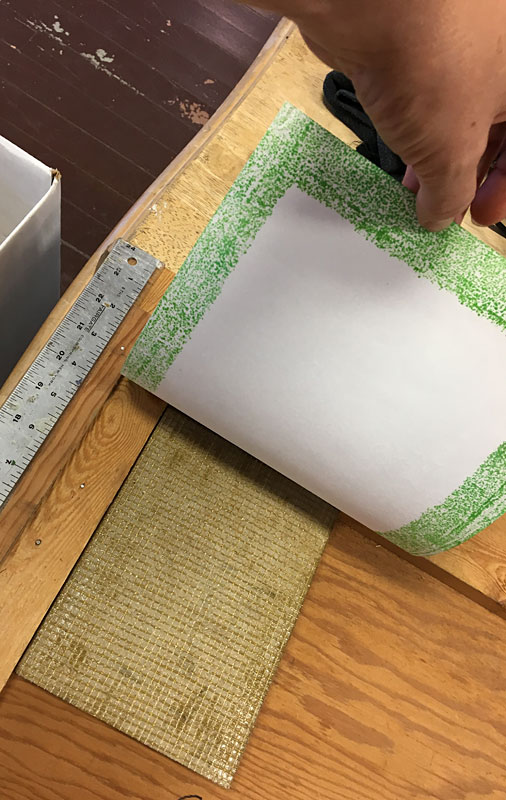
C. With a block printing frame – you can made one for yourself with wood and a big clipboard clip – the ruler built into my sample is optional. These frames are terrific for block print registration and keeping your print from moving while rubbing. Look online for plans if you want to build one. Rub the back of your print with a large spoon or a baren to transfer the ink to the paper. Take care to rub all parts and pay special attention to the middle or edges since those areas tend to get missed.
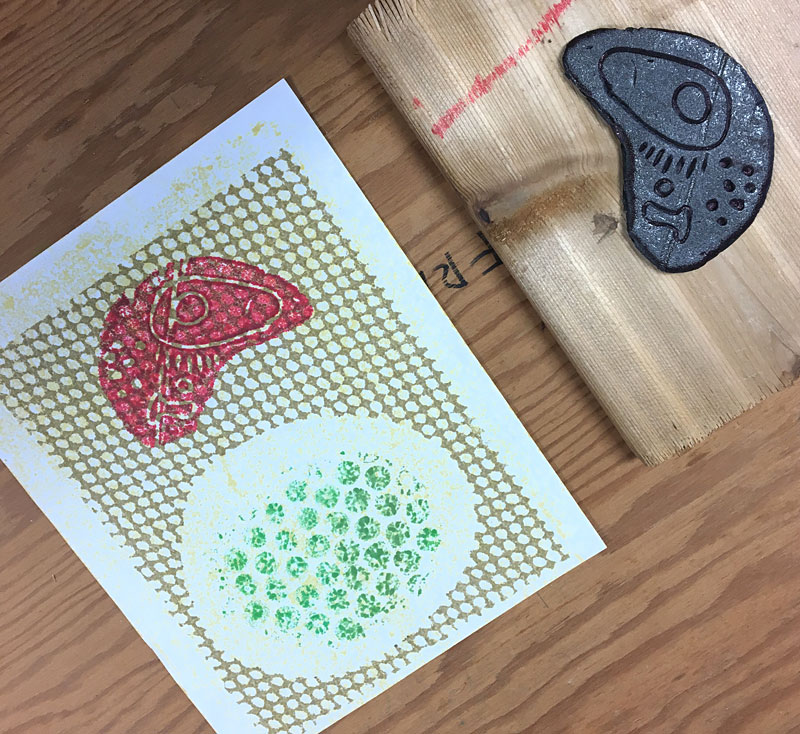
Another way of making a design from a recycled item is to take a piece of scrap foam from a cleaned food tray and cut it to a shape of your choice. Draw into the foam with a ball point pen, keeping in mind that whatever lines you draw will be a negative space that won’t print. Tape this shape to a wood block with double sided tape. Ink the shape and print with the method of your choice.
A very simple way of printing is to take a piece of cork and draw a simple design on it. Cut around it with a craft knife to make a stamp.
Stamp cutting safety tips:
Aim knife blade away from yourself while cutting
Use sharp blades to decrease chance of blade slipping
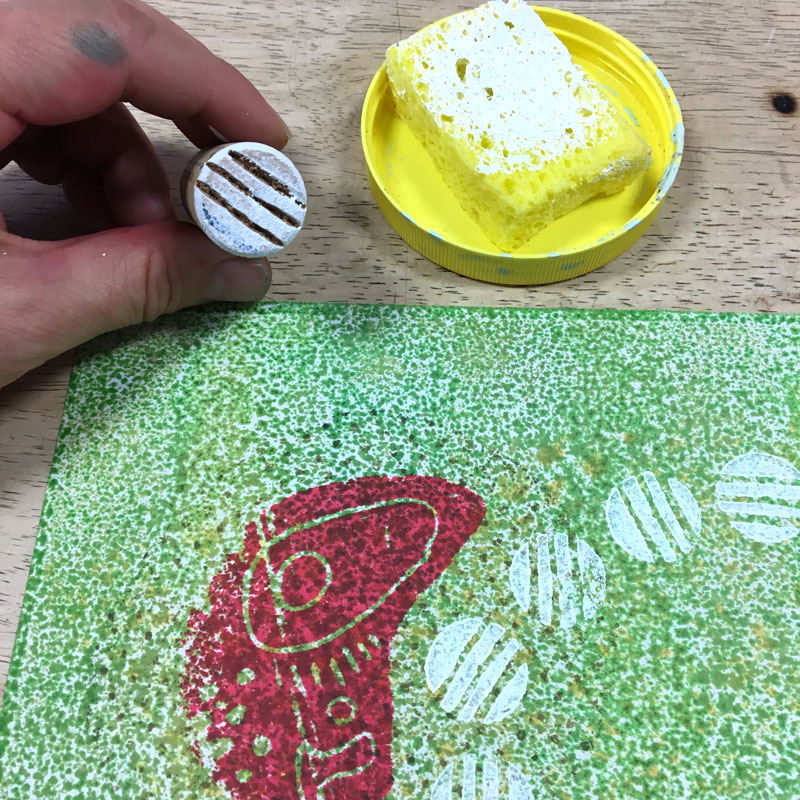
To print with a cork stamp, place a small, slightly damp sponge on a pie plate or in an old lid. Mix up a little acrylic paint of your choice and dab some on the sponge with a palette knife. Acrylic paint is usually fairly opaque unless it is diluted. Small stamps applied with opaque paint are a great way to add a finishing touch to a print made with translucent inks. Press your cork stamp into the sponge and to some test prints on scrap paper. Stamp your cork stamp on your prints.
Tip – Rubber erasers and rubber carving material are also good for making your own stamps. Read my tutorial for instructions – http://www.limegreennews.com/howcarv.html
 At right is a photo of my display at Schnarr’s Hardware in Webster Groves, Missouri at 40 East Lockwood. You can view my work from October 6 – October 15 2017 as part of the Old Webster Fall Art Walk. Look for the lime green cones outside Schnarr’s and other businesses in Old Webster to see where exhibits for the art walk are located.
 Antique Key Necklace
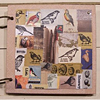 Birding Journal
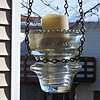 Insulator Votive Candle Lantern
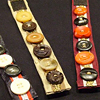 Button Bracelets
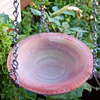 Butterfly Feeder
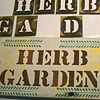 Wood Garden Sign
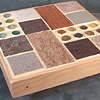 Mosaic Plant Stand
 Dia De Los Muertos Skull
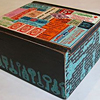 Upcycled Tea Box
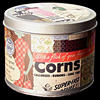 Upcycled Metal Tin
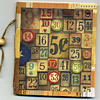 Mini Album
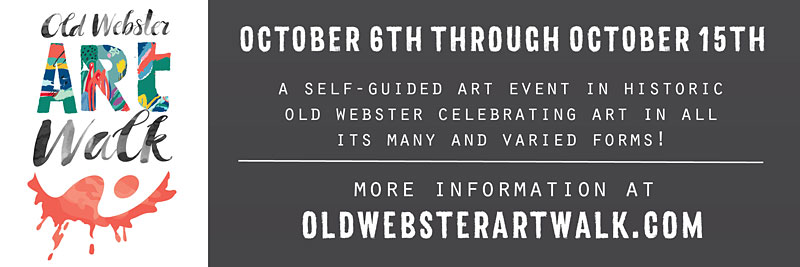
 Create a piece of original artwork while learning how to print with found objects. You’ll also learn some basic monoprinting techniques while creating a background for your composition.