Make a Wood Plant Tray
Materials
*Indicates items available at Schnarr’s
*Piece of 1/2 inch thick wood cut to 4 inches by 13.5 inches (or other size of your choice)
*Wood for the sides of your planter (I used a variety of widths and thicknesses from my scrap pile plus the Schnarr’s scrap pile)
*Wood glue
*Nails
*Water putty
*Masking tape
*Paint
*3/16″ dowel rod
Ball knobs or drawer pulls with 3/16″ holes
*Disposable plastic gloves
*Dust mask for sanding
Tools
*Saw
*Pencil
*Ruler
*Hammer
*Putty knife
*Sandpaper
*Containers for water and mixing
*Paint brushes
Miter clamp
*Drill
*Small drill bit for pilot holes
*3/16″ drill bit
*Hand pruners
Old credit cards
Step 1: Cut a piece of wood that is 1/2 thick to 4 inches by 13.5 inches or to whatever size you want for the bottom piece of your plant tray. I actually used 1/4 inch thick wood in my sample because I had some lying around but you will have an easier time nailing it together if you use 1/2 inch thick wood.
Step 2: Decide where to cut the wood for the sides of the plant tray and mark the pieces with pencil. I made butt joints at the corners for this project so your wood pieces should be as long as the sides of the tray plus the thickness of the wood.
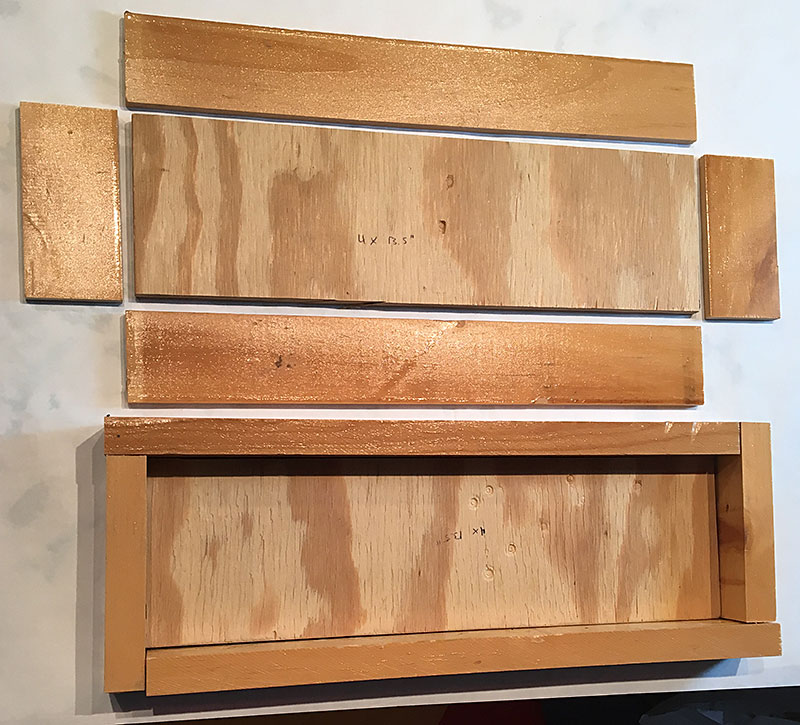
Step 3: Cut the side wood pieces to size and sand the rough edges.
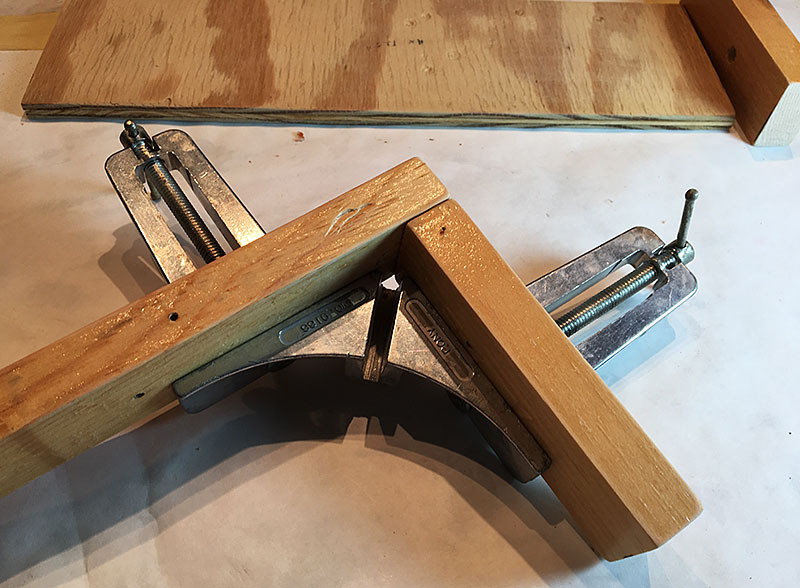
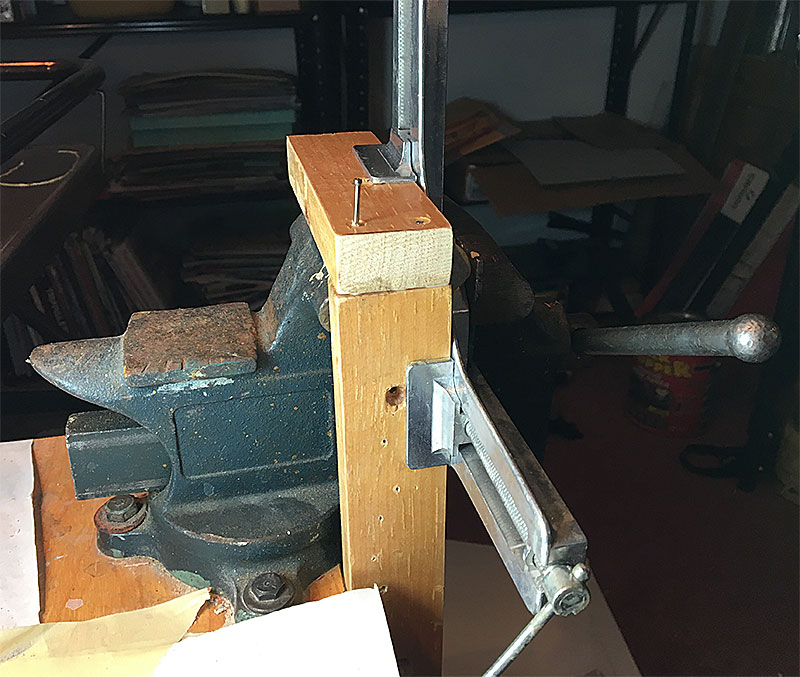
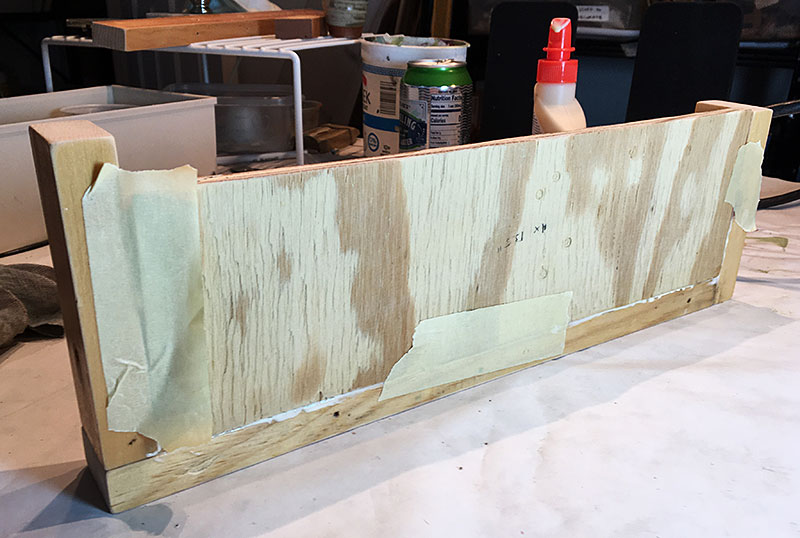
Step 4: Dab on a little wood glue for extra hold as you arrange one of your butt joints in a miter clamp. We’re going to hammer a couple of nails in from the end to give more strength to the joint. Brace the clamped pieces in a vise as shown in my sample or on top of something like a large block of scrap wood. Drill a couple of pilot holes with a small drill bit. The pilot holes help the nail go in straighter and prevent the wood from splitting. Drive in a couple of nails and repeat until you have a three-sided frame assembled with one side open.
Step 5: Now we are going to put the bottom in our tray. Squirt some wood glue on the edges of your bottom piece and slide it into the frame. You can temporarily hold it in place with masking tape as you work. Put the last side on the frame and glue and nail the last two corners.
Step 6: Reinforce the bottom by driving a few nails into each side after drilling pilot holes.
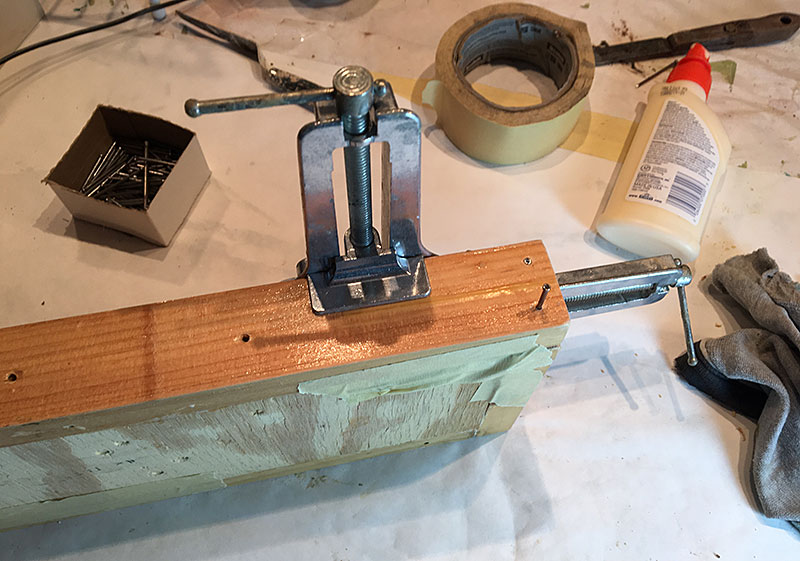
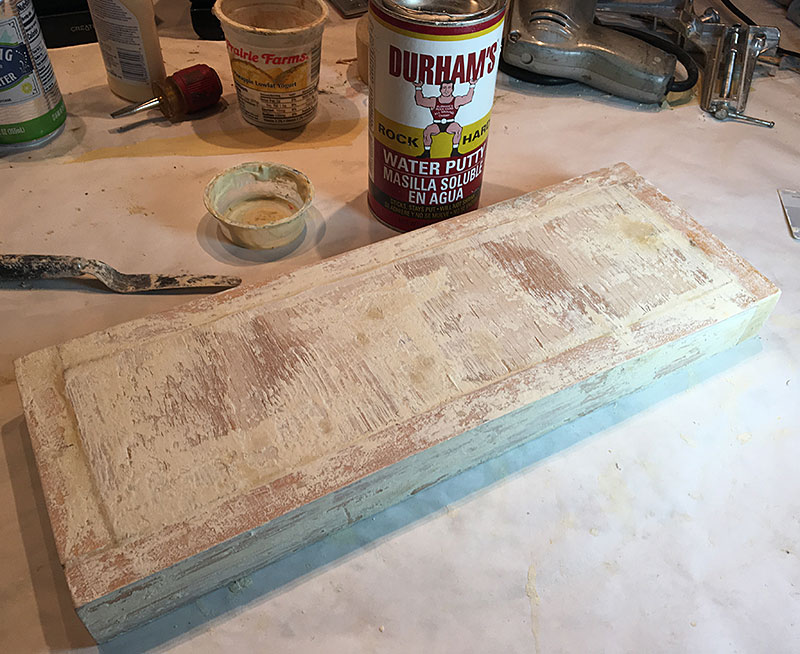
Step 7: Next we’ll fill any cracks or holes with water putty. Since I tend to use a lot of scrap wood that has holes in it for my projects, I often patch the wood with spackling paste, water putty or wood filler. Then I can cover up the patches with paint, decoupage or some other surface treatment. I’m using water putty this time because I want my tray to be leak proof. Water putty dries really hard. In my sample I applied the water putty to the bottom of the tray as well as in the inside seams and anywhere else there were holes in the wood.
Mix a little but of water putty at a time with water until it’s a workable consistency. Put on disposable gloves and smear the putty it into the cracks and crevices you want to fill. Water putty is fairly hard to sand off so before it dries do a really good job of flattening and cleaning up the patches to reduce the amount of sanding you’ll have to do later. Old credit cards are a good tool for scraping away excess putty.
Step 8: After the putty sets up, sand your piece to get rid of rough edges. Wear a dust mask while sanding so you don’t breathe in the particles.
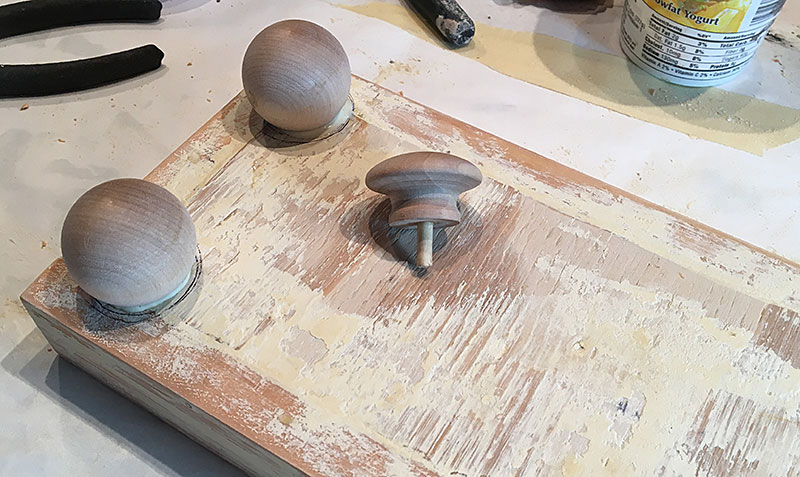
Step 9: Place your feet where you want them on the bottom of the tray and trace around them with pencil. I like to use ball knobs and drawer pulls with 3/16″ holes as feet on a variety of wood pieces. I keep a supply on hand along with 3/16″ pieces of dowel rod to use in joining the feet to the wood. After tracing, set the feet aside and drill a 3/16″ hole where each foot will go.
Step 10: Cut pieces of dowel rod to size so that they fit into the hole in the feet and into the holes you drilled in the bottom of the tray without leaving gaps. If you have a pair of hand pruners, I’ve found they do a quick and easy job cutting the dowel rod pieces to size. Put a dab of wood glue into each hole, push the dowel rod piece into the feet and then push the feet into the drilled holes.
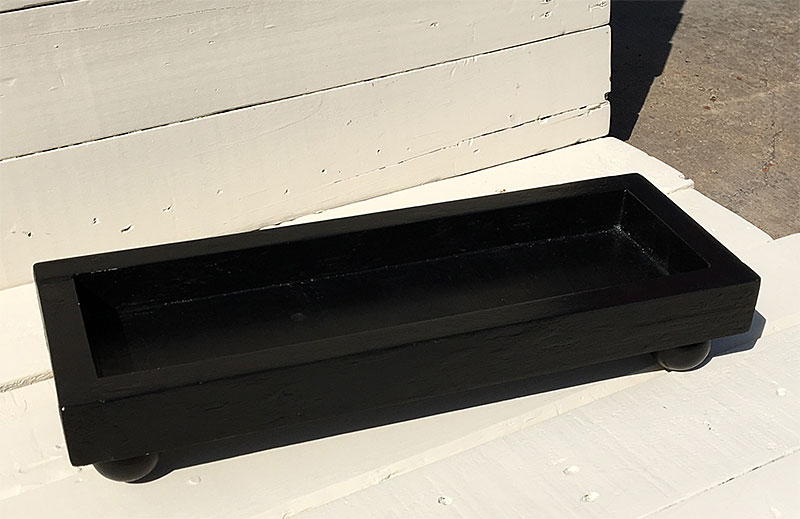
When the putty is dry enough, your tray is ready to paint and decorate. Add some extra varnish to the inside of the tray to help make it waterproof for plant pots.
One reply on “Make a Wood Plant Tray”
[…] Read more on the Schnarr’s blog: Make a Wood Plant Tray […]