Make a Wood Storage Crate
by Carolyn Hasenfratz Winkelmann
This project was inspired by a card box my husband Tom and I made for our nautical-themed wedding reception last summer. I made a lot of stuff for the wedding and I was literally working until the last minute at the church figuring out how to attach my homemade veil to my head! I finished my jewelry the day before! Two or three nights before the wedding I had set aside time to assemble this card box. I had already cut the pieces out but needed to nail it together and decorate it. I came down with what I thought was a terrible cold and I asked Tom to assemble the box for me. He came through and did a great job! I recovered quickly from whatever I had (if I actually really had anything other than stress) and was feeling fine the next day so I did the decoration in a hurry.
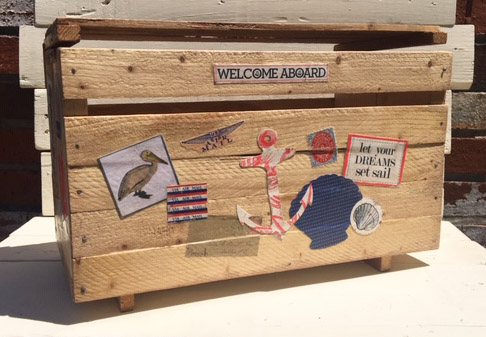
I painted the above crate-style card box with a wash of brown paint to “antique” after applying decoupage decoration. For the following storage crate project I’m going to experiment with applying a light colored paint wash on unsanded wood to be sanded, assembled and then decorated with stencils.
Materials
*Six pieces of lath wood (1 1/2″) cut to 12″ long
*Two pieces of 1/2″ thick wood cut to 4 1/4″ x 3 1/2″
*Tiny nails
*Paint rags
*Wood glue
*Acrylic paint
*Painters tape or masking tape
Tools
*Pencil
*Ruler
*Saw
*Paintbrush
*Paint water container and small paint mixing container
*Drill
*Tiny drill bit
*Hammer
Small sponges (or *large sponges cut up)
*Assorted stencils (available at Schnarr’s Webster)
*indicates items available at Schnarr’s
If you want a more refined look you can substitute lattice strips for lath wood, they are similar in size and thickness with a smoother surface and fewer irregularities.
Instructions
1. Paint your wood pieces with a wash of white acrylic paint. A wash is paint with water added to thin it out and make it semi-translucent.
2. After paint is dry, sand the rough spots with all-purpose sandpaper and sand the edges to bring out a little more of the natural wood color. The effect of sanding the edges is subtle but adds a lot of visual interest.
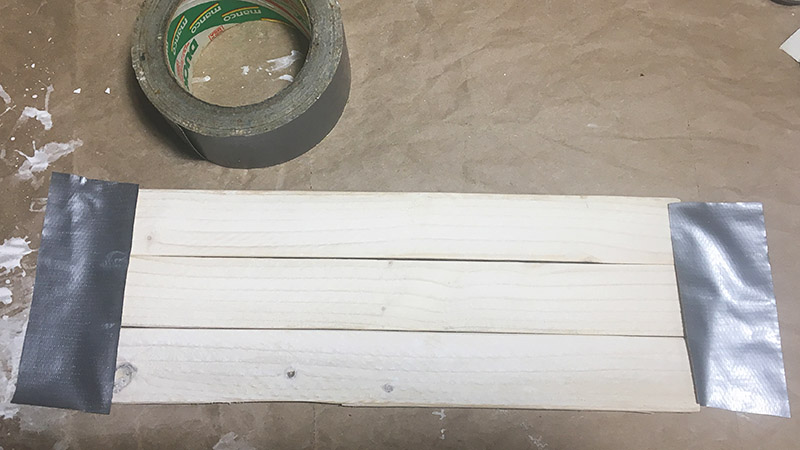
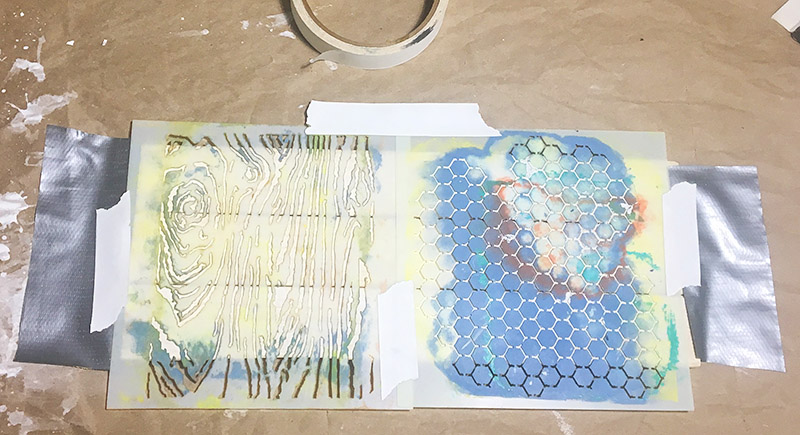
3. Take three of the 12″ slats at a time and tape them down onto your work surface. Normally for stenciling projects I use painters tape or masking tape, but I was out of both so in the pictures you will see me using duct tape and drafting tape as substitutes.
4. Tape stencils in place on your work surface over the wood. Choose a light to medium color of paint and dab the paint through the stencil openings with a sponge.
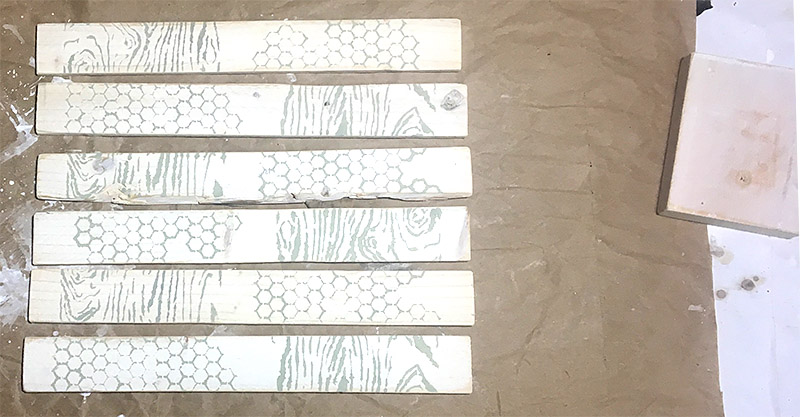
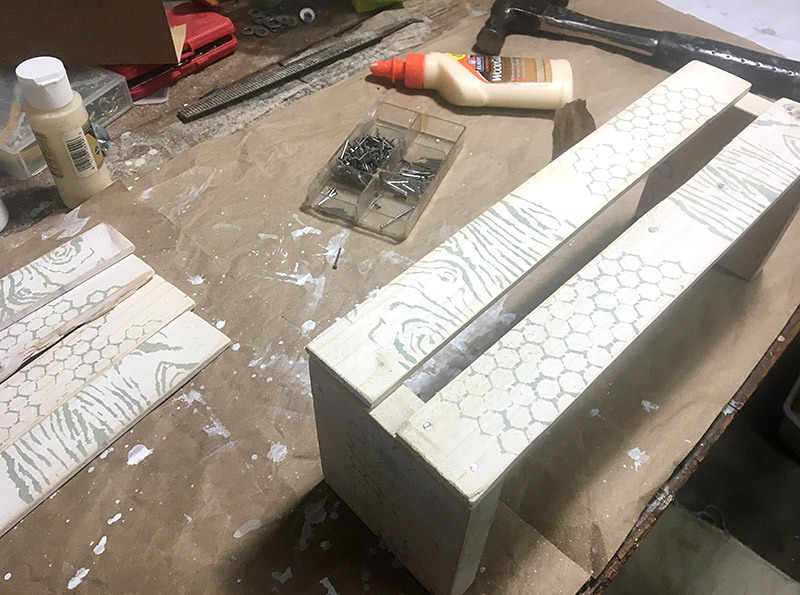
5. Lift the stencils and let the paint dry. I rearranged my wood pieces on the work surface to see what they would look like if I turned every other piece around 180 degrees so that the stencil designs would be scrambled. I liked the effect!
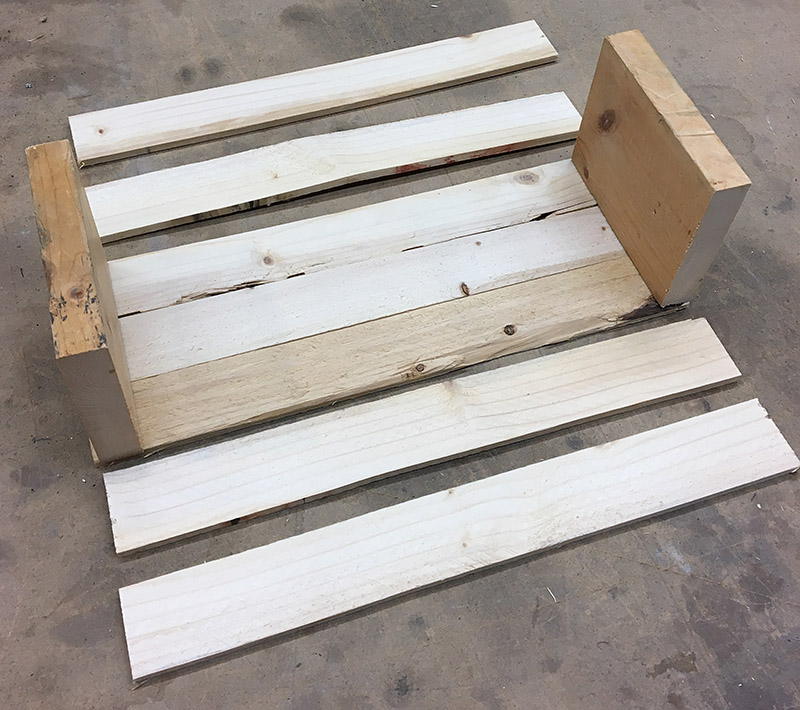
6. Set the two end blocks on your work surface and position two side slats across them. Add a dab of wood glue at each point where the wood will connect for extra strength.
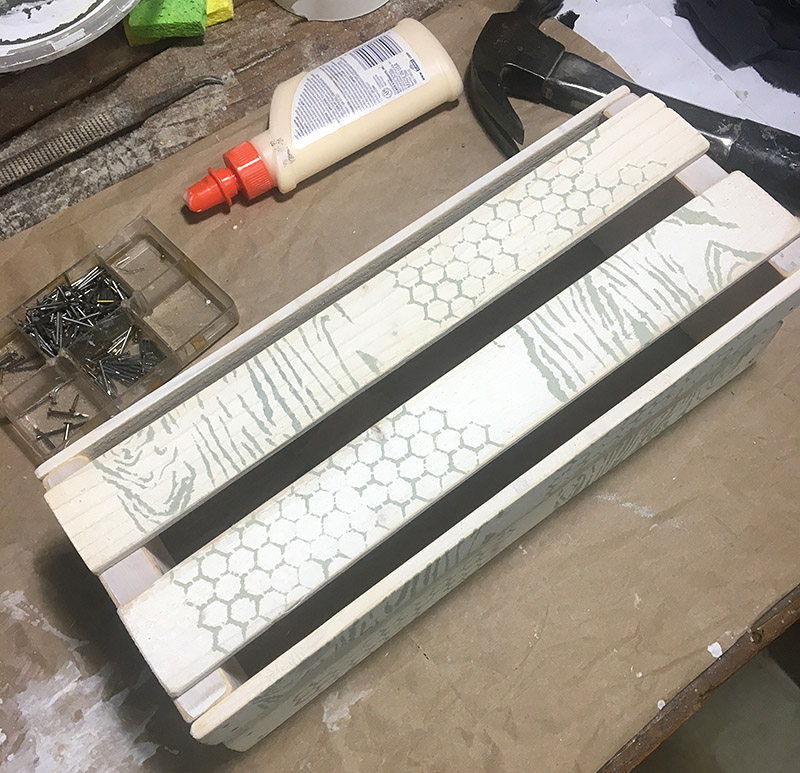
7. Drill two pilot holes at the end of each wood strip with the tiny drill bit. Hammer in nails and repeat until both wood strips are nailed securely to the end blocks. Repeat steps 6 and 7 for the other side, then for the bottom.
I only stenciled one side of these wood strips, so for the bottom of the crate I ended up turning them over so you could see the design if you looked down into the box. You could stencil both sides or have the design facing down while the box is in use if you prefer.
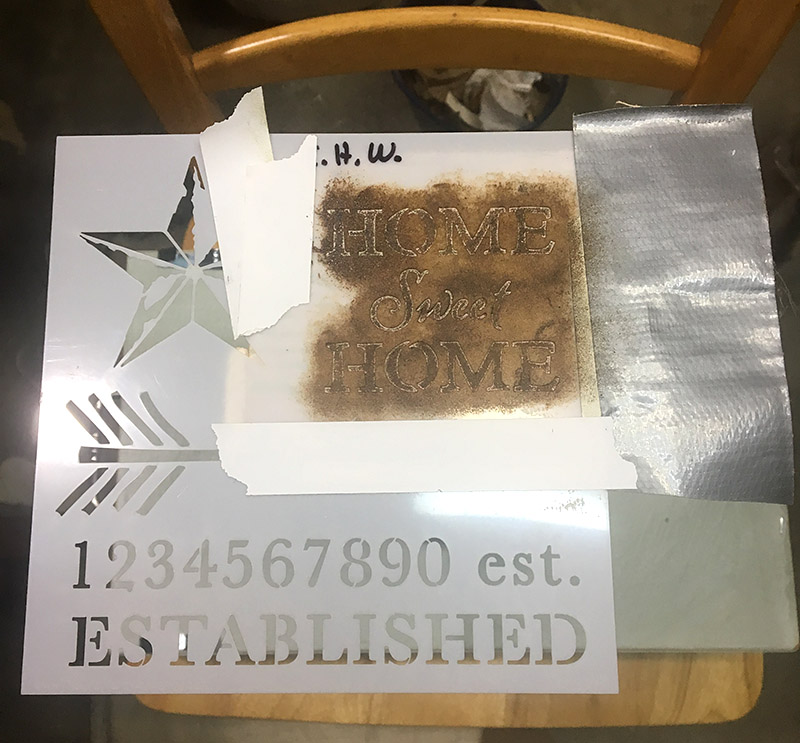
8. Next I stenciled onto each end of the crate. I set the crate on end on a chair to bring it to a more convenient work height. Tape the stencil down and if necessary, mask out the parts of the template you don’t want to use with tape. It’s easy to accidentally sponge into areas you didn’t intend.
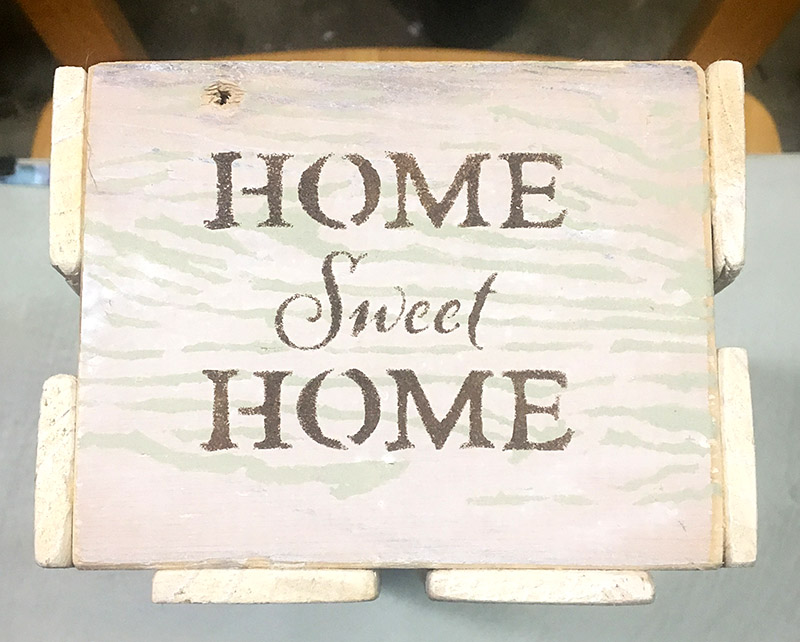
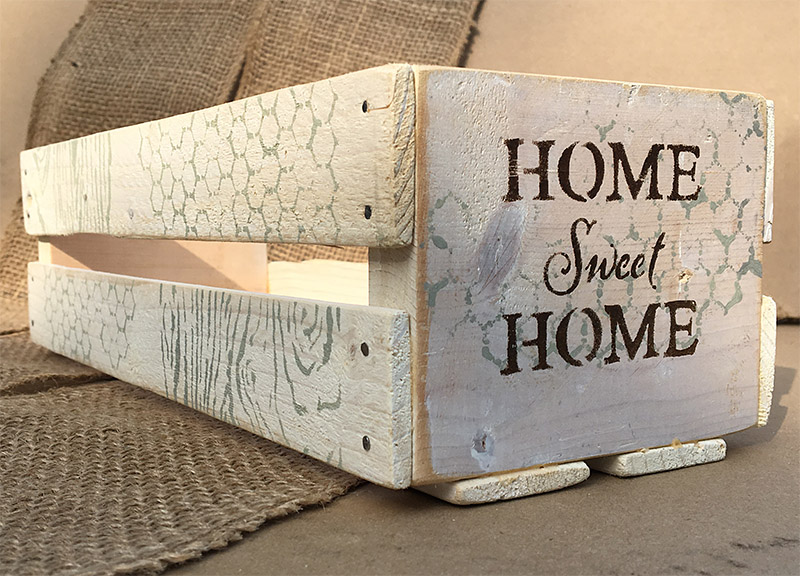
Here is what one of the ends looks like after the final stencil. You can really change the look of the crate depending on what stencils and colors you choose to use. You can also make crates in different sizes to fit different needs. They make great baskets for gift giving too. Have fun!
Additional Resources
If you want some more home decor inspiration here are some additional resources:
Spring 2019 Mood Board – yes spring 2019 is done by now but a lot of these looks have been around for several years and should be good for inspiration for awhile yet. There is a lot of raw wood, tin, burlap and looks that you could easily recreate with hardware store items.
Summer 2019 Mood Board – wood, tin, twine, rope, seaglass, oh yeah!
