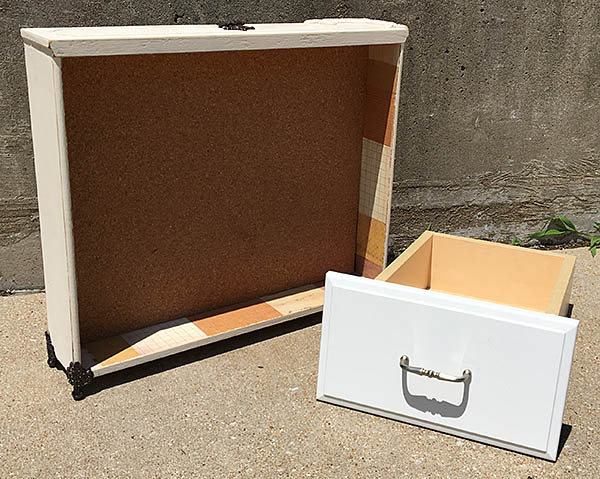
Make a Shadow Box from an Old Drawer
Tools and Materials
*indicates available at Schnarr’s Hardware
Salvaged old drawer
*Screwdrivers
*Sandpaper
*Dust Mask
*Rags
*Wood filler (optional)
*Burlap, canvas or other solid color fabric
*Corrugated cardboard
*Glue gun
*Hot glue sticks
*Paint
*Paint brushes
*Water and mixing containers for paint
Metal ruler
Self-healing cutting mat
*Utility knife and sharp blades
Pencil
*Hanging hardware
*Small nails
*Hammer
Strong masking tape
Fabric Scissors
*Modge Podge
Squeegee tool
Decorative paper
Memorabilia, collectibles or decorations to display in the box
Optional – heat tool to speed up drying
Instructions:
1. Remove the old hardware from the drawer. You may or may not want to put some of it back on the box later so set the aside for now.
2. Sand the drawer inside and out. This is to give the surface a good “tooth” for paint and glue to adhere to. Wear a dust mask while sanding because you never know what is in old, reused wood. Wipe off the dust with a damp rag.
3. Now it’s time to take a look at your box and think about what you want to display in it. Do you want to set it on a table top or hang it on the wall? What is the look of the room it’s going to be in? Do you want to match the colors or decor in the room? When you have the answers to those questions you can start designing. Here are some pictures of past shadow boxes I have made with descriptions of what I did to give you ideas: Crafts By Carolyn: Shadow Boxes.
I’m going to use my sample shadow box as table decor for my upcoming wedding reception and later I’ll hang it on a wall. So I’m going to give mine a base to stand on as well as hanging hardware on the back. I’m going to paint the inside and the outside of the box to go with my color scheme (navy, coral, lime green and white), add a padded background for pinning small photos, add paper accents to the outside edges of the box with decoupage.
4. If the hardware you removed from your drawer left holes or if there are any other holes or uneven spots in the wood that bother you, if you want you can use wood filler to disguise them before you paint. In my case I like the distressed look and it goes well with the casual nautical theme I’m using so I chose not to fill in any holes in my sample box.
5. Paint your box on all sides and all edges with the exception of the inside back which will be covered. If you are hanging the box on the wall you can also skip painting the back. I’m going to display mine in the round first so I will paint the back.
There are some good painting tips for a distressed piece of wood in my previous article Stencil a Sofa Shelf Made From Distressed Wood.
6. While your paint is drying, you can start to work on your cardboard and fabric background. First measure the opening in your box. Then cut two pieces of corrugated cardboard to that size using a metal ruler, utility knife and self healing cutting mat.
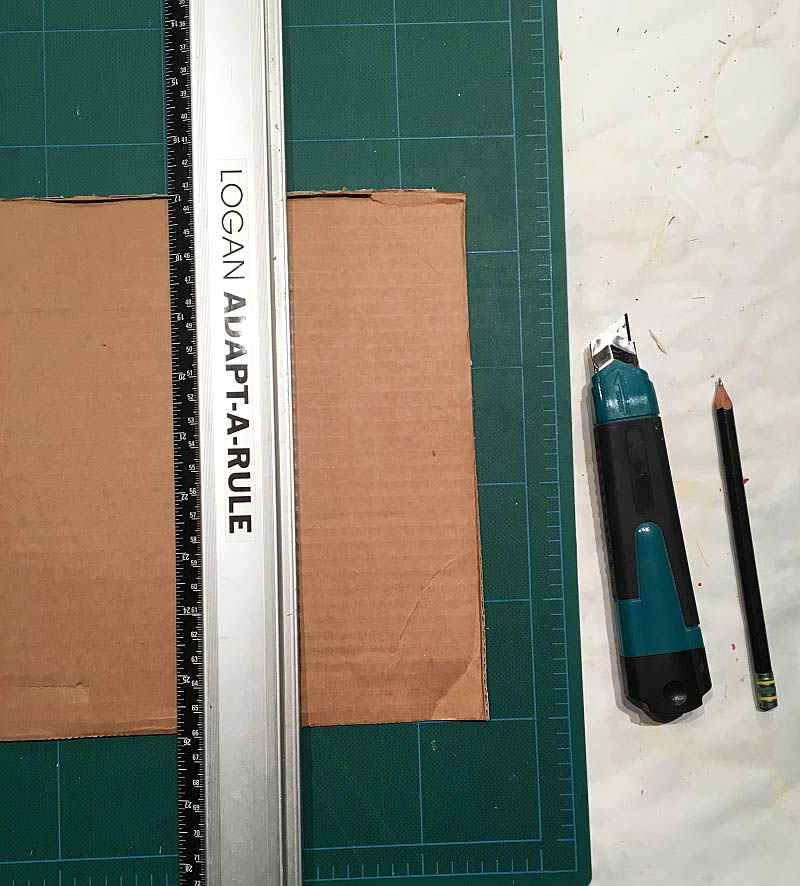
There are some good cutting safety tips in my previous article Introduction to Letterboxing – Part II – Making a Personal Logbook.
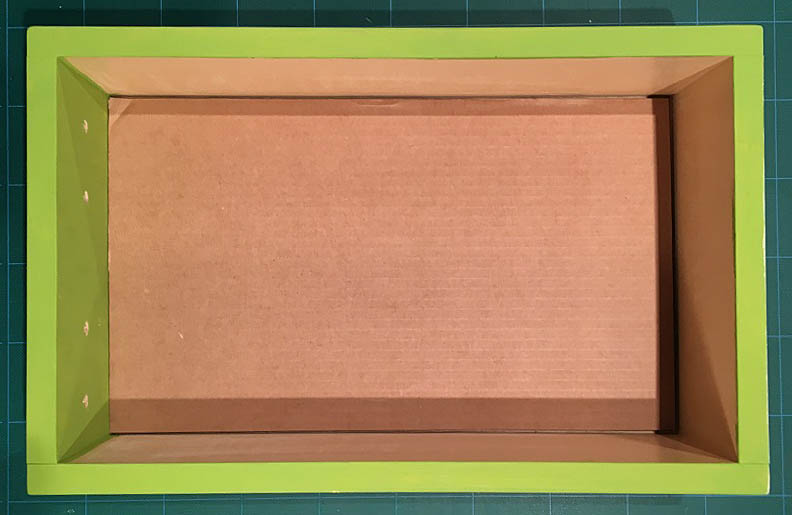
Make sure your paint is dry enough to handle, then slip your cardboard pieces into the box and press them to the back to make sure they fit ok. If they are a little too large, cut them down bit by bit until they fit. Allow for a tiny bit of extra room around the edge to accommodate the fabric wrapping.
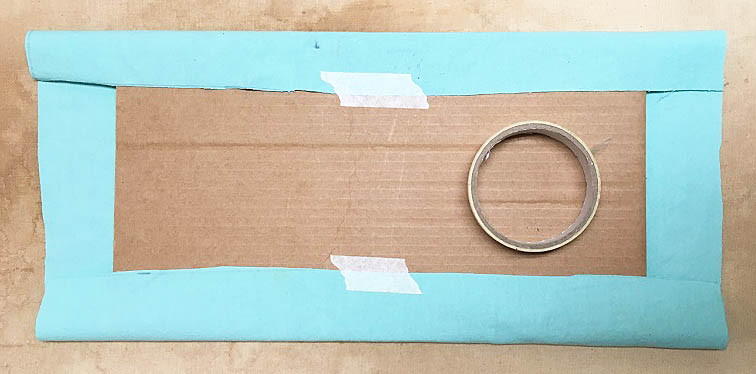
7. Select a piece of fabric to wrap the front of your cardboard pieces. Lay one of the cardboard pieces down on the fabric and draw around it with pencil. Add another two inches allowance to each side and draw lines. This is so you have enough fabric to grab onto, pull, and tape. Cut out your fabric along the outer line you just drew.
8. Heat up your glue gun and get your masking tape ready. Put a few dots of hot glue between your two pieces of cardboard and press together. If any sides of your cardboard have printing on them, make sure the printing is toward the inside or the back or it might show through the fabric.
9. If I were not applying hot glue to join this back to the inside back of the box, I would not expect the masking tape to be able to do all of the heavy lifting here in keeping this fabric on the board in the long term, but along with a generous application of the hot glue it will be adequate.
Fold fabric over the back and tape down. Start in the middle of each side and pull in the opposite side as you go and work your way out, pulling tight as you go.
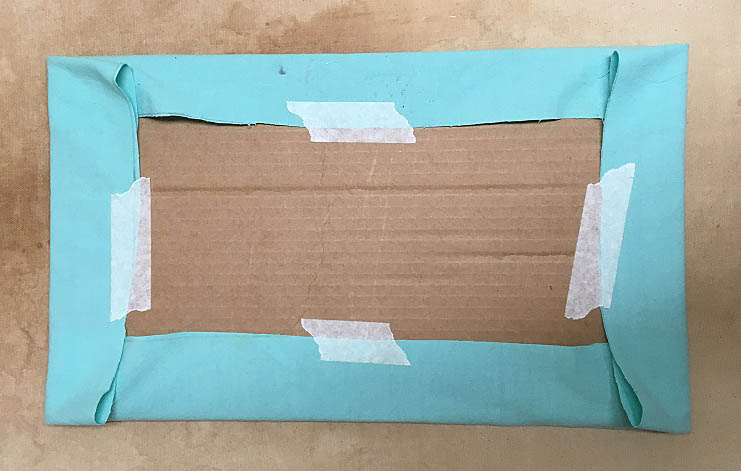
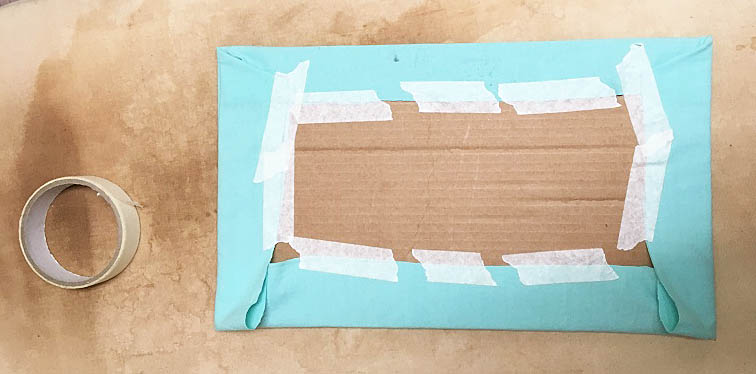
10. You’ll want your hot glue gun nice and hot for this next step so a lot comes out. Apply a generous amount of hot glue around the inside back edge of the box and a little bit in the middle. Press the fabric-wrapped cardboard in good side up and hold for several seconds until the hot glue is holding it flat.
11. Apply decoupage decoration to the outside edges of the box if desired.
12. Attach hanging hardware or feet to the box with small nails.
Watch video of this project at Schnarr’s Hardware in Webster Groves:
