Categories
Gardening Lawns Sustainability

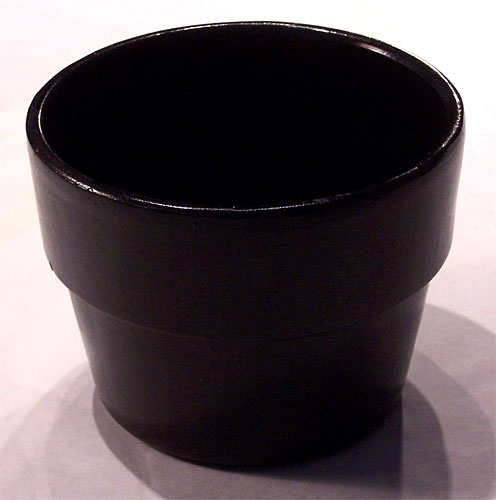
Garden Maintenance in Wet Weather

Garden Maintenance in Wet Weather

The unusually wet weather we’ve been having in the St. Louis area is causing my garden to flourish like never before – for now. In periods of heavy rain you should check your garden and yard for possible detrimental effects. Here are some things to look for.

1. Check and see if your mulch is washing away. If it is, replace it quickly so that the next rainstorm doesn’t wash your soil away.

2. Make sure plant roots haven’t been exposed. Replace the soil around them if that’s the case.

3. Heavy rains can wash away fertilizer – reapply compost and organic fertilizer. The reason I recommend organic fertilizer is that chemical fertilizer is likely to wash away and harm bodies of water that storm runoff washes into. Also if you are not sure how much fertilizer is needed to make up the loss, plants can’t be harmed as easily by excess organic fertilizer as by excess chemical fertilizer, so there is less chance of problems caused by over-feeding.

Here is some more information if you would like to learn more about organic fertilizers:

Benefits of Organic Fertilizers: An Overview

The basic NPK of Organic Fertilizers

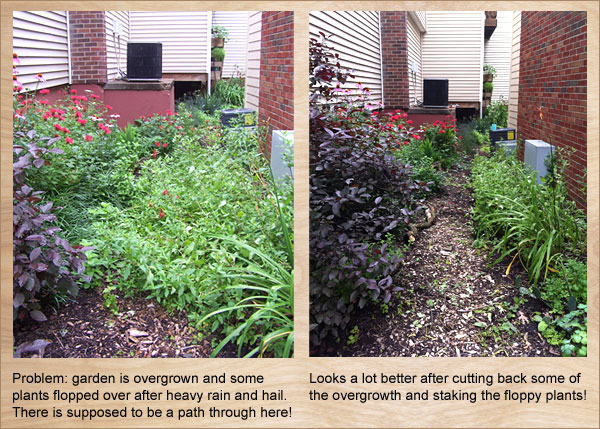
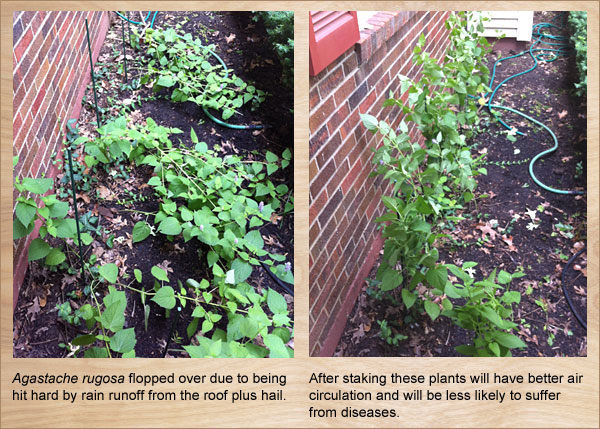
4. Do any plants need staking? Since I garden in part shade, it’s not uncommon for some of my plants to lean a bit because they are reaching for more sun, but some are leaning far too much due to being beaten down by storms and need some help. Stakes are not the most attractive things but green stakes and green twine, available at Schnarr’s, help the appearance considerably. Organic fertilizers build stronger plants, according the article “Benefits of Organic Fertilizers: An Overview” on the Dave’s Garden web site, so that is one way to prevent having to do so much staking in the future.

Gardenn maintenance may include cutting back and staking plants

5. Wet weather plus a crowded garden is a recipe for possible fungus problems on your plants. Inspect your plants for signs of fungus and treat the problem if you have to. You might consider thinning plants out or moving container plants farther apart until things dry a bit to facilitate air circulation. Wet weather is kind to transplants, so if you want to do some thinning and start a new bed with the excess plants or give them away to a gardening friend, wet times could be a good opportunity.

Garden maintenance may include staking plants damaged by rain and hail

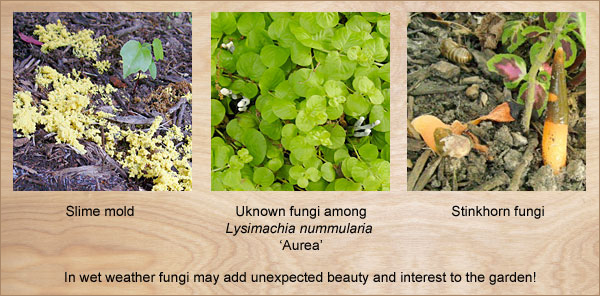
6. Is your mulch becoming a growing medium for mushrooms and other fungi? Since I use a lot of wood chip mulch, I frequently encounter interesting fungal growths in my garden and with wet weather we are likely to see more than usual. When I see one, I try to find out what it is before I decide if it needs to be controlled. My favorite mycology reference site is Tom Volk’s Fungi.

Garden maintenance may iclude monitoring surprise fungi in the garden

If the fungus doesn’t need to be controlled, my usual practice is to leave it alone since I find the variety of fungi fascinating and beautiful. If you have pets or children, health concerns, or a fungus that is harmful to plants, you may decide control is necessary. While I’m a fan of eating wild foods if I am sure of what it is, I have never eaten a mushroom from my garden no matter how delicious it looks. I am not a mycologist or skilled forager – I recommend only harvesting mushrooms or any wild foods with expert help since the consequences of making a mistake can be catastrophic.

7. Are any spots in your yard becoming a breeding ground for mosquitoes? Check saucers, bird baths, containers, wheelbarrows and anything in your yard that can collect water. You can dump the water, treat it with a mosquito dunk, add a bubbler (mosquitoes prefer still water) or add fish to eat the larvae if that’s feasible. Bats and dragonflies are excellent mosquito predators. Making your yard more hospitable to those species is a great way to increase mosquito defense.

8. Do you see any drainage problems in your yard? Heavy rain can reveal opportunities to improve how water flows across your property. Since I live in a condo, I only have the ability to address small-scale issues – if you have a large-scale problem come into Schnarr’s to talk to our knowledgeable staff. If we can’t address the problem we can recommend an expert to consult. Small-scale problems in my own garden usually consist of spots where excess erosion happens or water tends to puddle due to how rainfall drains off my building. If you are interested in adding a butterfly puddling area, bog garden, rain garden or water feature to your yard, a spot that already collects water is a great place to consider building it. Most of those options are not available to me because of where I live, so I like to control erosion and puddling by digging small trenches to interrupt the water flow and filling them in with lava rock. You can use any kind of gravel for this, but I like lava rock because it fertilizes the soil as it breaks down and the porous nature of the rock provides some natural water filtering capacity. I can extend the trenches to reach areas that I want to get more water and if I cover them up with mulch or plant over them the appearance is harmonious with the rest of the garden.

Such trenches can also become a decorative feature, like these two examples:

Stone and brick used to drain downspout

Ornamental dry creek bed

One puddling problem I had a few years ago was caused by a leak in my soaker hose. The resulting puddle was threatening my neighbor’s air conditioner so I fixed the issue with a gravel filled-trench – that was a quicker solution than digging up the whole hose out of the trench it was in and it bought me time to address the leaking soaker hose later.

Be sure to consult the Missouri One Call system before doing any digging!

I don’t know if a rain chain is particularly functional, but if it adds to your enjoyment of the rainfall why not make one?
Creative DIY Rain Chains

9. If water is puddling around plants and those plants are not of a type that can tolerate such conditions, you can create holes around them with a garden fork to help the water drain away so the roots don’t rot.

If you have a problem area that needs a long-term solution and you don’t want some kind of water-loving garden feature there, you can try moving the plants and building a raised bed in the spot. Fill it with soil that contains a lot of organic matter and soil amendments that facilitate drainage, such as sand or ground up lava rock. Apply organic matter to the surface as well – that will attract earthworms whose burrows will help the water drain. See how much water your new bed tends to accumulate then plant appropriately. The Missouri Botanical Garden plant finder is a great tool for helping to find appropriate plants for special conditions.

Excess rain can be aggravating and destructive, but wet conditions can also be an opportunity to make improvements or add new interesting features. Walk your garden
and yard, observe the effects of rain and see if you get any good ideas!
Categories
DIY Gardening Home Decor Upcycling

Terra-Cotta Mosaic Planter

Terra-Cotta Mosaic Planter

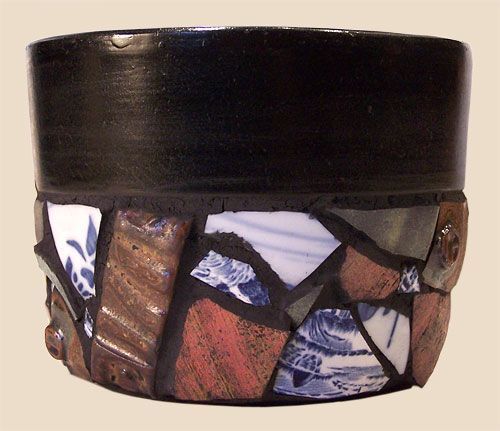
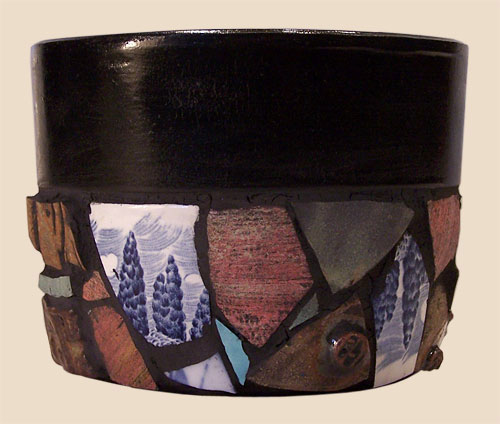
Finished mosaic terra cotta planter

You can make a plain terra cotta planter more interesting with ceramic tile pieces!

What You’ll Need

Terra Cotta planter
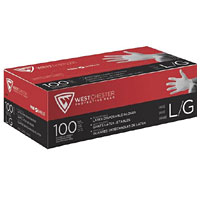
Disposable latex or vinyl gloves
Paintbrush
Black oil-based waterproof enamel paint or color of your choice
Paint thinner
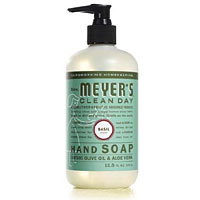
Liquid soap in a pump-top dispenser
Rags (you’ll need several)
Tile cement
Small putty knife
Old plastic lid
Small plastic tray
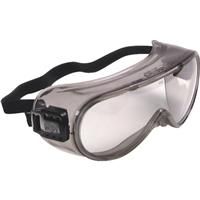
Eye goggles
Broken up ceramic pieces or tiles
Tile grout
Heavy leather gloves
Hammer
Optional – tile nippers
Optional – abrasive sponge
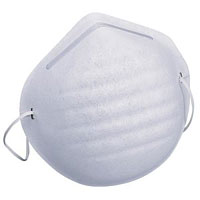
Optional – dust mask
Optional – cement pigment
Tile and grout sealer
Small bucket of water

1. Whether your terra cotta planter is new or you’re upcycling an old one, be sure it is thoroughly clean and dry.

2. Put on disposable gloves and paint the planter inside and out. You will probably need two coats to cover completely. The reason for painting the planter is to keep water from seeping through the wall of the planter and weakening the applied tile pieces. Normally the porous nature of terra cotta is desirable but in this case it would harm the durability of the tile work so we’re sealing the surface. If you need a refresher on how to clean up oil-based paint and care for your brushes, here are some tips:

How to Clean Oil Paint from Paint Brushes

Cleaning Brushes

If you want to avoid having to clean up oil-based paint, you can substitute water-based paint. Your finished project might be less durable but if you choose a good quality high-gloss water-based enamel paint that should help. I used black paint in my samples because I wanted it to match the black tile grout that I used in my demo. You can choose different paint and grout colors if you want. Painting the pot in sections and letting it dry while resting on the unpainted portion helps you do a neater job. You’ll need to let the paint dry between coats.

Terra cotta pot painted with black enamel

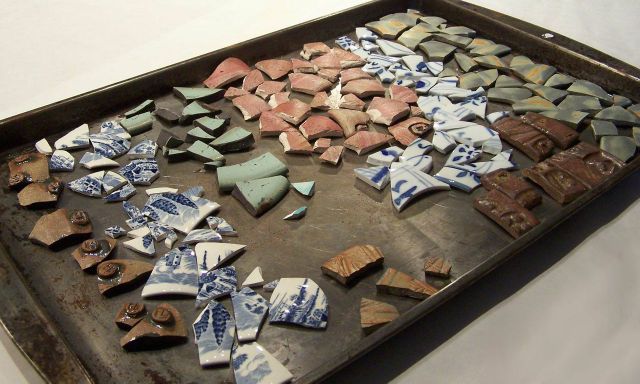
3. While you are waiting for the paint to dry, you can start getting your tiles ready. What are some good sources of tiles?

  • Break up old broken ceramic items into smaller pieces. One way is to wrap pieces in an old towel and smash them with a hammer. Wear leather gloves and goggles when you do this to protect yourself from sharp pieces. For more refined shaping of small pieces, you can cut them with tile nippers. The broken edges can and will cut you if mishandled so be careful! If any pieces are unacceptably sharp, you can try filing them or smoothing them on a grinding wheel.
  • A teacher/artist resource recycling center – a lot of the tiles I’ve accumulated for my projects came from Leftover’s, Etc. (http://www.leftoversetc.com/)
  • If you have access to a ceramics studio, you can make your own tile pieces – see this tutorial of mine to learn how to get started – http://carolynsstampstore.com/catalog/mosaic_table_top_with_textured_clay_tiles.php.
  • Commission a local ceramic artist to make some tiles for you.
  • By far the most convenient and quick way to get tiles is to purchase them from a craft or tile dealer. Craft dealers also sometimes have glass tiles and faux seaglass which is well worth some experimentation.


Broken ceramic pieces ready to install on plant pot
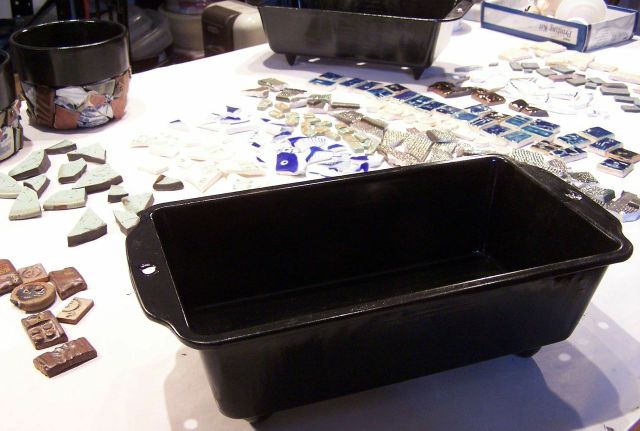
Painted bread pan with tiles ready to install

This photo shows more prepared tile pieces along with some metal bread pans painted and ready for tile application. The bread pans were rusty and/or afflicted with peeling non-stick coating so I decided to upcycle them. I sanded and cleaned them thoroughly before applying paint to make sure the paint would stick. You can try this with a variety of old metal containers – I’ve made a mosaic tile planter out of an old metal roasting pan as well.

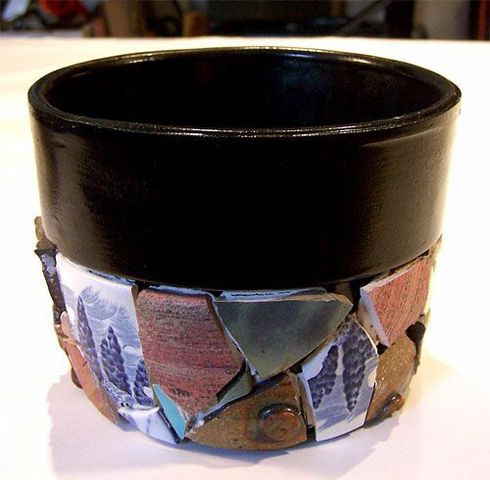
4. Cover the lower portion of the planter with tile pieces. You can attempt to follow a planned design or use a random arrangement like I did in my samples. On an old lid, put out a small portion of tile cement, about as much as you can use in 15 minutes. Put a small dab on the back of each tile and press in place. If you are using pieces of varying thicknesses as I am, it will be easier to grout later if you try to even up the tile height by putting more cement on the thinner pieces.

Plant pot before applying grout

5. Let the tile cement dry thoroughly – see instructions on the package for how much time this is.

6. When it’s dry you’re ready to apply grout. I chose to use black grout to match the black paint on the pot. You can use any color of grout that you want, but it will probably look better if the grout and paint colors match. If you don’t find grout in your preferred color, it’s possible to tint grout with cement pigments. If you decide to do this wear a dust mask while mixing. Be sure to mix up a large enough batch to complete the whole project because it might be difficult to mix the exact same color twice unless you measure the materials very carefully. Grouting is very messy, especially with dark colors. I recommend you wear old clothes and protect your work surface and floor. Have plenty of clean rags on hand and a small bucket of water for cleanup. Don’t be surprised if you need a bath when you’re done!

7. Put some grout in a small plastic tray, such as one left over from a microwave dinner. Add water until it’s about the consistency of soft cream cheese – a little at a time to make sure you don’t add too much. Stir it with your putty knife as you add the water. Try to only mix up small amounts at a time so it does not start to set up before you’ve applied it.

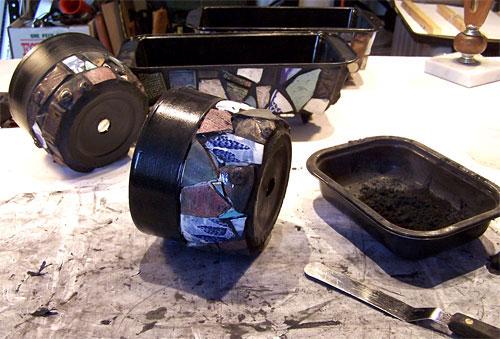
Put on your disposable gloves, and use a rag to pick up a portion of tile cement. Smear it around to fill the cracks between tiles. The rags will help protect your hands from sharp pieces so always make sure there is a rag between your hand and the pot. The thin disposable gloves will protect your hands from being irritated, dried out or discolored by the grout, but alone they will not protect you from cuts.

Applying tile grout.

After one section of the pot is grouted, go back over it with a succession of fresh rags to remove the grout from the surface of the tiles. Dampen the rag with a little water toward the end to get them really cleaned off if needed. If you can’t get them all the way clean with rags only, try an abrasive sponge. This step takes a lot of patience, you will probably have to wipe each section several times, especially when using a dark grout color like I did in my sample. It’s also a rewarding step, because you can start to see how your design will turn out!

Repeat this process until the whole pot is grouted and cleaned.

Be careful not to dispose of any grout in your sink – it could clog the drain. Dispose of any rags that are really soaked with grout – I put mine in the compost. If some are only slightly dirty, you may be able to re-use them by rinsing them in a bucket of water. If you do that, dump the dirty water out in the yard, don’t put it down the drain.

7. Let the grout dry, then apply tile and grout sealer. You’re done!

Finished mosaic terra cotta planter

I recommend bringing this type of planter inside for the winter if you use it outdoors, subjecting it to the freeze-thaw cycle is probably not good for durability.

Available at Schnarr’s:

Leather Work Gloves


Leather Work Gloves

Dust Mask
Dust Mask

Protective Goggles

Protective Goggles

Hammer


Hammer
Mrs. Meyers Hand Soap

Disposable Latex Gloves

Disposable Latex Gloves

Tile Nippers


Tile Nippers


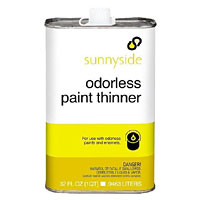
Odorless Paint Thinner

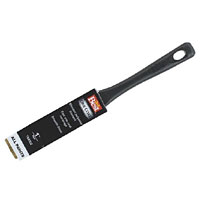
Paint Brusht

Paint Brush

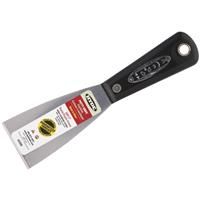
Putty Knife


Putty Knife

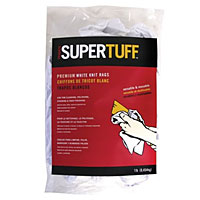
Cloth Rags
Cloth Rags

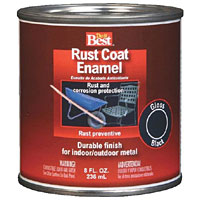
Rust Control Enamel

Rust Control Enamel
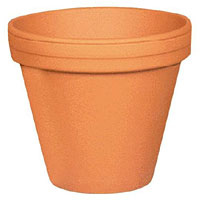
Terra Cotta Plant Pot


Terra Cotta Plant Pot

Tile and Grout Sealer

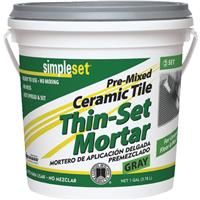
SimpleSet Pre-Mixed Ceramic Tile Thin-Set Mortar

SimpleSet Pre-Mixed Ceramic Tile Thin-Set Mortar

Polyblend Sanded Tile Grout


Polyblend Sanded Tile Grout