Make a Garden Sign Out of a Recycled Produce Crate
What you’ll need:
Thin wood produce crate
Sturdy screwdriver or pry tool*
Saw*
Wide masking tape*
Paint*
Paintbrush*
Decorative stencils
Optional: Letter and number stencils*
Sponge or sponge brushes*
Temporary palette (freezer paper* or old plastic lid)
Drill*
Hammer*
Outdoor varnish*
Nails*
Brads*
*Available at Schnarr’s
In a previous article I described stenciling with paint on a wood garden sign. That works great if you don’t want a lot of small words but I found myself in need of some new garden signs that would require a lot of text on them. I decided to find a way to computer generate the text and put it on a weatherproof sign. In the past I had purchased produce from a co-op and had saved a couple of the thin wood crates thinking they would be useful for garden markers of some kind. I decided to make small signs from this wood and print out my text on clear acetate and attach that to the signs with brads.
I have some special gardening challenges where I live. I want to have a Permaculture garden. Different people will define Permaculture slightly different ways but the easiest way I can explain it is that I want to manage my garden in a way that works with nature instead of fighting it in order to save both labor and money. Surrounding my condo are large Oak trees which deposit mass quantities of leaves each season. The types of plants that thrive under trees are adapted to grow in the conditions created by a yearly deposit of leaf litter which is not removed but left to decay in place. However since I live in a condo, the leaves are removed by the groundskeepers which causes a lot of problems. I have mostly perennial plants which are not intended to be replaced each year. The leaf blowers make the plants look bent and bedraggled, as if they’d just been power-washed. The plants need the winter protection provided by leaves, so I have more die-off than I should. Leaf litter helps soil retain moisture and most shade-adapted plants like moist soil. When the naturally provided soil protection is stripped off, the soil dries out too much. I can see why a plant seller would be happy about this, but I’m a plant consumer and I’d rather keep the ones I have rather than keep buying new ones! To keep plants alive I have to water more which costs the condo complex money. I can and do put down mulch, but the leaf blowers blow a lot of it into the lawn which doesn’t help either my garden or the lawn to look it’s best.
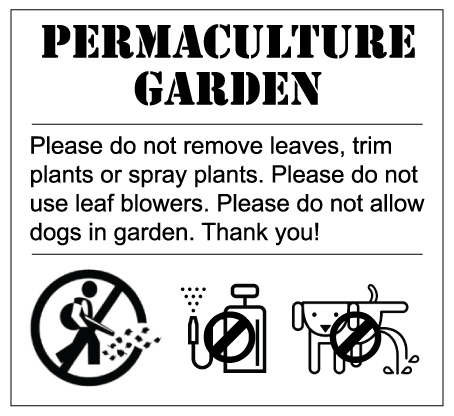
I think my garden would look a lot better and be healthier and require less maintenance if the groundskeepers would leave it alone. I have explained the situation to the condo management and they have agreed to let me deal with the leaves myself this season and keep the leaf blowers away as an experiment. Getting the agreement is one major step forward, getting the groundskeepers to comply will be another challenge. I don’t expect the groundskeepers to remember which is my garden, there are around 1,500 units where I live. So I obtained permission to install six signs to place around my garden which would read: “PERMACULTURE GARDEN. Please do not remove leaves, trim plants, or spray plants. Please do not use leaf blowers. Please do not allow dogs in garden. Thank you!” I worked this text out in computer graphics software and for good measure added icons to represent no leaf blowers, no spray and no peeing dogs. I looked online for the graphics and was amused by how many choices of “No leaf blowers” icons there are! I must not be the only person who finds they interfere with my gardening techniques.
These signs will have to be somewhat prominent to be seen, so I tried to make them as attractive as possible and harmonious with my gardening style. First I pried apart the salvaged wood produce crates to get the wood pieces, then I cut them into 8 inch long sections. For each sign I placed two pieces together and held them together in the back with a piece of wide masking tape. This created a roughly square sign (8 x 7.5 inches).
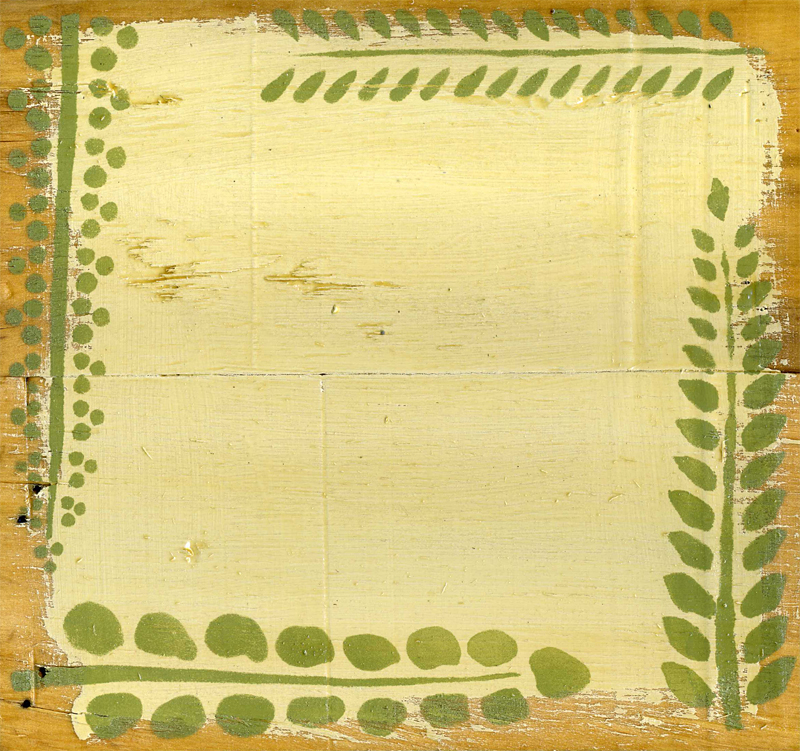
I painted a rough square of off-white paint in the middle of each sign, treating the edges very loosely for a rustic look. Then I used some medium avocado-green paint to stencil botanical designs around the edges. See my previous article Stencil a Wood Garden Sign for detailed information on how to stencil on wood. Then I painted the backs and fronts with several coats of weatherproof varnish.
Then I took my computer generated text to a copy shop and got six copies printed in reverse on clear tranparencies. The reason for printing in reverse is that I think the ink will hold up better to the weather if it’s on the back of the clear film.
Next I punched four holes in the corners of the pieces of film and drilled four corresponding holes in each sign. Then I attached the film to the wood with brads.
I purchased six wooden stakes from Schnarr’s, sanded them and varnished those as well. Then I nailed the signs to the stakes and installed them.
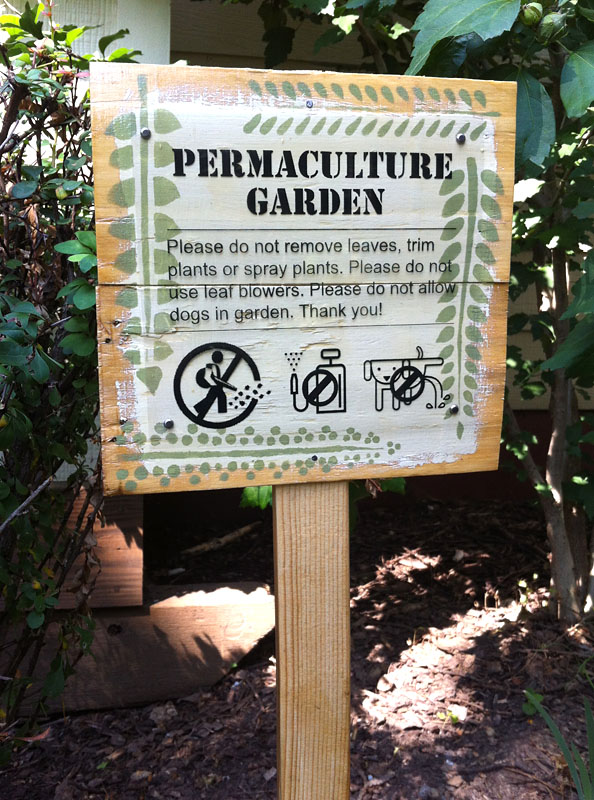
Here is one of the six finished signs! If all goes well and I actually get the opportunity, I will write about how I chose to deal with the fall leaves and what the results were.