Kitchen Backsplash Project Part II – Tile Design and Beginning Work on the Walls
After absorbing inspiration and stockpiling tiles for my kitchen for three years, how did I begin the process of actually getting some tiles on the wall?
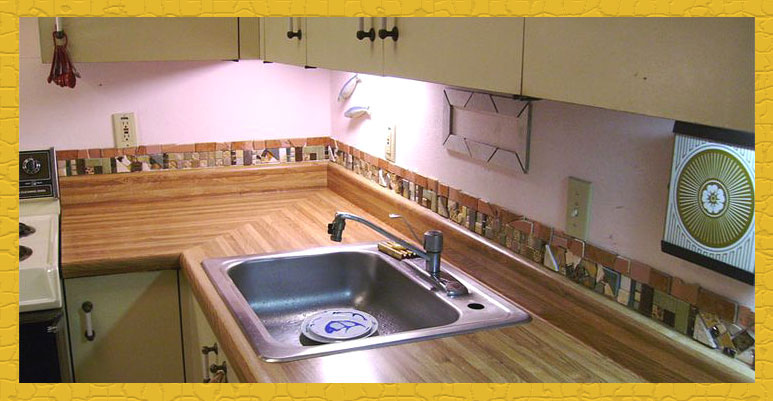
I’ve been intending since I moved in to my condo in 2004 to eventually repaint the kitchen. The paint in this room is rough, and even worse, it’s pink! So it has to go and until it’s repainted it doesn’t matter to me if I mark it up with pencil or tape.
To begin my designs I cleared everything off of the counter top and used a ruler and pencil to mark where I wanted strips of tile. This work would be too much to be completed in one work session. It being necessary to use the kitchen in between work sessions, I had to devise a way to design and install the strips in sections.
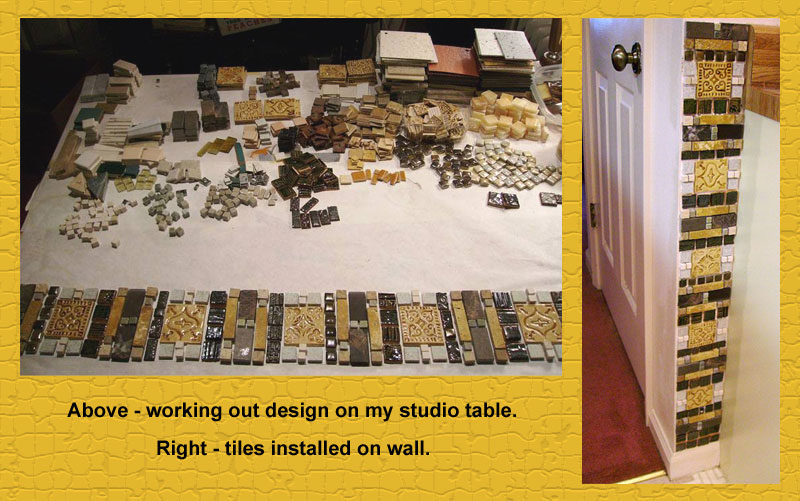
I decided on a repeating pattern that would appear at intervals, with more free-form arrangements in between. I measured where the repeating elements would go and decided how many I would need, then I went into my studio and designed one of the repeating sections. Then I made sure I had enough of those tiles to repeat the pattern the required number of times. Choosing the tiles from which to create the repeating patterns could have been an overwhelming task, given the number of tiles I had accumulated – I had been collecting them for multiple projects, not just the back splash. For help I referred to the swatch page I had made for my kitchen to help me keep in mind what look and feel I wanted for the room. I hung up the swatch page nearby and sorted out tiles that seemed to fit. That narrowed down the selection and from those I was able to come up with the repeating pattern. I laid each section out on a tray in my studio and carried it into the kitchen to install each section, then repeated until all the recurring sections were in place.
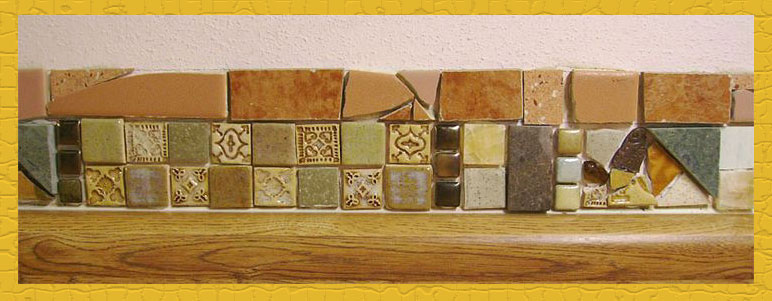
After that was done, I filled in the spaces between the repeating segments, then added a strip in a terra cotta color above it.
A strip similar to this would be very easy to do with purchased or made to order tiles of a uniform size. Since I was including a lot of salvaged tiles however, I had to do a lot of piecing, cutting and nipping. I’m very pleased with the result and I think it was worth the extra effort – it would not be to everyone’s taste but is exactly the kind of look I wanted. There is no way anyone would be able to replicate this design exactly even if they wanted to!
While I had the tiles out, I decided to do a strip by the pantry as well.
I drew an outline of the area to be tiled on the paper that covers my studio table, then filled that in while working out my design. When I was satisfied, I placed some of the tiles on a tray, carried it to the kitchen, and installed the tiles one section at a time. I marked the wall with pencil lines before beginning so that I didn’t go out of the allotted spaces while installing.
While working on the tiles, I gave some thought to the future paint scheme of my kitchen and picked out color swatches. I put the swatches and some notes in my idea book and also marked in pencil what color goes where on the kitchen walls.
Read more:
Kitchen Backsplash Project Part I – Introduction
Kitchen Backsplash Project Part III – Filling in the Tile “Murals”


2 replies on “Kitchen Backsplash Project Part II – Beginning Work on the Walls”
[…] Read more […]
[…] This arrangement was made while I was designing a stamped border of hand carved rubber stamps for my kitchen, to which I’m trying to give a Santa Fe […]