Tools and Materials
*indicates available at Schnarr’s
*Wood blocks – 5″ x 3.5″ x 1.5″
*Water based paint in assorted colors
Old lids from cleaned food containers
*Letter Stencils
*Sponge
Scrapbooking or decorative paper
*Scissors
*Modge Podge matte finish (available at the Ladue Schnarr’s store)
*Paintbrushes
*Water container
*Sandpaper
*Painter’s tape or masking tape
Squeegee tool
*Rags
*Pencil
Sharpie Markers
Optional if using metal letters:
*Metal letters
*Hammer
*Nails or tacks
Cut blocks of wood into 5″ x 3.5″ x 1.5″ pieces (two-by-fours cut into 5″ lengths). Make as many pieces as you want letters. For example, if you want to display someone’s initials, cut two or three blocks. To spell out the word “holiday” cut 7 blocks.
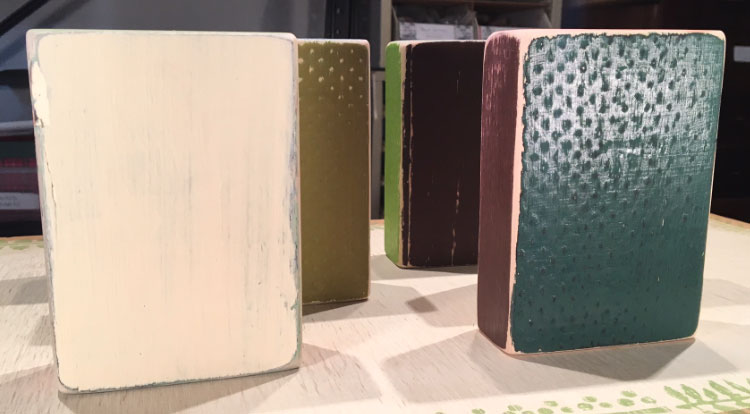
Paint all sides of the wood blocks with holiday colors, beachy colors, or any color scheme of your choice. Let dry.

Sand the blocks to bare the corners and get rid of any painting mistakes. I’m fond of the distressed look so I don’t mind the sanded spots giving an aged and worn appearance to the wood. The distressed look is even better if your wood pieces have bumps, knots or other flaws in them.
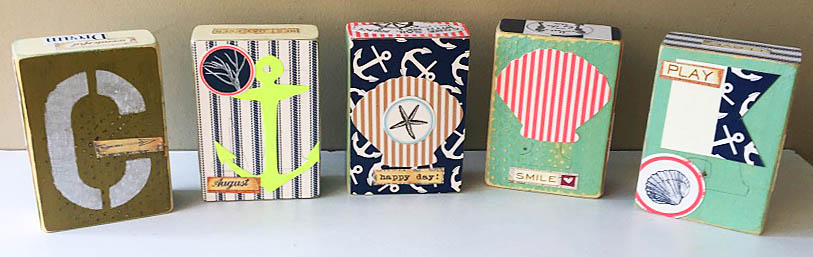
I worked on several blocks at a time so I wanted to experiment with different layering effects. One some of the darker colored sides, I stenciled a letter with white paint.
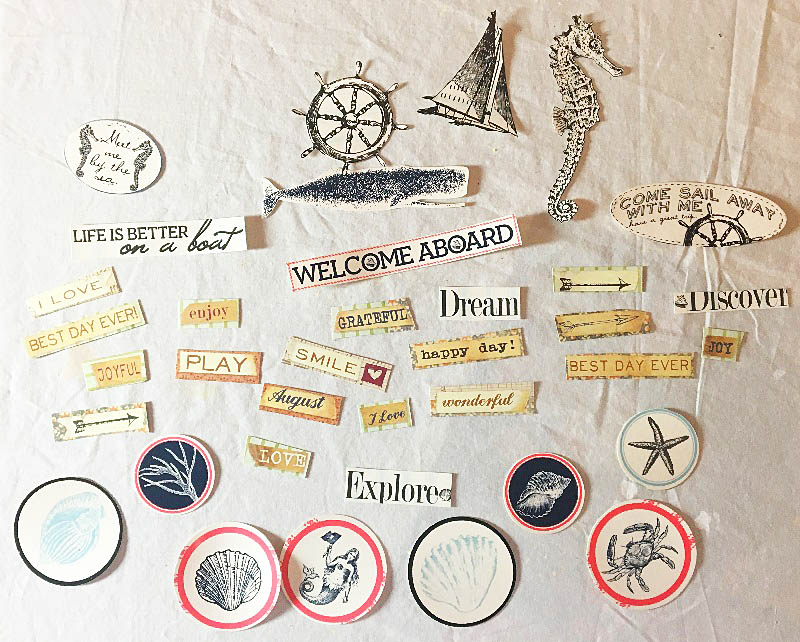
Cut some shapes out of decorative papers and use Modge Podge to adhere them to some of the painted wood surfaces. You might want to use shapes that are related to the theme of your project, such as ornament shapes or trees for Christmas, fish for beachy, trees or deer for woodsy, etc. Possible sources of shapes to trace are stencils or cookie cutters. Let dry. You can also cover an entire side of the block with paper if you want.
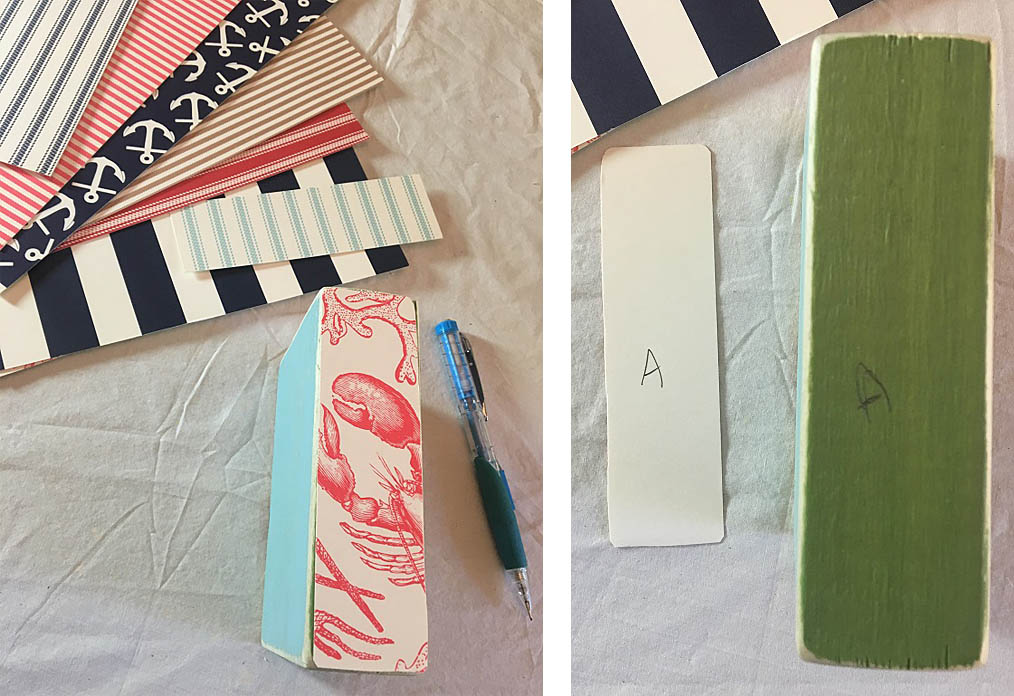
Since I was working on several blocks at a time, I labeled the backs of my paper pieces and the spots where I wanted to put them with corresponding letters so I could match them up later.
Here is the method I use to apply paper with Modge Podge or other glue without the paper wrinkling.
- Paint one side of the paper pieces you want to glue with Modge Podge and let dry.
- Paint the other side and let dry.
- When ready to apply, paint a thin (but not watered down) layer of Modge Podge on the back of the paper and on the surface you’re gluing it to.
- Press paper in place and burnish with the squeegee tool to get a flat seal and push out excess glue. Wipe glue away.
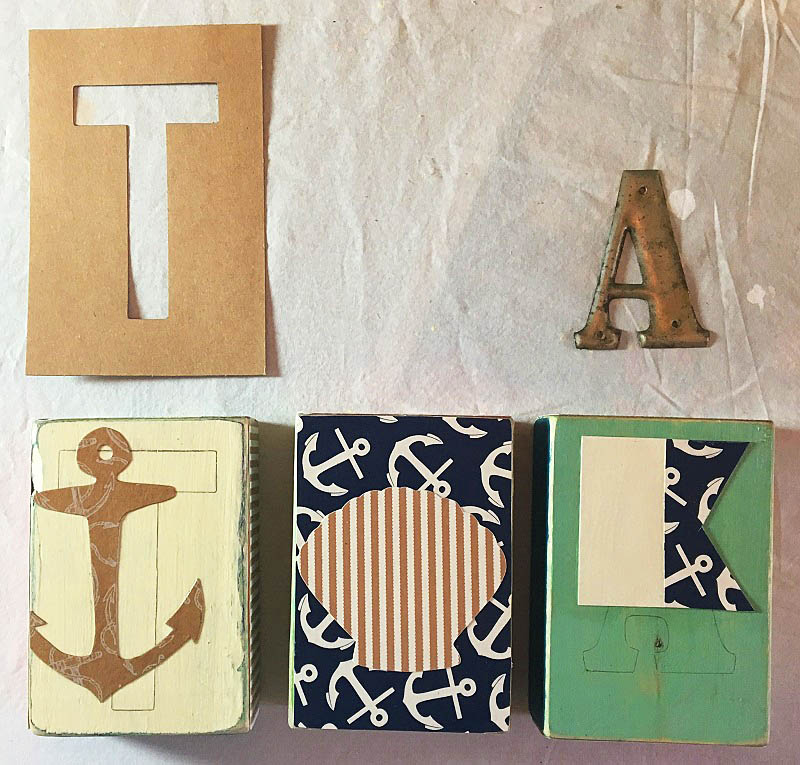
To help me decide where to place paper pieces, I outlined in pencil where my stenciled on and metal letters would go.
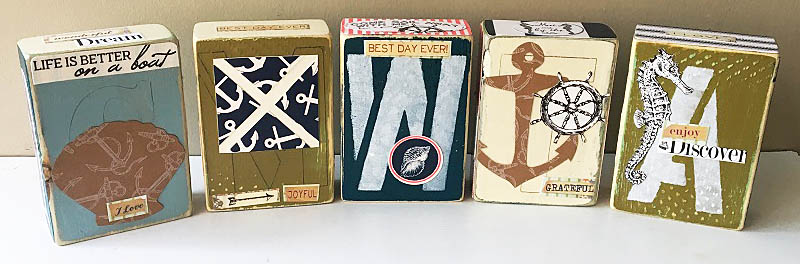
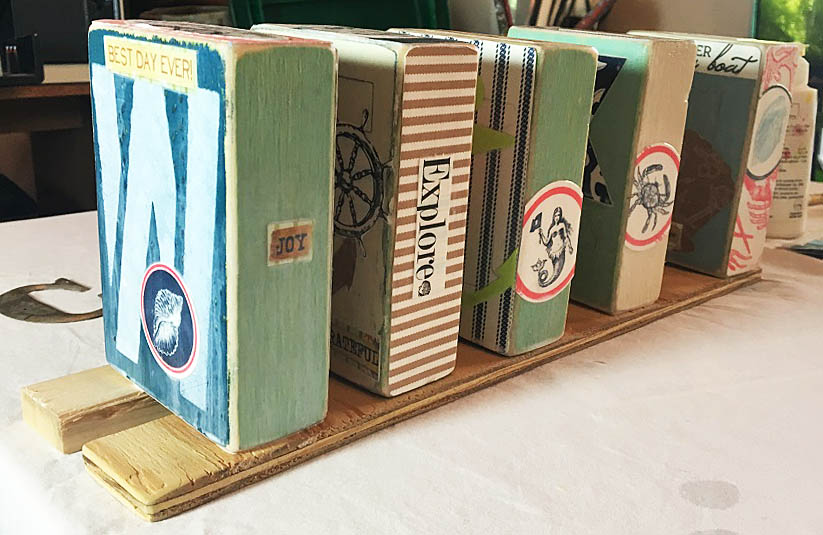
Here are the fronts and backs of my blocks with the paper pieces glued on.
Mix up some white or off-white paint with water to make a light wash. Paint your wood blocks with the wash and let dry.
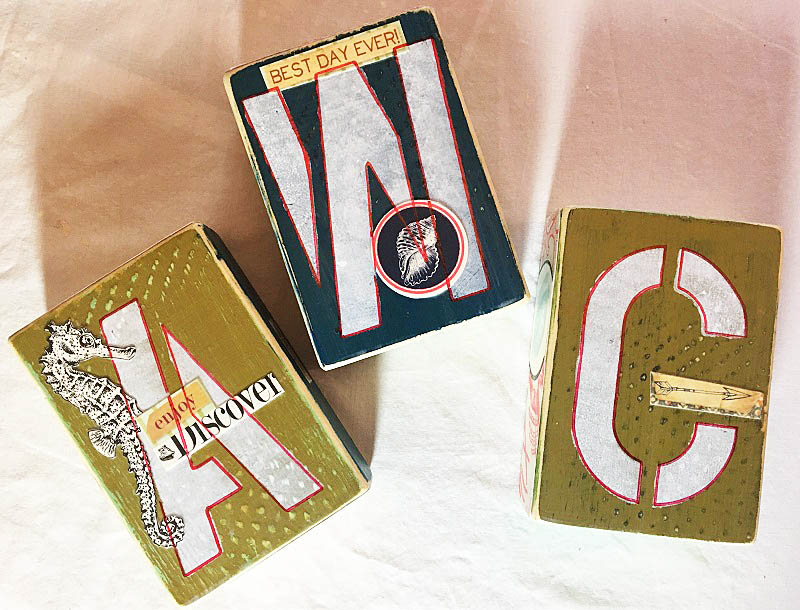
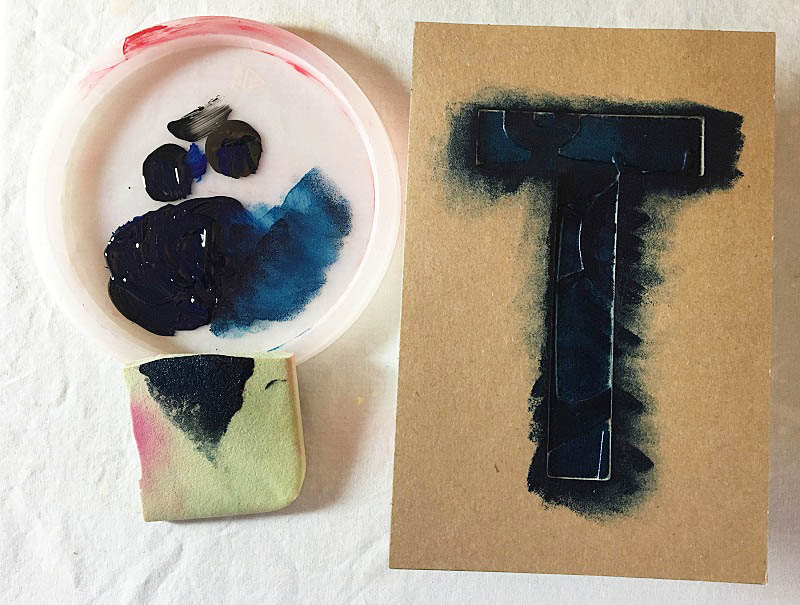
Use painter’s tape or masking tape to hold a letter stencil where you want it on a wood block. Sponge paint through the stencil. Remove stencil and let block dry. Repeat for each block until all your letters are done.
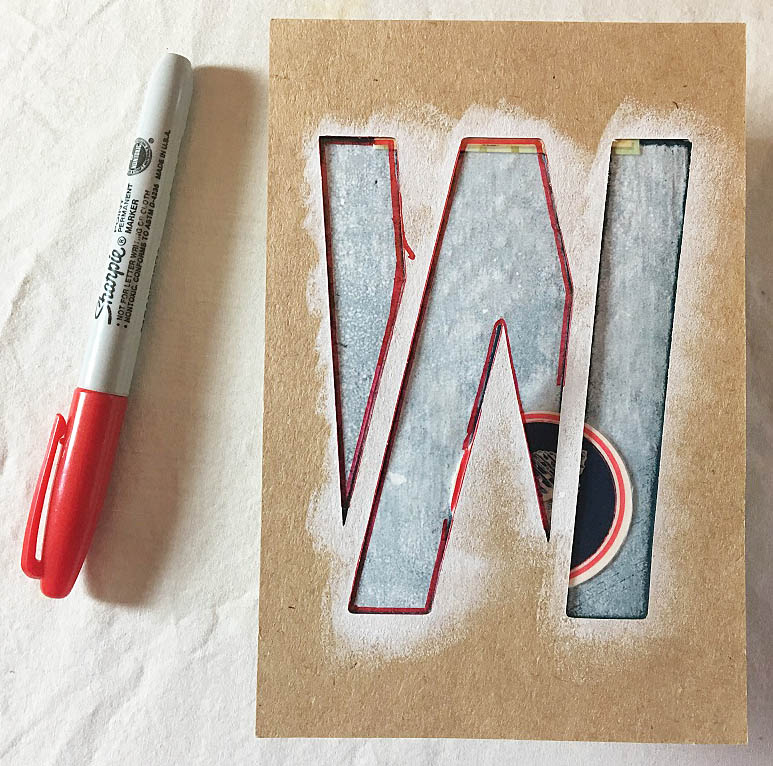
If you think your letters need a little more emphasis, you can place your stencil over the letter again and use it as a guide to draw an outline with a Sharpie Marker. You’re done!