A New Beginning in a New Garden
by Carolyn Hasenfratz
It’s always a thrill in spring to see what comes up again in an established garden, but I have to say I get even more excited at the prospect of planning a new garden. I am getting married in August and I will be moving into my fiance’s house at that time. His yard has minimal plantings so there is a lot of potential. I will be able to expand my horizons a lot because there will be more sun and fewer restrictions on what I can do.
I will be renting out my condo after moving instead of selling it so there is no need to move all of my current garden plants right away. Even so, I have already started moving some of them because it’s a huge job and is too overwhelming to tackle all at once. Also, the future home has some issues with water leaking in the basement and I want to get an early start on using plants to reduce this problem. As I move my plants, I need to know right now where is the best place to put them. I have need of a thorough yard and garden plan so I that I put plants in the right place the first time to save money and labor in the long term. It’s kind of crude, but one of my favorite motivational sayings in any kind of work that I do is “Proper Planning Prevents Pi** Poor Performance”.
To begin my garden plan, I made a personal wish list for what I would like to do. Then I asked my fiance Tom what were his areas of dissatisfaction with the current landscaping. Next I made an appointment with Tim Wittmaier of Wittmaier Landscaping for a consultation. Here are some of the existing issues Tim and I discussed.
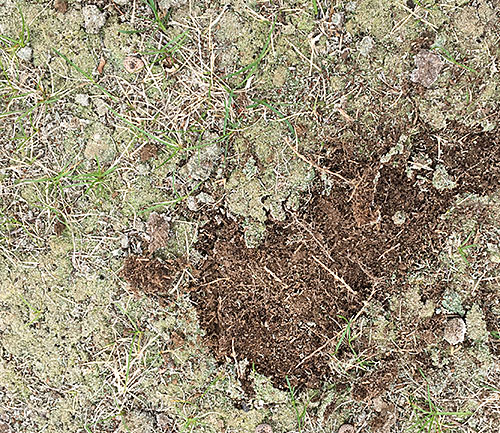
Moss in front lawn
This is a major problem in the front yard and one that many Schnarr’s customers are also dealing with. Tim informed me that most of the soil in this front yard is so played out that planting any more grass seed without major renovation is a waste.
Oak tree in front has a ring of soil around the base
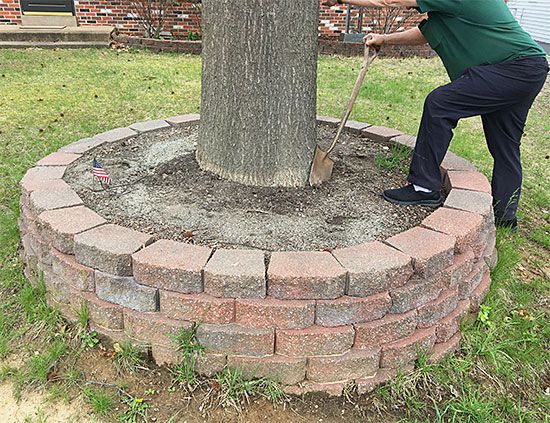
A planting ring around the base of tree like this is a disaster because it will slowly cause the bark to rot at the base and possibly kill the tree. It may take many years for damage to be apparent. This is a long-lived valuable tree so it’s worth trying to save.
Problems around the foundation
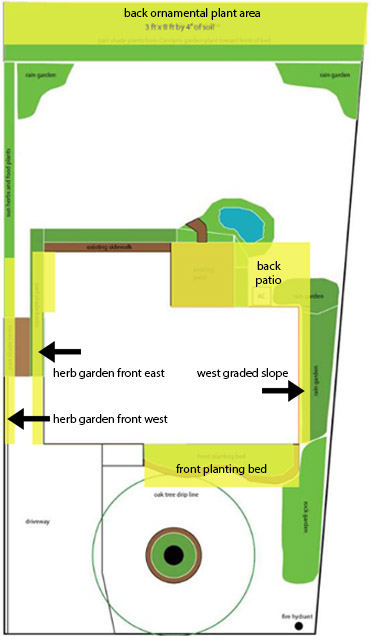
There is poorly located and executed pavement directing water toward the basement. Some of the grading around the foundation is sloping the wrong way adding to basement leak issues.
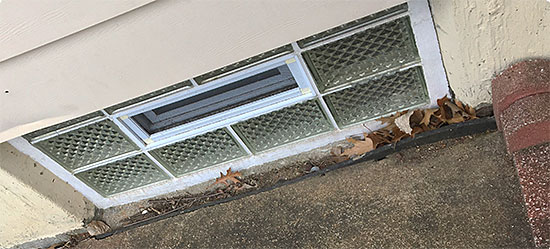
The existing patio is unattractive and also slopes the wrong way, directing water toward the foundation. It’s helping cause the basement to be “jacked up” so it needs to be literally jacked up with a jackhammer and replaced!
Invasive honeysuckle under power lines:
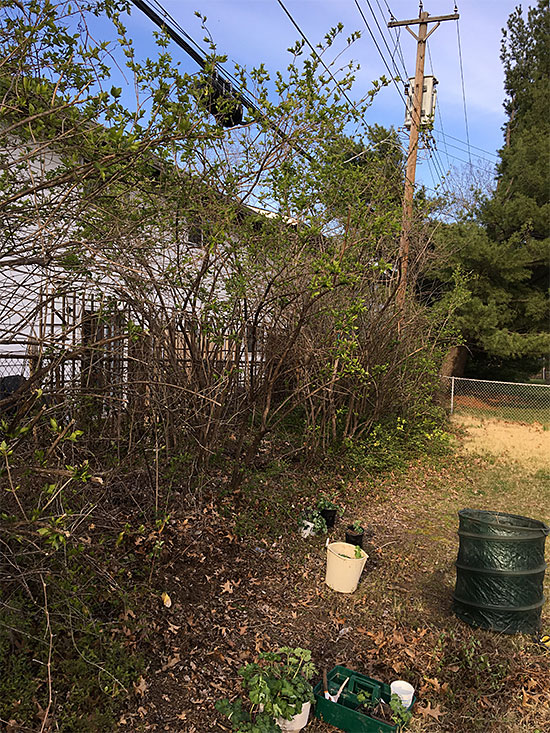
Until we can replace the honeysuckle, I’m adding part-shade loving plants from my existing garden to the front of this border that birds made.
A row of invasive honeysuckle has grown underneath power lines at the back of the property where birds perch. Have you heard of the technique of stringing a line for birds to perch on to get a free hedgerow? It works because the birds transfer seeds with their droppings. This particular “volunteer” hedge is actually very functional because it partially screens a view of the back of an apartment complex and provides a bit of privacy for us and them. However since this row mostly consists of invasive, non-native plants I want to gradually replace the honeysuckle with something more eco-friendly.
In addition to fixing problems, I have an extensive “wish list”. Some items are short term goals, some are long-term. I created a draft of a garden plan that includes the most realistic items from my wish list – roughly things that might be possible in the first three years. Later I will make another version that includes some longer term plans so that when I work on the short term items they are not in conflict with any long-term items that we might be able to do in the future.
What are your goals for your property?
When you make your own garden plan, keep in mind how your garden can solve problems as well as help you meet your personal goals for the use of your property. For example items on my wish list promote my highest priority garden goals which include in no particular order:
- Wildlife habitat
- Harvesting herbs and maybe someday food plants for personal use
- Healthy and beautiful outdoor space to promote mental and physical wellness
- Horticultural experiments and learning
- Propagate and preserve heirloom plants and native plants
- Learn and teach sustainable practices
- Increase skills to help clients and customers meet their goals
- Maintain Master Gardener certification
Examples of goals that have been high on clients’ priority lists:
- Great looking lawns
- Reduce maintenance costs
- Reduce water use
- Increase visual appeal of property for sale, customers, entertaining and personal use
- Maintain neighborhood standards
- Noise abatement
- Reduce energy costs
- Pest management
- Garden maintenance
- Improve water quality in water features
- Bird watching
There are probably as many reasons to garden and landscape as there are people. If you keep in mind what your own goals are, your decisions will be easier.
Create a Plan
Once I know what my goals are, I can start to work on a plan. Here are the steps I’m plan to follow.
1. Review ordinances and rules for the neighborhood.
Find out what the governing body is and read the rules before you plan. For example, the property in my plan is in unincorporated St. Louis County, that means there is no level of government between me and St. Louis County. I have read the county code to see what I’m allowed to do and what requires a permit. You might have a neighborhood association and/or a municipality to conform to like I have at my current condo. It’s tempting to to try to slide something by but I personally don’t recommend investing time and money in work you might have to undo later. We live in a “gotcha” culture and someone will be looking for reasons to pick on you. Don’t give them any ammunition!
2. Prepare a diagram of the property with the information you need included.
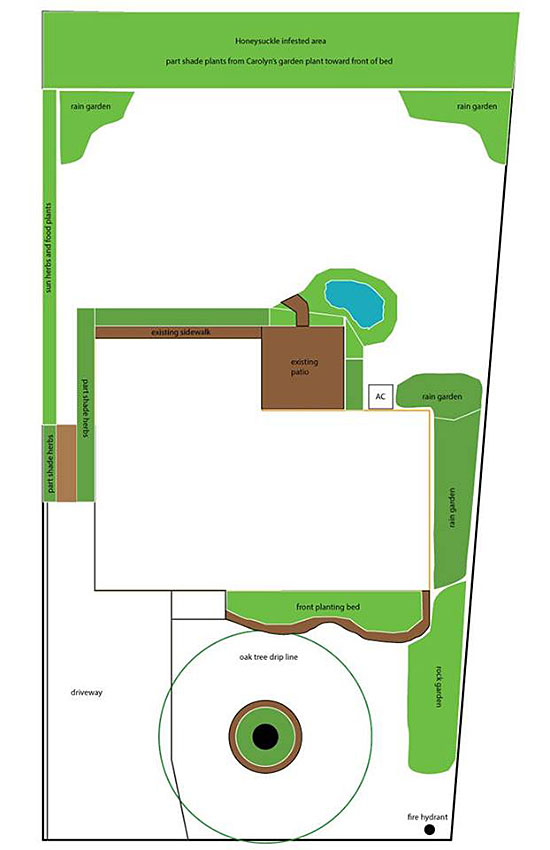
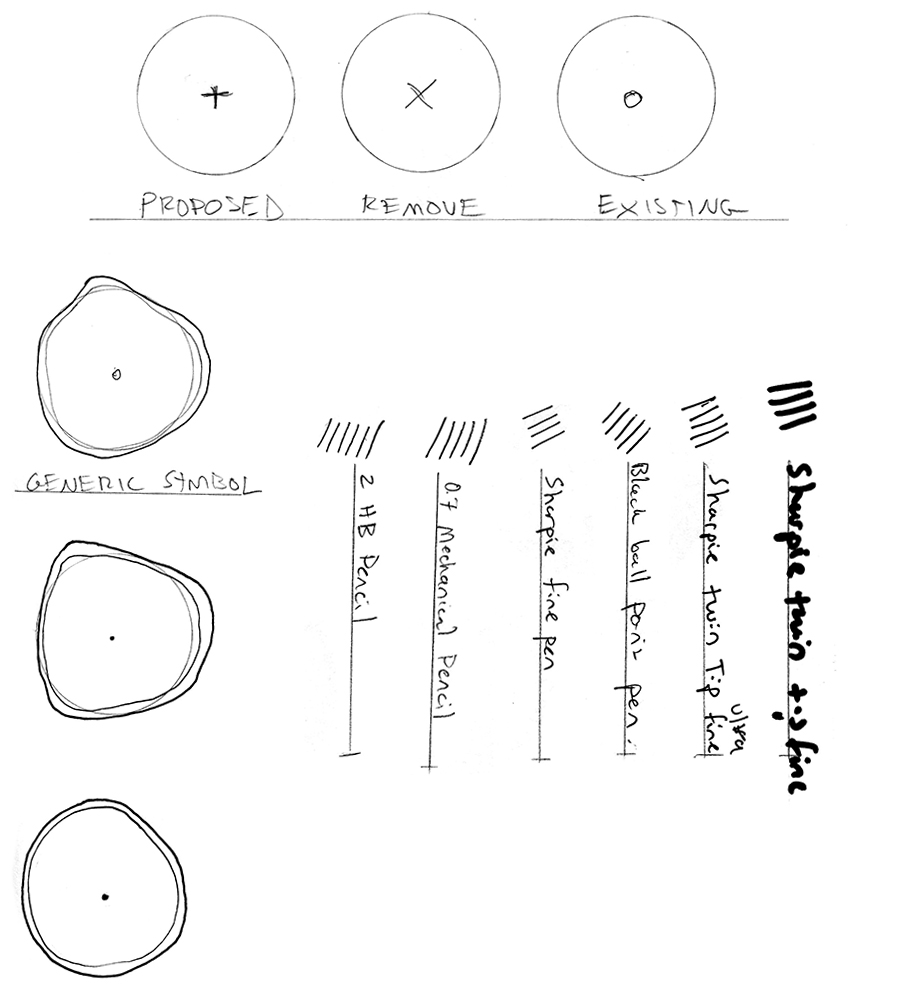
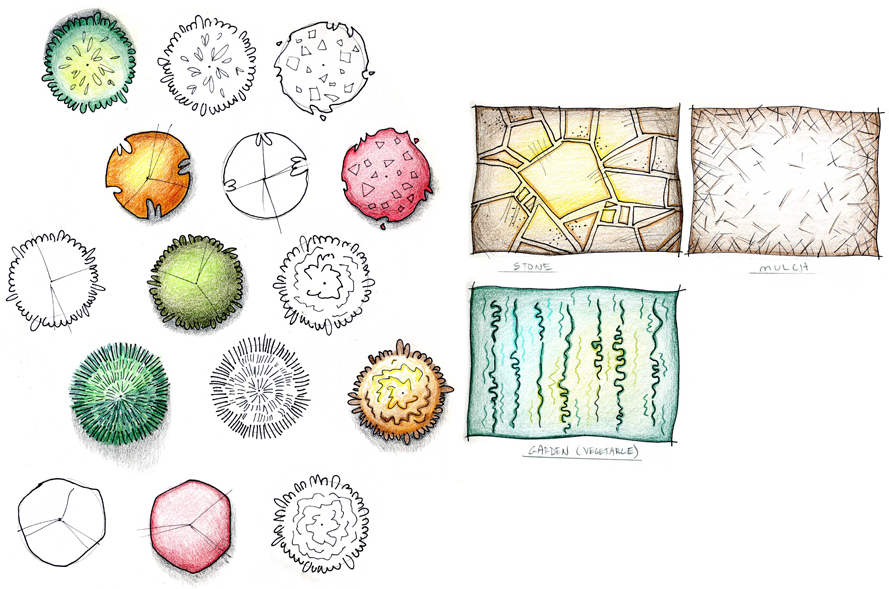
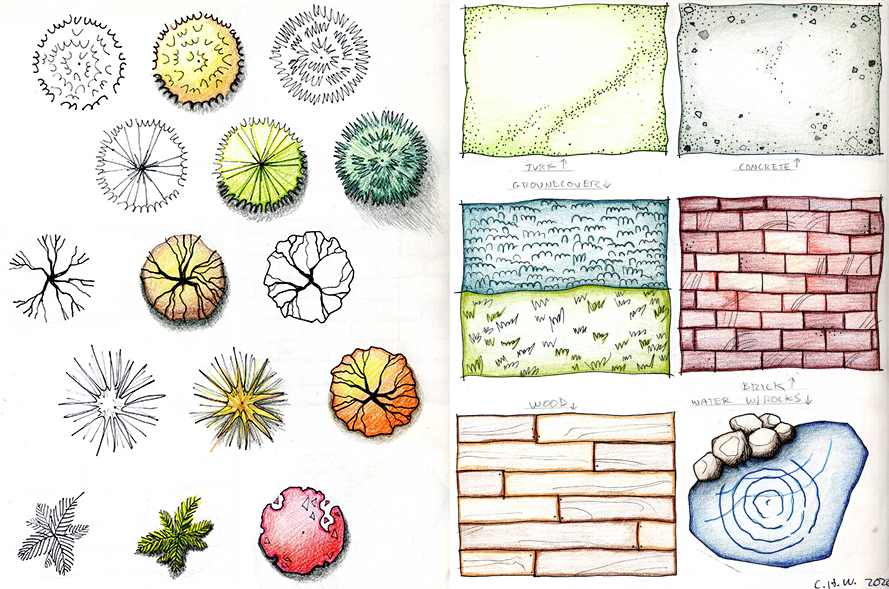
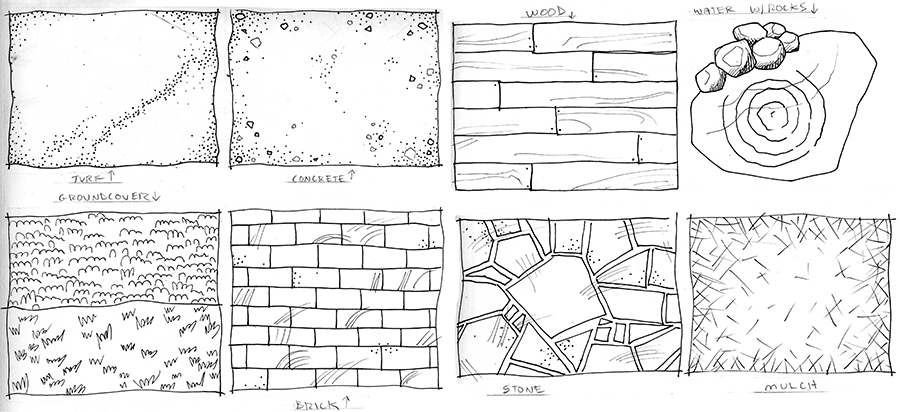
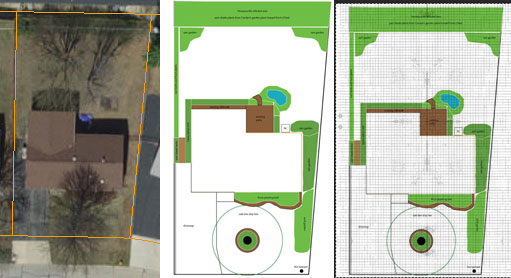
My first draft of garden plans for my future home
My first draft is missing some of these items and I need to add them. What is necessary information for you will vary by what your goals are. I recommend starting with:
- Property boundaries
- Power lines
- Direction of North
- House and outbuilding outline
- Trees and shrubs
- Paved and hardscaped areas – sidewalk, driveway, patio, walls, paths, etc.
- Special features – play area, pool, dog house, chicken coop, compost pile, hot tub, fire pit, trellis, vegetable garden, fountain, patio furniture, grill, electrical outlets, etc.
- Things that need to be accessible – utility panels, windows, doors, gates, air condtioners, pool filter, fire hydrant, etc.
- If there is one, location of irrigation system and components.
- Locations of outdoor faucets for hoses – for example will you need to hook three or four hoses together to reach a bed that needs a lot of water? Do you really want to do that on a regular basis? Three or four hoses hooked together are HEAVY (ask me how I know!).
- Plantings that are going to stay as is.
- Call 1-800-DIG-RITE and have them mark underground utilities for you. Put these on your diagram.
- Areas of sun and shade.
- Areas that tend to collect water.
- Sight lines from parts of the yard and house that you use a lot.
- Routes that machinery such as lawn mowers will take during maintenance. For example at Tom’s house the lawn mower needs a path through the planned herb garden from the garage to the front and back yards.
- Paths that you will walk on to perform maintenance in the beds. Plan for mulch or more permanent paths so you don’t have to walk in the planting beds themselves.
- Heavily used natural walking routes – for example, I’ve had a client whose mailman was wearing a path in the front lawn. That would be a good place to add a path with planting beds on either side so I put that in the drawing I made for the client. I don’t know if my plan got used or not, but paths help make gardens so appealing that I use any opportunity I can to suggest them!
You might consider drawing an overlay on tracing paper of what you would like to add or change, that’s a great way to visualize your plan and make sure it is workable with what is already there.
3. Get a soil test before making a big investment in time or money:
For example, a dying lawn filled with moss is a problem with our front yard and the yards of many customers right now. The moss did not kill the grass, the moss grew opportunistically after the grass died. It’s always safe to add organic fertilizer and compost – but please get a soil test and diagnose the problem before you do anything else. The soil test may give you all the answers you need or just be data that you use to lead to another diagnosis. Tim from Wittmaier Landscaping suspects that Tom’s lawn was killed by too much fertilizer. We don’t know for sure but it’s a common problem. If your grass does not need conventional fertilizer, adding it does not help and may hurt. If your lawn does not need lime, it’s useless and maybe destructive to add it. You might make a lucky guess, or you might cause a big problem that will take a lot of money and time to fix. What if your grass died from soil compaction, salt damage, a disease, a pest, too much shade or too much or too little water? It’s easy to add things like fertilzer and lime, but the actual remedy might be something else entirely.
Here is how and where to get a soil test: Test your soil now to assess your fertilizer needs
After I have made a good plan, I can start to break it down into individual projects. Stay tuned!

