Kitchen Backsplash Project Part I – Introduction
When I wrote in my previous article Decor Idea Book that my home decor would take years to complete, I was not exaggerating. I’ve been interested in tiles and mosaics since I was a teenager, but the real impetus for beginning to decorate my condominium home with tile was a visit in 2009 to Henry Chapman Mercer’s Fonthill Castle in Pennsylvania. Among other things, Mercer was a tilemaker in the Arts and Crafts era and his historic home is decorated with outstanding examples of the tilemaker’s art, both from his own designs and tiles he collected on his travels.
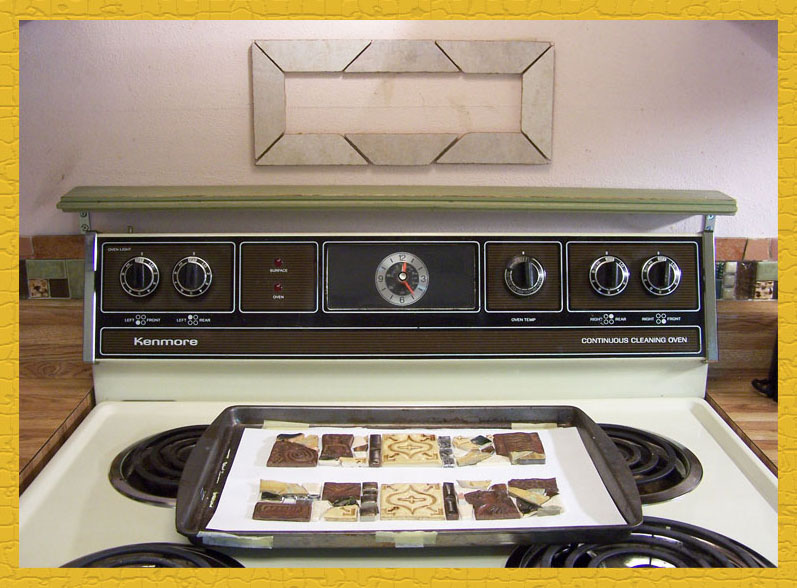
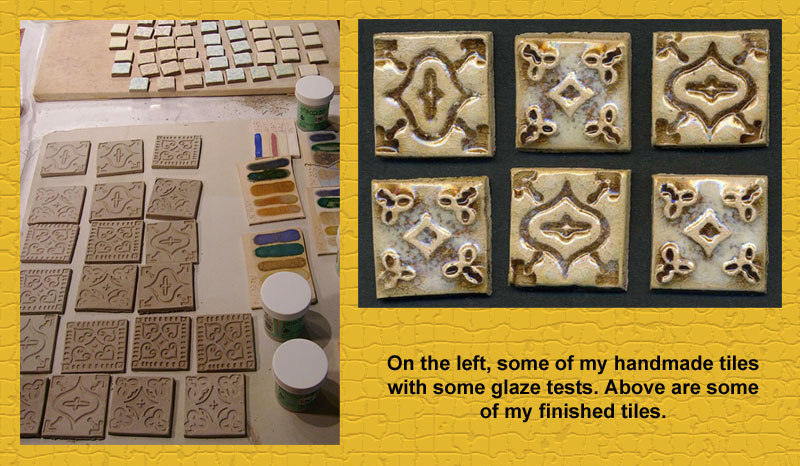
What brought me to the vicinity of Fonthill was a buisness trip to Philadelphia. I arranged with my employer to arrive a day early so I could visit Fonthill Castle. The morning after my visit, I sketched tile design ideas in the hotel restaurant while waiting to meet my boss for breakfast. Later on I gave some thought to how I would turn these designs into tiles. Mercer favored plaster press molds, but since I had a small company on the side for which I designed rubber stamps, I decided to turn my designs into stamps and use them to impress the clay tiles. See my tutorial Mosaic Table Table Top With Textured Clay Tiles to learn my technique for making tiles from rubber stamps. In 2015 while on the way back from a trip to the Northeast I was in the vicinity of Fonthill again, so I stopped in the tileworks shop to buy some tiles made from Mercer’s original molds.
One of my favorite places to vacation is the Southwest, and for awhile I was taking so many trips to that area on Route 66 that I was in Santa Fe for at least a day or two almost every summer. Although I’ve been interested in art and crafts ever since I can remember, my first visit to Santa Fe while on a family vacation at the age of 16 was a life-changing experience. It was so different, so exotic and so saturated with the arts that I decided then and there that art was to be my area of study in college and I did eventually graduate with a Fine Art degree.
Over the years I’ve been to Santa Fe enough times to have a favorite restaurant – Cafe Pasqual’s – and a favorite motel – El Rey Inn. In September of 2009 I was on a trip with my family on the way to Arizona and we stayed at El Rey. It was Mom’s first time there and she was enthralled with the grounds. Since tile work and plans for my own home were on my mind, we wandered the exquisite grounds together and took lots of photos, with tiles prominent in my photos for future inspiration. On this trip my brother and I also introduced my parents to our favorite suite at El Rancho Hotel in Gallup, NM, the Ronald Reagan suite, with extensive tile work in the bathroom. Everyone should experience these historic properties at least once in a lifetime – you won’t be sorry!
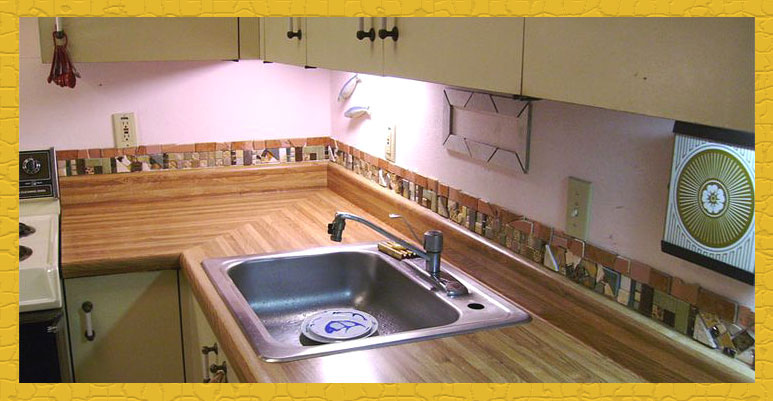
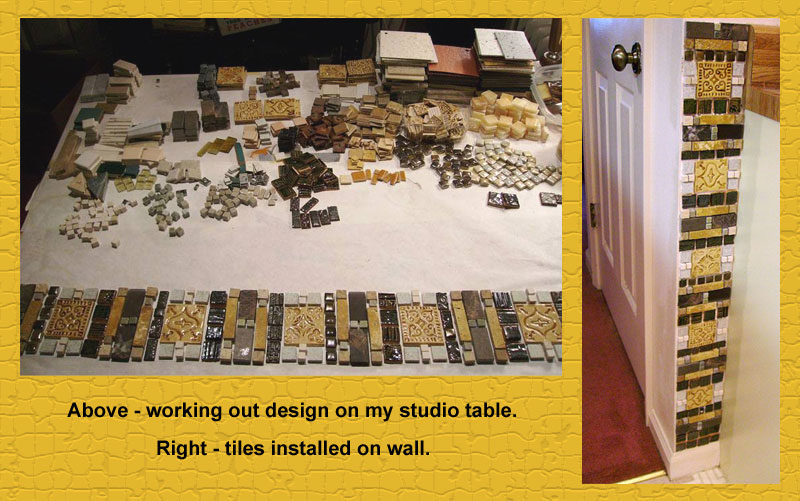
Since Southwest decor and good food seem to go together, I decided the proper place in my home for Santa Fe inspired tile work is in my kitchen. Over the next 2-3 years I made a lot of tiles for this project.
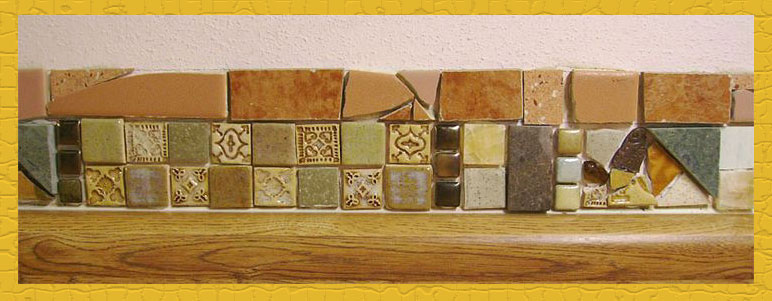
I’ve been augmenting my growing store of tiles with recycled tiles that I picked up at Leftover’s Etc., a teacher’s resource recycling center where you can get donated leftover art and craft supplies for a very reasonable price. Since the stock varies depending on what is donated, collecting tiles suitable for a specific project can take quite a while, so it suited me to acquire these periodically while I slowly accumulated a stock of handmade tiles. You might ask, why not just buy the tiles you need and get it over with? There are beautiful tiles available commercially – one could make a lovely kitchen with these. However, while I’m sure I could design a very nice backsplash out of commercial tiles, my preference for my own home is to express my love of ceramics by putting more of myself into the project. Another thing that makes this project more personal and special is that in addition to my collection of salvaged tiles purchased from Leftover’s Etc., over the years I had accumulated tiles from sources significant to me – I added in some that I recycled from an old farmhouse down the street from where I grew up that was demolished when I was in college, and some that I dug up from the construction debris-filled soil while working on my current garden. Whenever I work in my kitchen I’ll get pleasure from thinking about how I made or acquired the tiles in front of me.
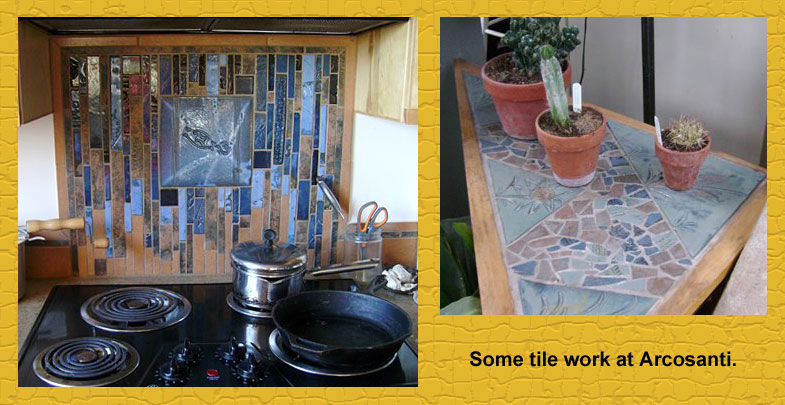
The next major step forward in my kitchen backsplash project occurred in the fall of 2012. I had just returned from a vacation/sabbatical which included a one-week workshop at Arcosanti, an experimental community in Arizona that teaches concepts in architecture, sustainability, re-use of materials and many other topics of interest to me. Visitors to Missouri Botanical Garden will have seen some bronze bells made at Arcosanti. There is a ceramics studio on the site and many areas of the community are decorated with wonderful tile work.
To see more of my Arcosanti Photos, check out my online albums:
2012 Trip Week 2
2012 Trip Week 3
I went to Arcosanti to be inspired, and wow was I ever! Upon my return I was fired up to work on the backsplash due to what I had seen and I was satisfied that I finally had enough tiles to begin. Look for Part II of this series to see how I incorporated all these creative influences!
Read more:
Kitchen Backsplash Project Part II – Beginning Work on the Walls
Kitchen Backsplash Project Part III – Filling in the Tile “Murals”
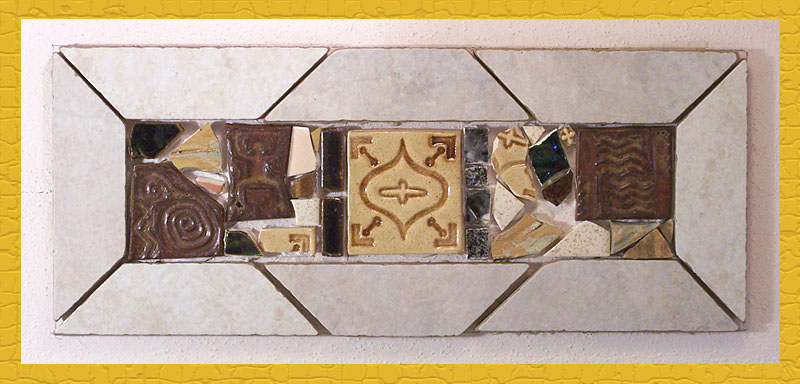
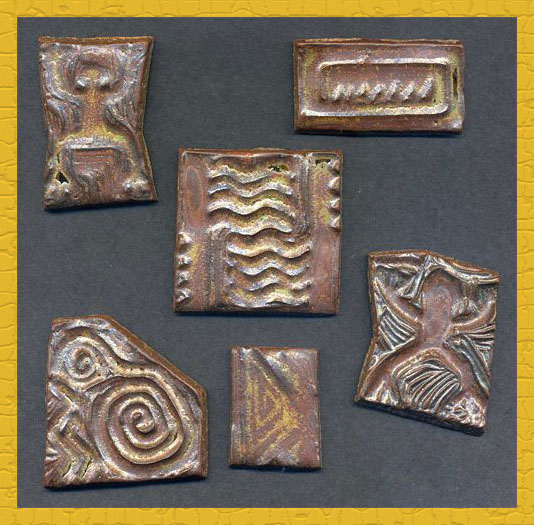 The next step in finishing my kitchen backsplash is to complete the tile work in four frames spaced at intervals above the strip. These are inspired by Spanish and Mexican tile murals in their shape and placement though they don’t attempt to depict any kind of representational scene. In the interim I had carved some new rubber stamps of ancient petroglyph designs and made some small stoneware tiles from them which I decided to include.