Categories
DIY Home Decor Storage and Organizing Ways With Wood

Make a Wood Storage Crate

Make a Wood Storage Crate

by Carolyn Hasenfratz Winkelmann

Wood crate decorated with stencil designs

This project was inspired by a card box my husband Tom and I made for our nautical-themed wedding reception last summer. I made a lot of stuff for the wedding and I was literally working until the last minute at the church figuring out how to attach my homemade veil to my head! I finished my jewelry the day before! Two or three nights before the wedding I had set aside time to assemble this card box. I had already cut the pieces out but needed to nail it together and decorate it. I came down with what I thought was a terrible cold and I asked Tom to assemble the box for me. He came through and did a great job! I recovered quickly from whatever I had (if I actually really had anything other than stress) and was feeling fine the next day so I did the decoration in a hurry.

Card box we made for our wedding last summer with decoupage decoration

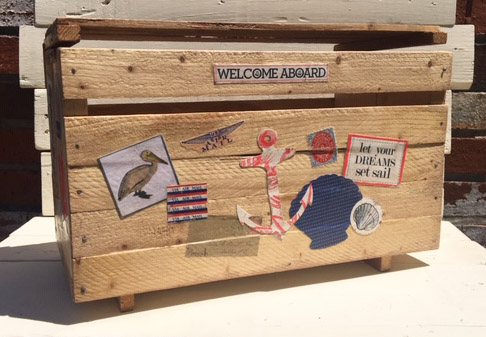
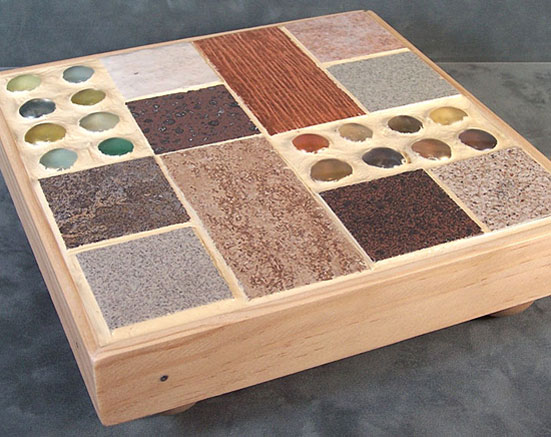
I painted the above crate-style card box with a wash of brown paint to “antique” after applying decoupage decoration. For the following storage crate project I’m going to experiment with applying a light colored paint wash on unsanded wood to be sanded, assembled and then decorated with stencils.

Materials
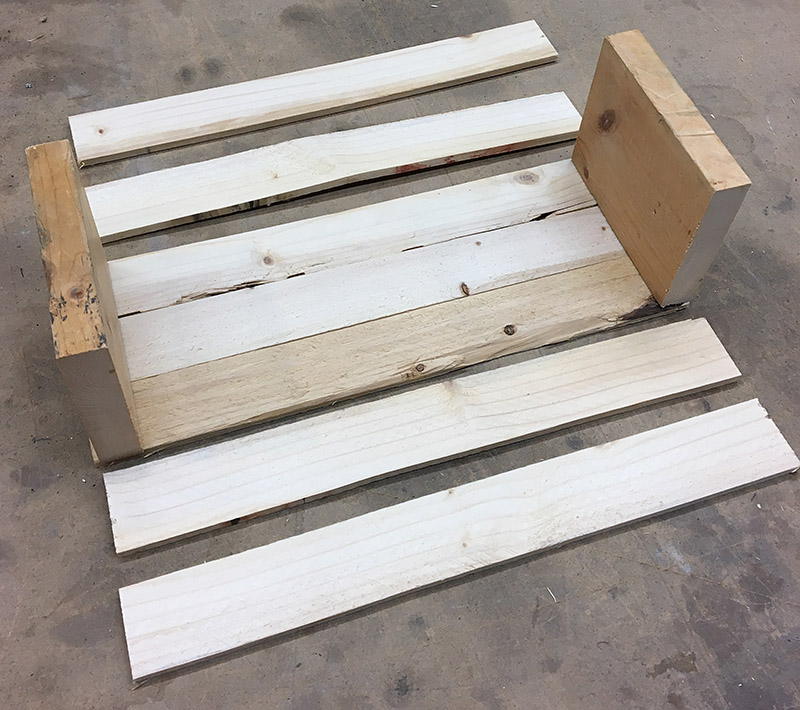
*Six pieces of lath wood (1 1/2″) cut to 12″ long
*Two pieces of 1/2″ thick wood cut to 4 1/4″ x 3 1/2″
*Tiny nails
*Paint rags
*Wood glue
*Acrylic paint
*Painters tape or masking tape

Tools
*Pencil
*Ruler
*Saw
*Paintbrush
*Paint water container and small paint mixing container
*Drill
*Tiny drill bit
*Hammer
Small sponges (or *large sponges cut up)
*Assorted stencils (available at Schnarr’s Webster)

*indicates items available at Schnarr’s

If you want a more refined look you can substitute lattice strips for lath wood, they are similar in size and thickness with a smoother surface and fewer irregularities.

Cut pieces of wood ready to paint, sand and assemble

Instructions

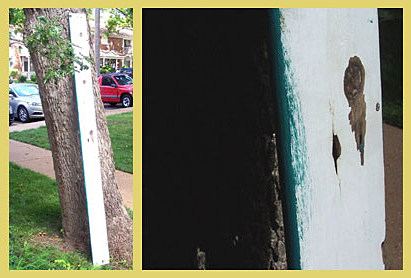
1. Paint your wood pieces with a wash of white acrylic paint. A wash is paint with water added to thin it out and make it semi-translucent.

2. After paint is dry, sand the rough spots with all-purpose sandpaper and sand the edges to bring out a little more of the natural wood color. The effect of sanding the edges is subtle but adds a lot of visual interest.

Wood slats taped down to work surface

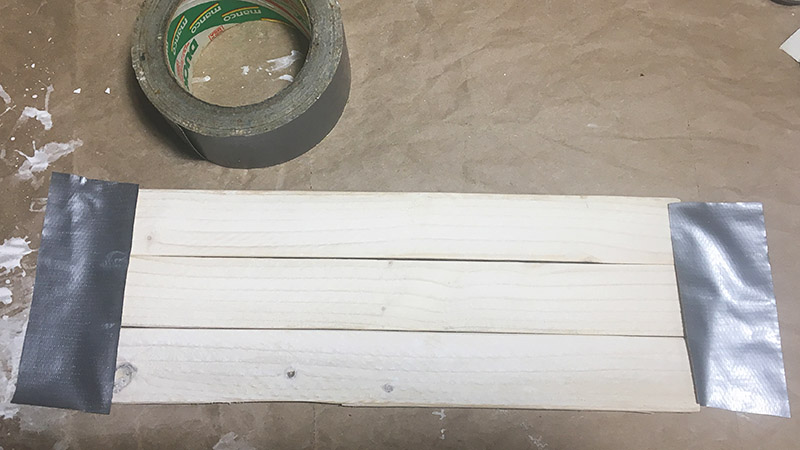
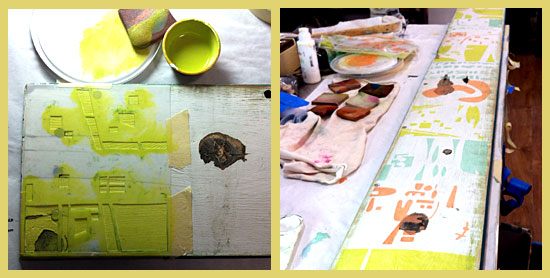
3. Take three of the 12″ slats at a time and tape them down onto your work surface. Normally for stenciling projects I use painters tape or masking tape, but I was out of both so in the pictures you will see me using duct tape and drafting tape as substitutes.

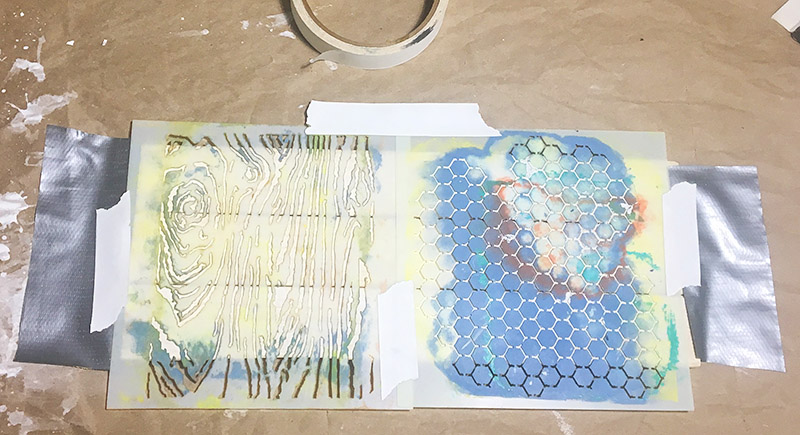
4. Tape stencils in place on your work surface over the wood. Choose a light to medium color of paint and dab the paint through the stencil openings with a sponge.

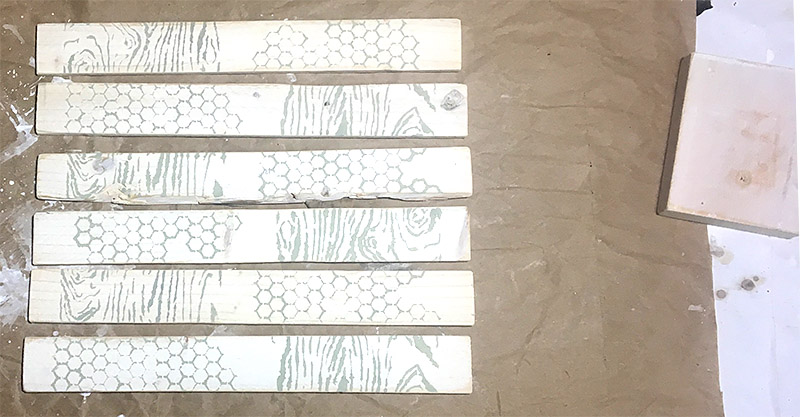
5. Lift the stencils and let the paint dry. I rearranged my wood pieces on the work surface to see what they would look like if I turned every other piece around 180 degrees so that the stencil designs would be scrambled. I liked the effect!

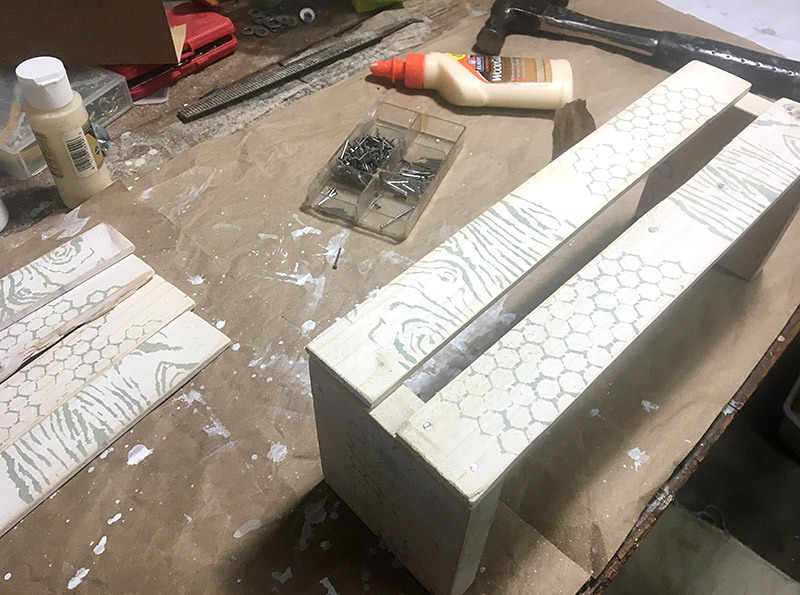
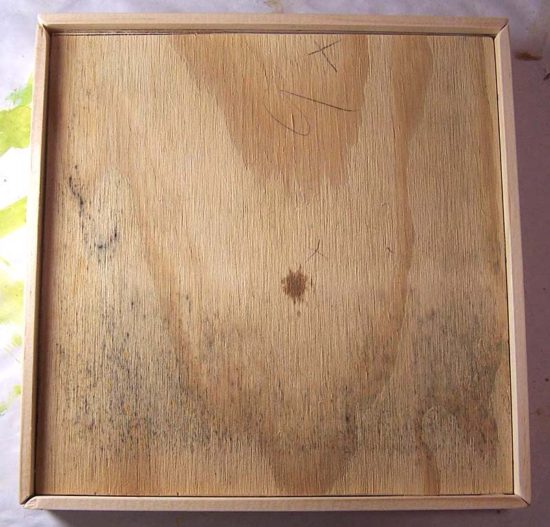
6. Set the two end blocks on your work surface and position two side slats across them. Add a dab of wood glue at each point where the wood will connect for extra strength.

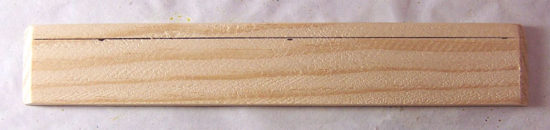
7. Drill two pilot holes at the end of each wood strip with the tiny drill bit. Hammer in nails and repeat until both wood strips are nailed securely to the end blocks. Repeat steps 6 and 7 for the other side, then for the bottom.

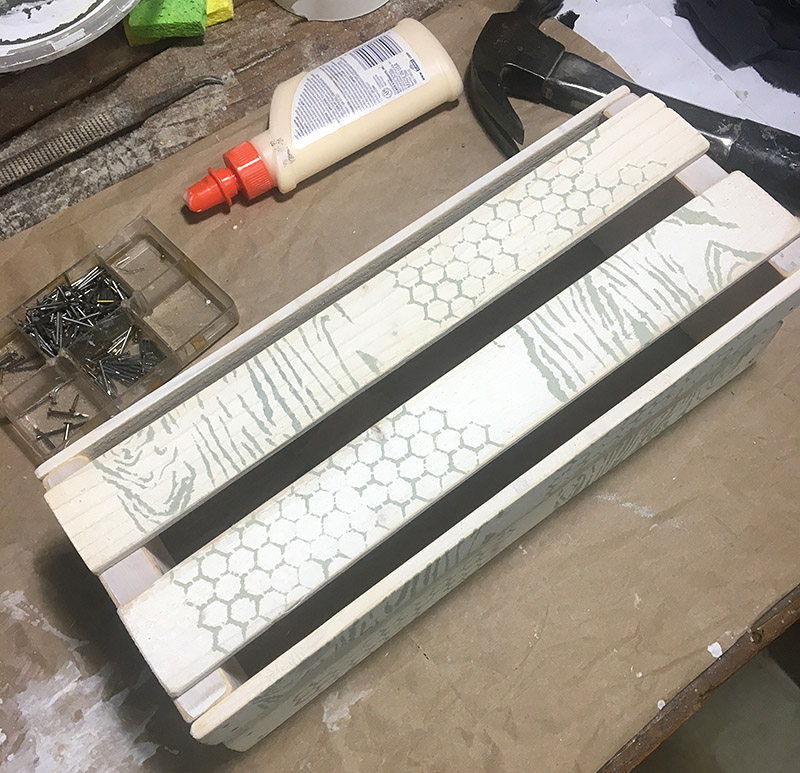
I only stenciled one side of these wood strips, so for the bottom of the crate I ended up turning them over so you could see the design if you looked down into the box. You could stencil both sides or have the design facing down while the box is in use if you prefer.

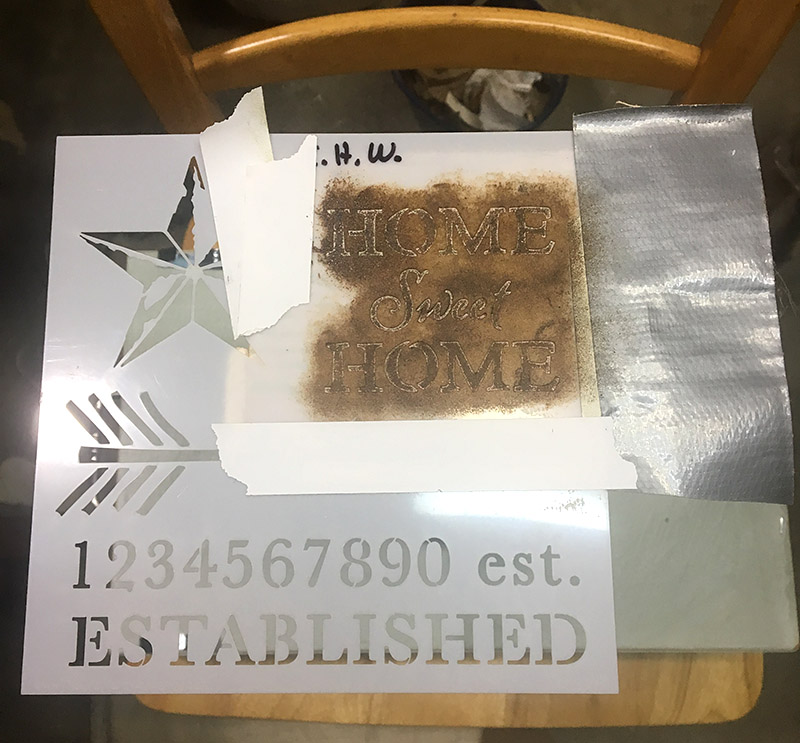
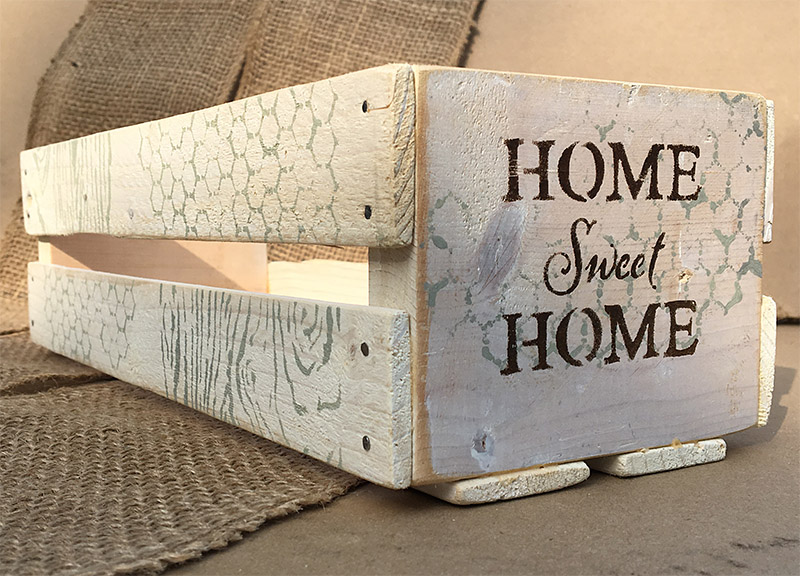
8. Next I stenciled onto each end of the crate. I set the crate on end on a chair to bring it to a more convenient work height. Tape the stencil down and if necessary, mask out the parts of the template you don’t want to use with tape. It’s easy to accidentally sponge into areas you didn’t intend.

Here is what one of the ends looks like after the final stencil. You can really change the look of the crate depending on what stencils and colors you choose to use. You can also make crates in different sizes to fit different needs. They make great baskets for gift giving too. Have fun!


Additional Resources

If you want some more home decor inspiration here are some additional resources:

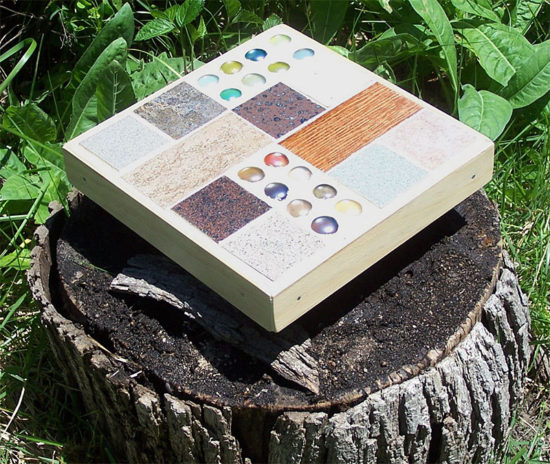
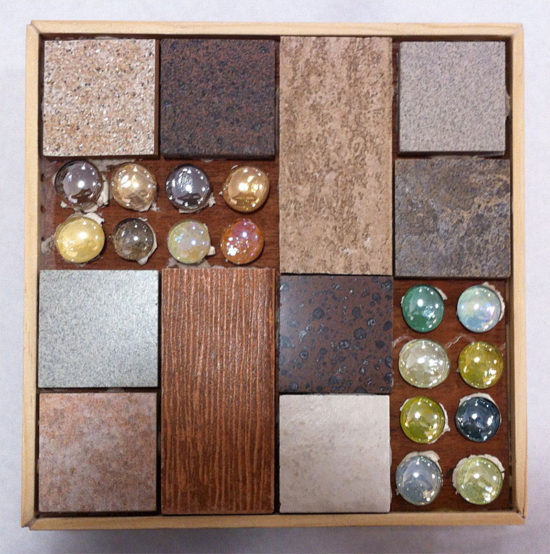
Spring 2019 Mood Board – yes spring 2019 is done by now but a lot of these looks have been around for several years and should be good for inspiration for awhile yet. There is a lot of raw wood, tin, burlap and looks that you could easily recreate with hardware store items.

Summer 2019 Mood Board – wood, tin, twine, rope, seaglass, oh yeah!

Categories
DIY Home Decor Ways With Wood

Upcoming DIY Class at Schnarr’s – Stenciled Letter Blocks July 19, 2018

Upcoming DIY Class at Schnarr’s – Stenciled Letter Blocks July 19, 2018

Stenciled Letter Blocks – $20.00 Class

Join us at Schnarr’s Hardware in Webster Groves to decorate wood blocks with paint, stencils and mixed media to create fun home decor. Spell out words, make initial blocks. house numbers or dates to enhance a festive occasion. All supplies included.

CLASS DETAILS
Thursday, Jul 19 2018
05:30:00 PM
Price: $20.00

For More Class information or to Sign Up – Click here


Categories
DIY Gardening Home Decor Upcycling Ways With Wood

Build a Mosaic Plant Stand

Build a Mosaic Plant Stand

by Carolyn Hasenfratz

Make a Mosaic Plant Stand

In this article I’ll show you how to make a stand to show off a special container plant. Raising a planter off of its surface can really enhance the appearance of a single specimen or help you create an attractive container plant grouping by providing elevation to some containers. Such a stand may also help protect the surface underneath by allowing air circulation under the pot so the surface can dry out between waterings. This stand is designed for both indoor and outdoor use. It is designed to let water from the plants run off, rather than catching it. This stand can also be used as a sturdy trivet indoors or outdoors.

Tools and Supplies
* indicates items that are available at Schnarr’s
8 x 8″ x 1/2″ board*
Lattice wood strips 1 1/4″ wide*
Saw*
Miter saw*
Sandpaper*
Dust mask*
Pencil or pen
Ruler*
Hot glue gun*
Wood hot glue sticks
Drill*
Tiny drill bit*
Nails*
Hammer*
Wooden ball knobs or drawer pulls with 3/16″ holes to use as feet (Wood drawer pulls are available at Schnarr’s Webster Groves store)
Wood glue*
3/16″ drill bit*
3/16″ dowel rod*
An assortment of ceramic tiles and/or glass pieces that are about 1/4″ thick
Palette knife or putty knife*
Ceramic tile cement*
Old plastic lid
Tile grout*
Water container*
Mixing container for grout (can be an old food container)
Rags*
Disposable gloves*
Bucket* of water for cleanup
Tile and grout sealer*

Instructions

1. Cut an 8 x 8″ square out of 1/2″ thick plywood.

2. Cut four 8 1/4″ lengths out of a piece of 1 1/4″ wide lattice wood. Miter the corners at a 45 degree angle as you cut.

3. Put on dust mask and sand the rough edges off of your wood pieces.

4. On the inside edge of each mitered piece draw a line 1/4″ from the top.

Mitered wood strip with drawn line

5. Glue mitered pieces to the edges of the 8 x 8″ block using hot glue as the adhesive and your drawn line as a guide to help line them up. You should end up with a 1/4″ lip all the way around, creating a tray that will hold your tile pieces.

1/4 inch lip around edge

6. As a reinforcement to the glue, drill a couple of small pilot holes on each side of the tray and hammer nails in for a strong hold.

7. Choose four wooden ball knobs or wooden drawer pulls with 3/16″ holes. Place them in the corners of the bottom of your tray. Draw around the base of each with pencil to indicate where their footprint will be. Set knobs aside.

8. Switch to a 3/16″ drill bit and drill a hole in the center of each drawn circle. Try not to go all the way through the wood but if you accidentally do it’s no big problem.

9. Cut short segments (about 1″) from a 3/16″ in diameter piece of wooden dowel rod to make pegs. Insert pegs into holes in wood and thread knobs onto pegs to make sure they are not too long and that there is no gap between the knob and the bottom of the tray. When satisfied, remove, dab wood glue onto each end of each peg, and re-insert into holes. Place knobs over pegs and press in place. Let wood glue dry. I left the wood unpainted in my sample but if you want to you can paint or stain the wood and give a waterproof clear coating like spar varnish.

10. Get out your tiles and arrange in the tray to make an arrangement that is pleasing to you. For my sample I used tiles I salvaged from Leftovers, Etc. and some translucent glass blobs which were backed with colored paper. Try to leave a litte bit of space between each piece.

11. Once you have decided on an arrangement, scoop a small quantity of ceramic tile cement out of the container and place on an old plastic lid. Keep container closed so the rest of your cement doesn’t dry out. Use palette knife or putty knife to apply cement to the back of each pice and press in place. If any tile pieces are thinner than the others, you can put some extra cement on the back to build up the height. Let cement dry for the time period indicated on the container.

Tiles glued down and before grouting

12. When cement is dry you’re ready to apply grout. Grouting is very messy – I recommend you wear old clothes and protect your work surface and floor. Have plenty of clean rags on hand and a small bucket of water for cleanup. Don’t be surprised if you need a bath when you’re done!

13. Put some grout in a small plastic tray, such as one left over from a microwave dinner. Add water until it’s about the consistency of soft cream cheese – a little at a time to make sure you don’t add too much. Stir it with your putty knife as you add the water. Try to only mix up small amounts at a time so it does not start to set up before you’ve applied it.

14. Put on your disposable gloves, and use a rag to pick up a portion of tile cement. Smear it around to fill the cracks between tiles. The rags will help protect your hands from sharp pieces if there are any. The thin disposable gloves will protect your hands from being irritated, dried out or discolored by the grout, but alone they will not protect you from cuts.

After the tray is grouted, go back over it with a succession of fresh rags to remove the grout from the surface of the tiles. Dampen the rag with a little water toward the end to get them really cleaned off if needed. Be careful not to dispose of any grout in your sink – it could clog the drain. Dispose of any rags that are really soaked with grout – I put mine in the compost. If some are only slightly dirty, you may be able to re-use them by rinsing them in a bucket of water. If you do that, dump the dirty water out in the yard, don’t put it down the drain.

15. Let the grout dry, then apply tile and grout sealer. You’re done!

Finished mosaic plant stand

Categories
DIY Home Decor Sustainability Upcycling Ways With Wood

Stencil a Sofa Shelf Made From Distressed Wood

Stencil a Sofa Shelf Made From Distressed Wood

by Carolyn Hasenfratz

Sofa shelf made from distressed wood

This project was made from the same stash of distressed wood that I used for the previous project Stencil a Wood Garden Sign. I kept aside a couple of intact large planks so I could make some interesting shelving. The wood was bare on one side and had partially peeling white paint over green on the other side. I decided to use the white side as a ground for some stencils I cut that were inspired by a mid-century modern building I saw on vacation last summer.

Tools and Supplies
* indicates items that are available at Schnarr’s
Distressed wood plank the length of your sofa
Sandpaper*
Dust mask*
Drop cloth for work surface*
Water based paint* for large areas
Acrylic craft paints for stenciling
Decorative stencils
Water based clear satin wood varnish*
Rags*
Paintbrush*
Assorted size old food containers for mixing paint and varnish
Sponges*
Old food container lids to use as palette while stenciling
Masking tape or painters tape*
Shelf brackets*
Screws*

Instructions

1. Put on a dust mask and sand your wood plank to remove rough edges and peeling paint. It’s always a good idea to wear a dust mask to keep from breathing small particles but I think it is even more important when working with old salvaged wood. You don’t know what that wood was treated with, what is in the old paint and it could be moldy as well. After sanding, wipe off the dust with a damp rag.

2. My wood plank already had a satisfactory ground color, white, on what would become the top surface. If your plank does not already have a ground color that you like, you can apply one. House or wall paint is a good choice. One technique that is really effective with the distressed look is to paint a contrasting color under the ground color. Some random sanding here and there later to expose the different layers of paint will simulate the effect of an old piece of wood that has been painted multiple times.

3. Apply a contrasting color to the sides and bottom of the board. As you can see, when you paint surfaces where two colors come together at a corner, it’s easy to slop a little paint over where you don’t want it. One reason that I love the distressed look so much is that when you sand off paint to conceal your mistakes, it looks like part of the design. If you are trying to paint precise corners or lines they don’t look good unless they are perfect, but with a distressed effect you can be a little sloppy!

My distressed board with closeup of paint job

4. Next put your dust mask on again and sand the corners and edges of your board to expose the wood in those places. Then check to see if any paint is beyond the corner where it is supposed to be, such my example below on the left.

Sanding in process

Sand away any paint that is in the wrong place, such as the excess paint that I removed from the top of the board. As I sanded the excess paint off, I exposed some of the wood grain on the front of the board and some of the green paint that is under the white paint. If you are using a really beat up piece of wood like I did in my sample, you can make some artistic decisions about sanding other areas. If there was a rough spot that I found pleasing, such as wood grain, I sanded such spots to enhance the texture. If there were spots that were not pleasing, such as dirty spots or flaking paint, I sanded to remove those unwanted areas of paint.

5. Decide what design you want to stencil on the top side of your shelf. I designed stencils specifically for this project but I have and will use them in lots of other projects as well. If you would like detailed information on how to cut your own stencils, see my article Fun With Stencils.

6. Apply craft paint through your chosen stencils in the colors of your choice. If you are new to stenciling on wood, please see my article Stencil a Wood Garden Sign for detailed instructions.

Stenciling in process

7. When stenciled paint is dry, to further enhance the distressed look mix up a paint/varnish/water mixture. Here is how – in a small container, mix some paint until you get a shade of dark brown that you like. In another larger container, mix a half and half solution of water and satin finish water based wood varnish. Gradually mix in some of the brown paint until you get a stain that you like – test by brushing on an inconspicuous spot. It should be dark enough to tone down your design a little bit and give it a weathered look, but not so dark that it obscures it. When the mix is right, stain/varnish your whole board and let dry.

8. Attach brackets of your choice to the wall behind your sofa, and set shelf in place. You’re done!

Categories
DIY Home Decor Upcycling

Kitchen Backsplash Project Part III – Filling in the Tile “Murals”

Kitchen Backsplash Project Part III – Filling in the Tile “Murals”

It’s a good thing I make detailed notes as I work, because this kitchen backsplash project underwent a two and a half year hiatus! I didn’t really plan to neglect the project for that long, but in 2013 and 2014 I did a lot of art and craft shows and my studio space and time was necessarily diverted to that pursuit rather than home improvement projects. In 2015 I’m doing fewer shows and determined to finish some of what I started earlier!

Handmade stoneware tiles impressed with carved rubber stamps. These will be installed in tile murals in my kitchen.The next step in finishing my kitchen backsplash is to complete the tile work in four frames spaced at intervals above the strip. These are inspired by Spanish and Mexican tile murals in their shape and placement though they don’t attempt to depict any kind of representational scene. In the interim I had carved some new rubber stamps of ancient petroglyph designs and made some small stoneware tiles from them which I decided to include.

Using paper templates, I laid out my designs on trays in the studio, then transported them to the kitchen.
Tiles for tile mural on try ready to be installed

As you can see in this picture, since I last worked on the tile strip, I installed a narrow shelf above the back of the stove. This is made from a piece of recycled flooring. I painted it in a color harmonious with my intended future paint scheme and sanded the edges for a slightly distressed look. I used corner brackets to mount it to the wall, attached with screws so I can remove it when it’s time to paint the wall. It is meant for holding some of the small Southwestern-themed collectibles that I keep in the kitchen. Later on I’m going to install another shelf above this frame with hooks on the underside for displaying a favorite set of collectible coffee cups.

Tile mural frame partially filled with tiles

Here is the frame partially filled with tile. Using a pencil and ruler, I marked where the large tile in the middle would go then worked out from the middle and the edges. I dabbed a bit of tile cement on the back of each piece and pressed it in place. Normally with tile work a quantity of cement is spread out on the surface first before the tiles are placed, but my way of working is slow so I wanted to make sure the cement didn’t dry before I could finish an area.

Tile mural frame filled in and ready to be grouted

After the tiles are allowed a sufficient time to dry according to the directions on the tile cement bucket, the next step is to grout the tiles!

Categories
DIY Home Decor Upcycling

Kitchen Backsplash Project Part II – Beginning Work on the Walls

Kitchen Backsplash Project Part II – Tile Design and Beginning Work on the Walls

After absorbing inspiration and stockpiling tiles for my kitchen for three years, how did I begin the process of actually getting some tiles on the wall?

I’ve been intending since I moved in to my condo in 2004 to eventually repaint the kitchen. The paint in this room is rough, and even worse, it’s pink! So it has to go and until it’s repainted it doesn’t matter to me if I mark it up with pencil or tape.

To begin my designs I cleared everything off of the counter top and used a ruler and pencil to mark where I wanted strips of tile. This work would be too much to be completed in one work session. It being necessary to use the kitchen in between work sessions, I had to devise a way to design and install the strips in sections.

I decided on a repeating pattern that would appear at intervals, with more free-form arrangements in between. I measured where the repeating elements would go and decided how many I would need, then I went into my studio and designed one of the repeating sections. Then I made sure I had enough of those tiles to repeat the pattern the required number of times. Choosing the tiles from which to create the repeating patterns could have been an overwhelming task, given the number of tiles I had accumulated – I had been collecting them for multiple projects, not just the back splash. For help I referred to the swatch page I had made for my kitchen to help me keep in mind what look and feel I wanted for the room. I hung up the swatch page nearby and sorted out tiles that seemed to fit. That narrowed down the selection and from those I was able to come up with the repeating pattern. I laid each section out on a tray in my studio and carried it into the kitchen to install each section, then repeated until all the recurring sections were in place.

Final tile design of strip around sink in kitchen

After that was done, I filled in the spaces between the repeating segments, then added a strip in a terra cotta color above it.

Close up of tile design that includes handmade tiles, purchased tiles, and salvaged tiles.

A strip similar to this would be very easy to do with purchased or made to order tiles of a uniform size. Since I was including a lot of salvaged tiles however, I had to do a lot of piecing, cutting and nipping. I’m very pleased with the result and I think it was worth the extra effort – it would not be to everyone’s taste but is exactly the kind of look I wanted. There is no way anyone would be able to replicate this design exactly even if they wanted to!

While I had the tiles out, I decided to do a strip by the pantry as well.

Working out tile design in my studio before installing on the wall

I drew an outline of the area to be tiled on the paper that covers my studio table, then filled that in while working out my design. When I was satisfied, I placed some of the tiles on a tray, carried it to the kitchen, and installed the tiles one section at a time. I marked the wall with pencil lines before beginning so that I didn’t go out of the allotted spaces while installing.

While working on the tiles, I gave some thought to the future paint scheme of my kitchen and picked out color swatches. I put the swatches and some notes in my idea book and also marked in pencil what color goes where on the kitchen walls.

Read more:
Kitchen Backsplash Project Part I – Introduction
Kitchen Backsplash Project Part III – Filling in the Tile “Murals”

Categories
DIY Home Decor

Decor Idea Book

Decor Idea Book

It’s going to take years to complete the decor in my condominium – if I ever complete it. My timetable won’t work for everybody but it’s ok for me – decorating is a satisfying hobby activity and I enjoy doing as much as I can myself, for example even to the point of designing rubber stamps that I use to make ceramic tiles to incorporate into tile work.

It’s not easy to focus on my original vision when working on such a long-term project. To help out, I have made a book to help me organize my ideas and color schemes. If you would like to make a similar book, here is what you’ll need.

3-ring binder that holds 8.5 x 11 paper
8.5 x 11 paper or cardstock
8.5 x 11 chipboard or cardboard
Tab divider inserts
3-hole punch
3-hole folder inserts
Scissors
Clear tape
Glue

1. Get some blank 8.5 x 11 paper and/or card stock and punch holes in one edge with the three hole punch. You may choose to use lined or unlined paper – the unlined is easier to draw on if you want to sketch out ideas. Open the rings and place the paper in your binder.

2. If you want to work on ideas for more than one room, make sections by placing one tab divider insert and one folder insert at the beginning of each room section. Label the section according to the room. The pockets are handy for collecting things in to mount on a page later if you’re pressed for time.

Fabric and paint swatches for my kitchen

3. In each section, start collecting ideas and swatches that pertain to the corresponding room. Examples of things you can include are fabric swatches, paint swatches and magazine clippings with ideas or products you like. Lightweight items can be taped down to paper. You could staple fabric swatches to cardstock and glue tile samples to chipboard or cardboard. Take notes or make sketches as you develop your ideas. You can continually add new pages as needed.

4. Eventually you may find yourself creating or purchasing things like plans, templates, instructions and stencils. If size allows these can be stored in binder folders so they are always handy or have holes punched in them to store in the binder.

5. If you’re a Pinterest user, you can create corresponding Pinterest boards to supplement your pool of ideas. From time to time it might be helpful to print out some of the pictures and instructions you find online and display them in your book. Be sure to check out Schnarr’s Pinterest offerings!

Fabric and paint swatches for my bedroom

If I’m designing something for a particular room, typically I’ll put the paint and fabric swatch pages up on a wall in my creative space to keep my overall scheme and feel for the room in mind as I work. I rarely require things to “match”, but I do like them to “fit”. For example my office and bedroom are heavily Mid-Century Modern, the living room is Mid-Century Modern plus Beachy, while I’m trying to give my kitchen a Santa Fe look. I don’t know what to call my in-progress bathroom – “Venice Cafe Modern” maybe, since the look I’m going for is Boho meets 1970s? Whatever you call it, putting the samples up on the wall helps remind me of what my vision is for the space.

Available at Schnarr’s:
Fiskars EcoWorks Scissors

Elmer's Glue-All Multi-Purpose Glue
Elmer’s Glue-All Multi-Purpose Glue

Scotch Magic Tape
Scotch Magic Tape