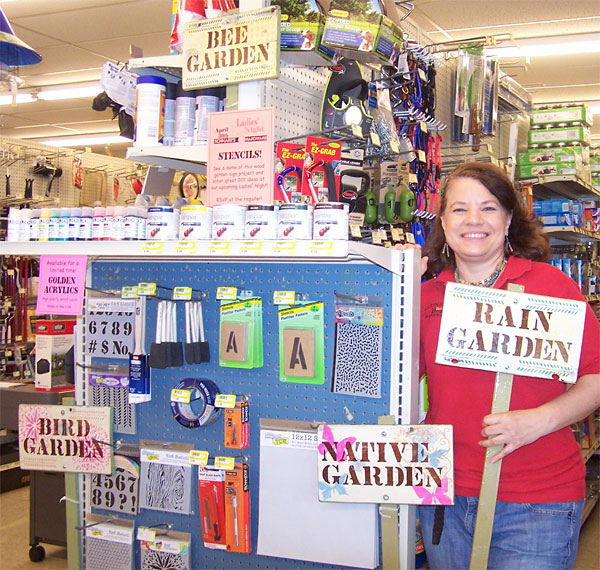
Decorate a Terra Cotta Plant Pot with Acrylic Paint and Stencils

Supplies and Materials
*Indicates items available at Schnarr’s
Terra cotta pot*
Acrylic paint*
Water-based varnish or sealer*
Small containers for mixing paint (can be disposable cleaned food containers)
Rags for cleanup*
Paintbrushes*
Water container*
Sponges*
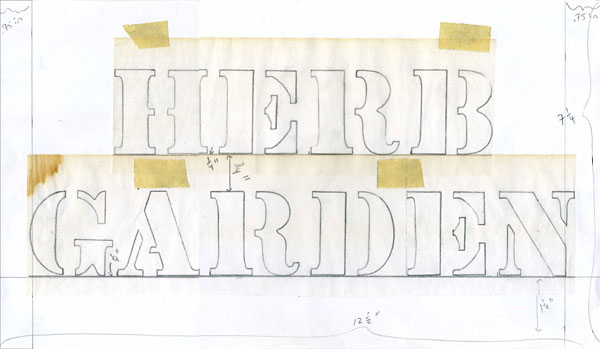
Decorative stencils
Letter and number stencils*
Palette knife for paint mixing
Palette (could be a proper artists palette or a temporary one made from freezer paper*)
Sandpaper* (optional)
Memory Essentials Get Rollin’ tool
Memory Essentials Bits and Pieces
Optional – heat tool for speeding up drying between steps if you need to
Masking tape*
Optional – disposable plastic gloves* if you want to keep paint off your hands
Drop cloth* for work surface
Painting and stenciling terra-cotta pots is a fun and inexpensive way to enhance your patio or garden decor. Younger and older crafters alike can join in. Small decorated pots can be used as party favors. Medium-sized pots might provide the base for a table centerpiece. A large pot could function as a gift basket that you can fill with items for a loved one who likes gardening. Gardeners can always use extra small items such as gloves* (they tend to wear out with regularity), seeds*, bulbs*, bug repellent*, gardener’s soap, hand lotion*, sunscreen*, lip balm* and plant tags*. You can also throw in a gift card* so they can get exactly what they want!
You can use either a brand-new terra cotta pot or a used one. I kind of like a used one for this project because I’m going for an artificially aged or distressed look and and that’s easier to achieve if the pot already features some stains from being used. A brand new pot will work also.
Directions
1. Clean and dry your pot.
2.Using your acrylic paints, mix a terra cotta color that is lighter than your pot. Good colors to use in the mix are white, brown, orange and maybe red.
3. Put some water-based varnish in a small container and mix in some of the light terra cotta color. Brush some inside your pot to see how translucent it is. I used a stiff brush that was about 1″ wide. You should be adding a light, translucent haze of color in which you can see some brush strokes. Paint the whole inside of the pot and let dry. This step achieves two objectives – it seals the inside of the pot and tests your mixture to make sure it’s right – not too opaque and not too transparent. Normally one of the benefits of a terra cotta plant pot is the porosity, but since we’re applying paint to ours we don’t want water seeping through and wearing off the design over time. Set aside the remainder of the paint/varnish mixture to use later.
4. On your palette, squeeze out some green, yellow and white paint. Use a sponge to blend these colors in random ways and lightly sponge paint onto your pot in random areas. This is to simulate lime scaling and moss or algae that would normally appear on a terra cotta pot over time as it’s in use. After this paint is dry, if you need to tone it down any you can sand it lightly or sponge a litte of your translucent light terra cotta color over it.
5. The next step is to apply a loose vertical texture to the rim of the pot to accentuate it. I used a Memory Essentials Get Rollin’ tool with rubber bands on it from the set Memory Essentials Bits and Pieces. This is one of my favorite textures of all time and I’ve used it in paper crafts, fabric surface design and all kinds of random projects over the years. If you don’t have these tools you can create a similar texture tool by wrapping rubber bands or string around a wood block. Spread some cream-colored paint on your palette and run or press your tool in it then apply to the rim to make the texture. Let dry.
6. Select a stencil or stencils for applying a design to the side of your pot. You might want to use letter or number stencils to create names, initials, words or house numbers. In my examples I used decorative stencils in garden-related designs. Temporarily tape the stencils to the side of the pot with masking tape. Put some cream-colored paint on your palete (do not thin with water) and apply paint through the stencil with a dry sponge. When you’re done, pull off stencil and either wash paint from stencil immediately or put in a container of water to wash later. If your design requires more than one color, use a clean dry sponge for each color – a moist sponge will make your paint run under the stencil and mar the design. While you’re working, if you don’t want to pause and go to the sink to wash paint from your stencils, brushes and sponges at each step, throw them in the container of water until you’re ready to do cleanup at the end. Let stenciled paint dry on pot.
7. Take a look at your pot and see if you like the appearance the way it is or if you want to make it a little more distressed. Randomly hit some areas with sandpaper if you want to “age” it a bit more. Wipe off dust with a slightly damp rag.
8. Paint outside of pot with your translucent light terra cotta / varnish mixture. Let some brush marks show, but smooth them out a bit if you think they are too prominent. Turn pot over and paint the bottom to seal it. Let dry. You’re done!
For more information on stenciling, here are some of my other articles:

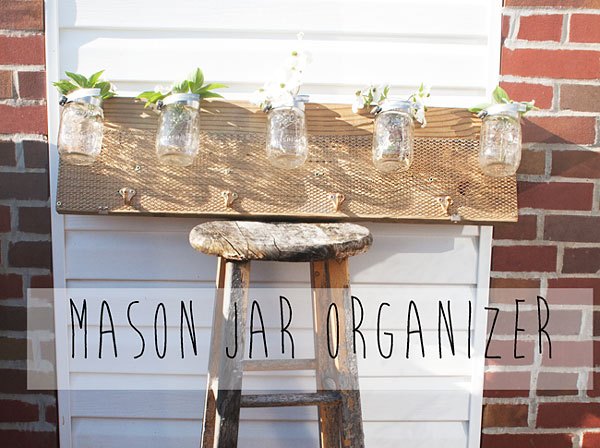
If you want to take the idea of using a decorated pot as table decor or a party favor a little further, here is an idea you might like from my personal blog. Make a bouquet out of seed packets with free templates that I provided for download and display it in one of your decorated pots.
Make a Seed Packet Bouquet